4Recovery

A new teak floor. An old boat, fresh craftsmanship.

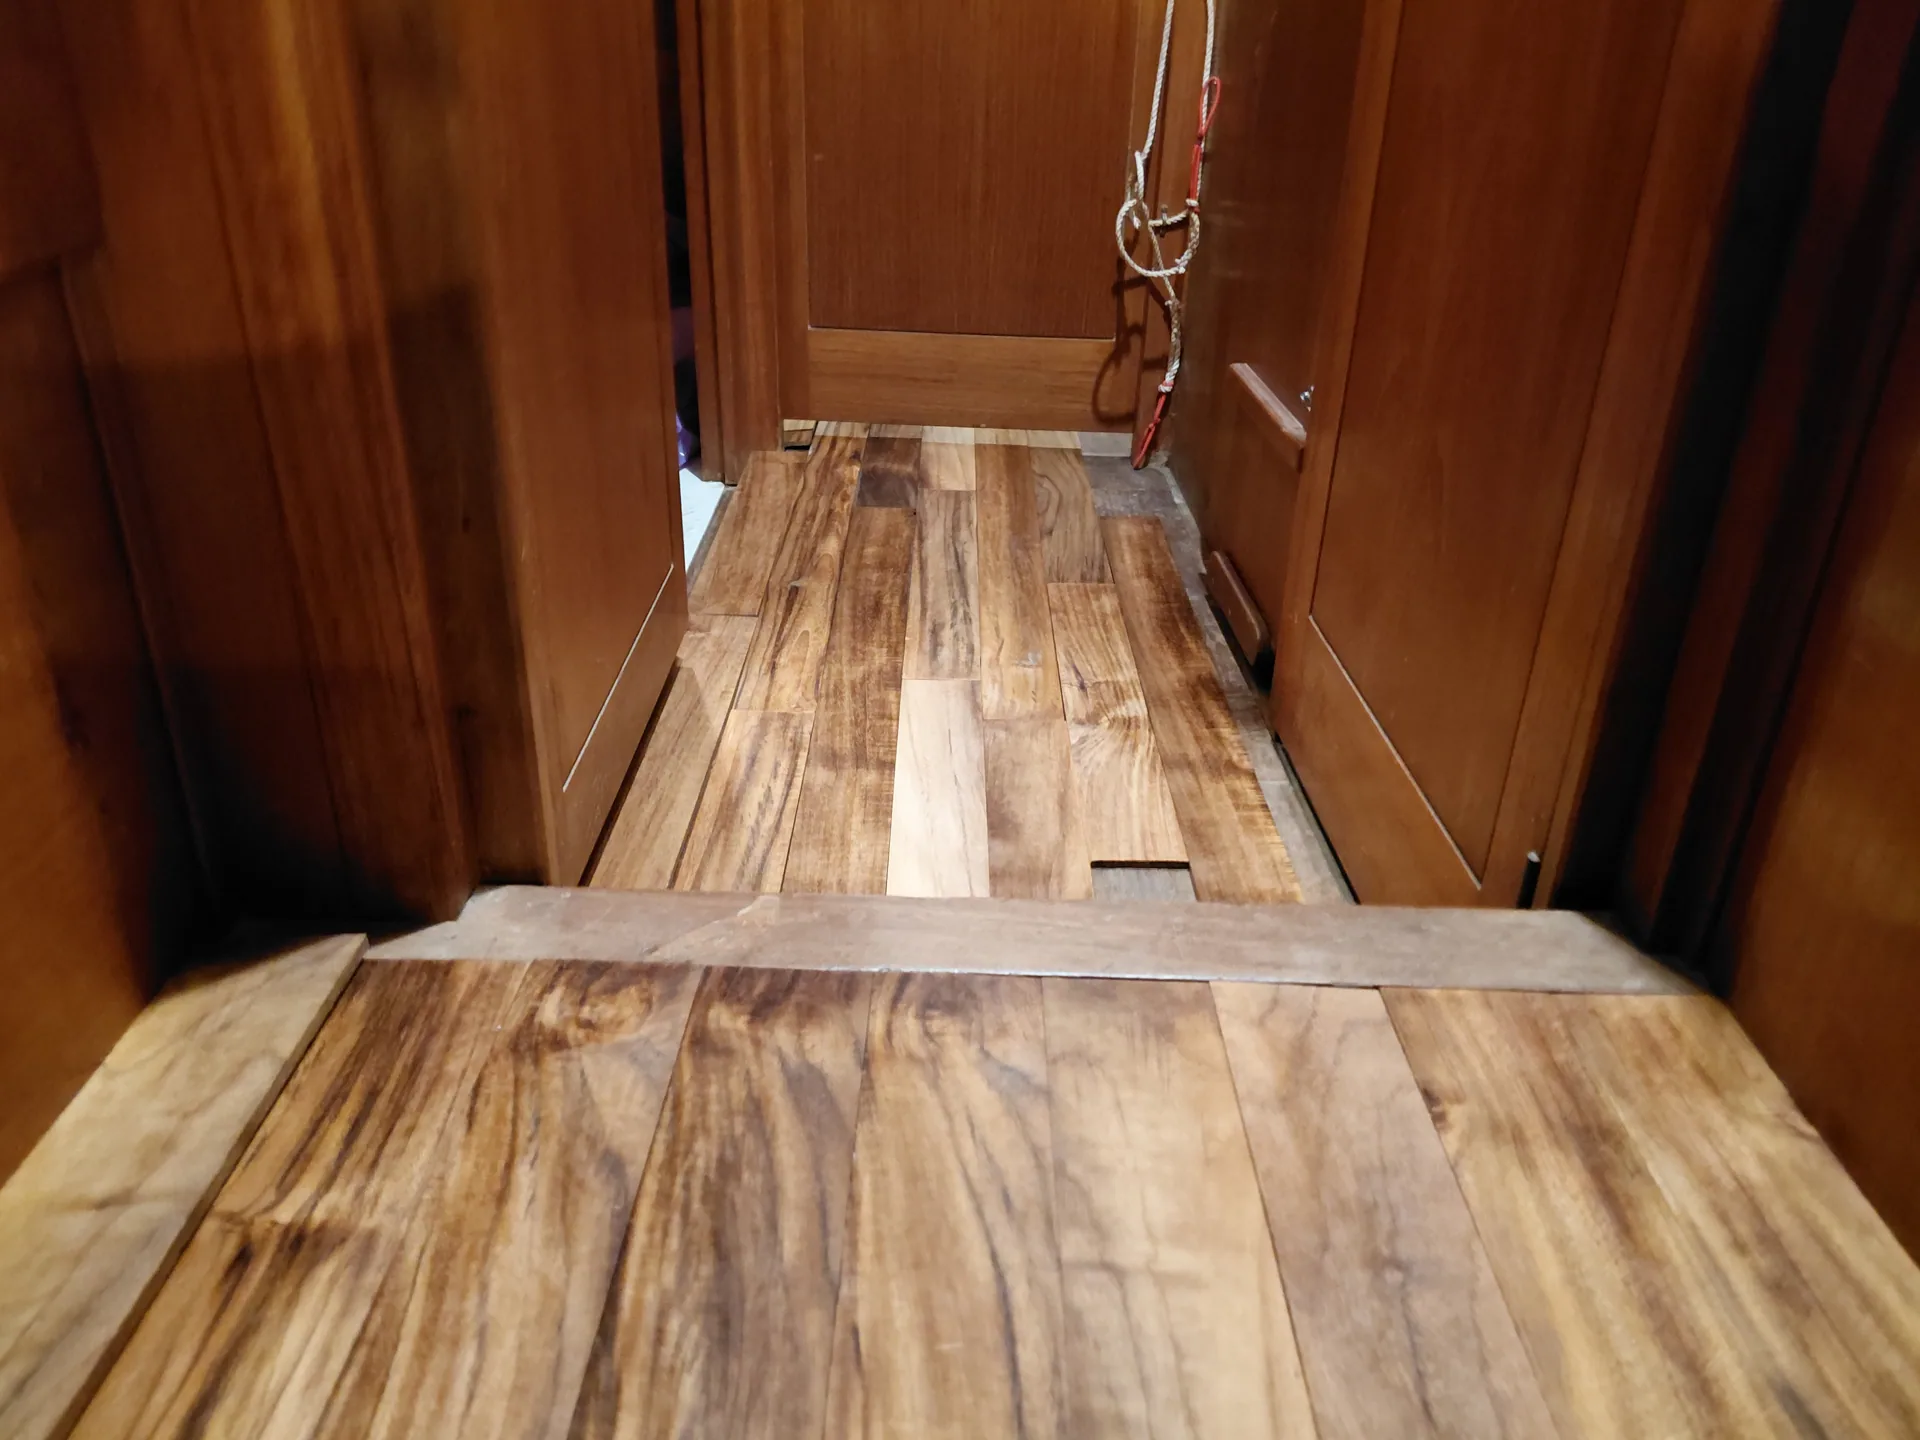
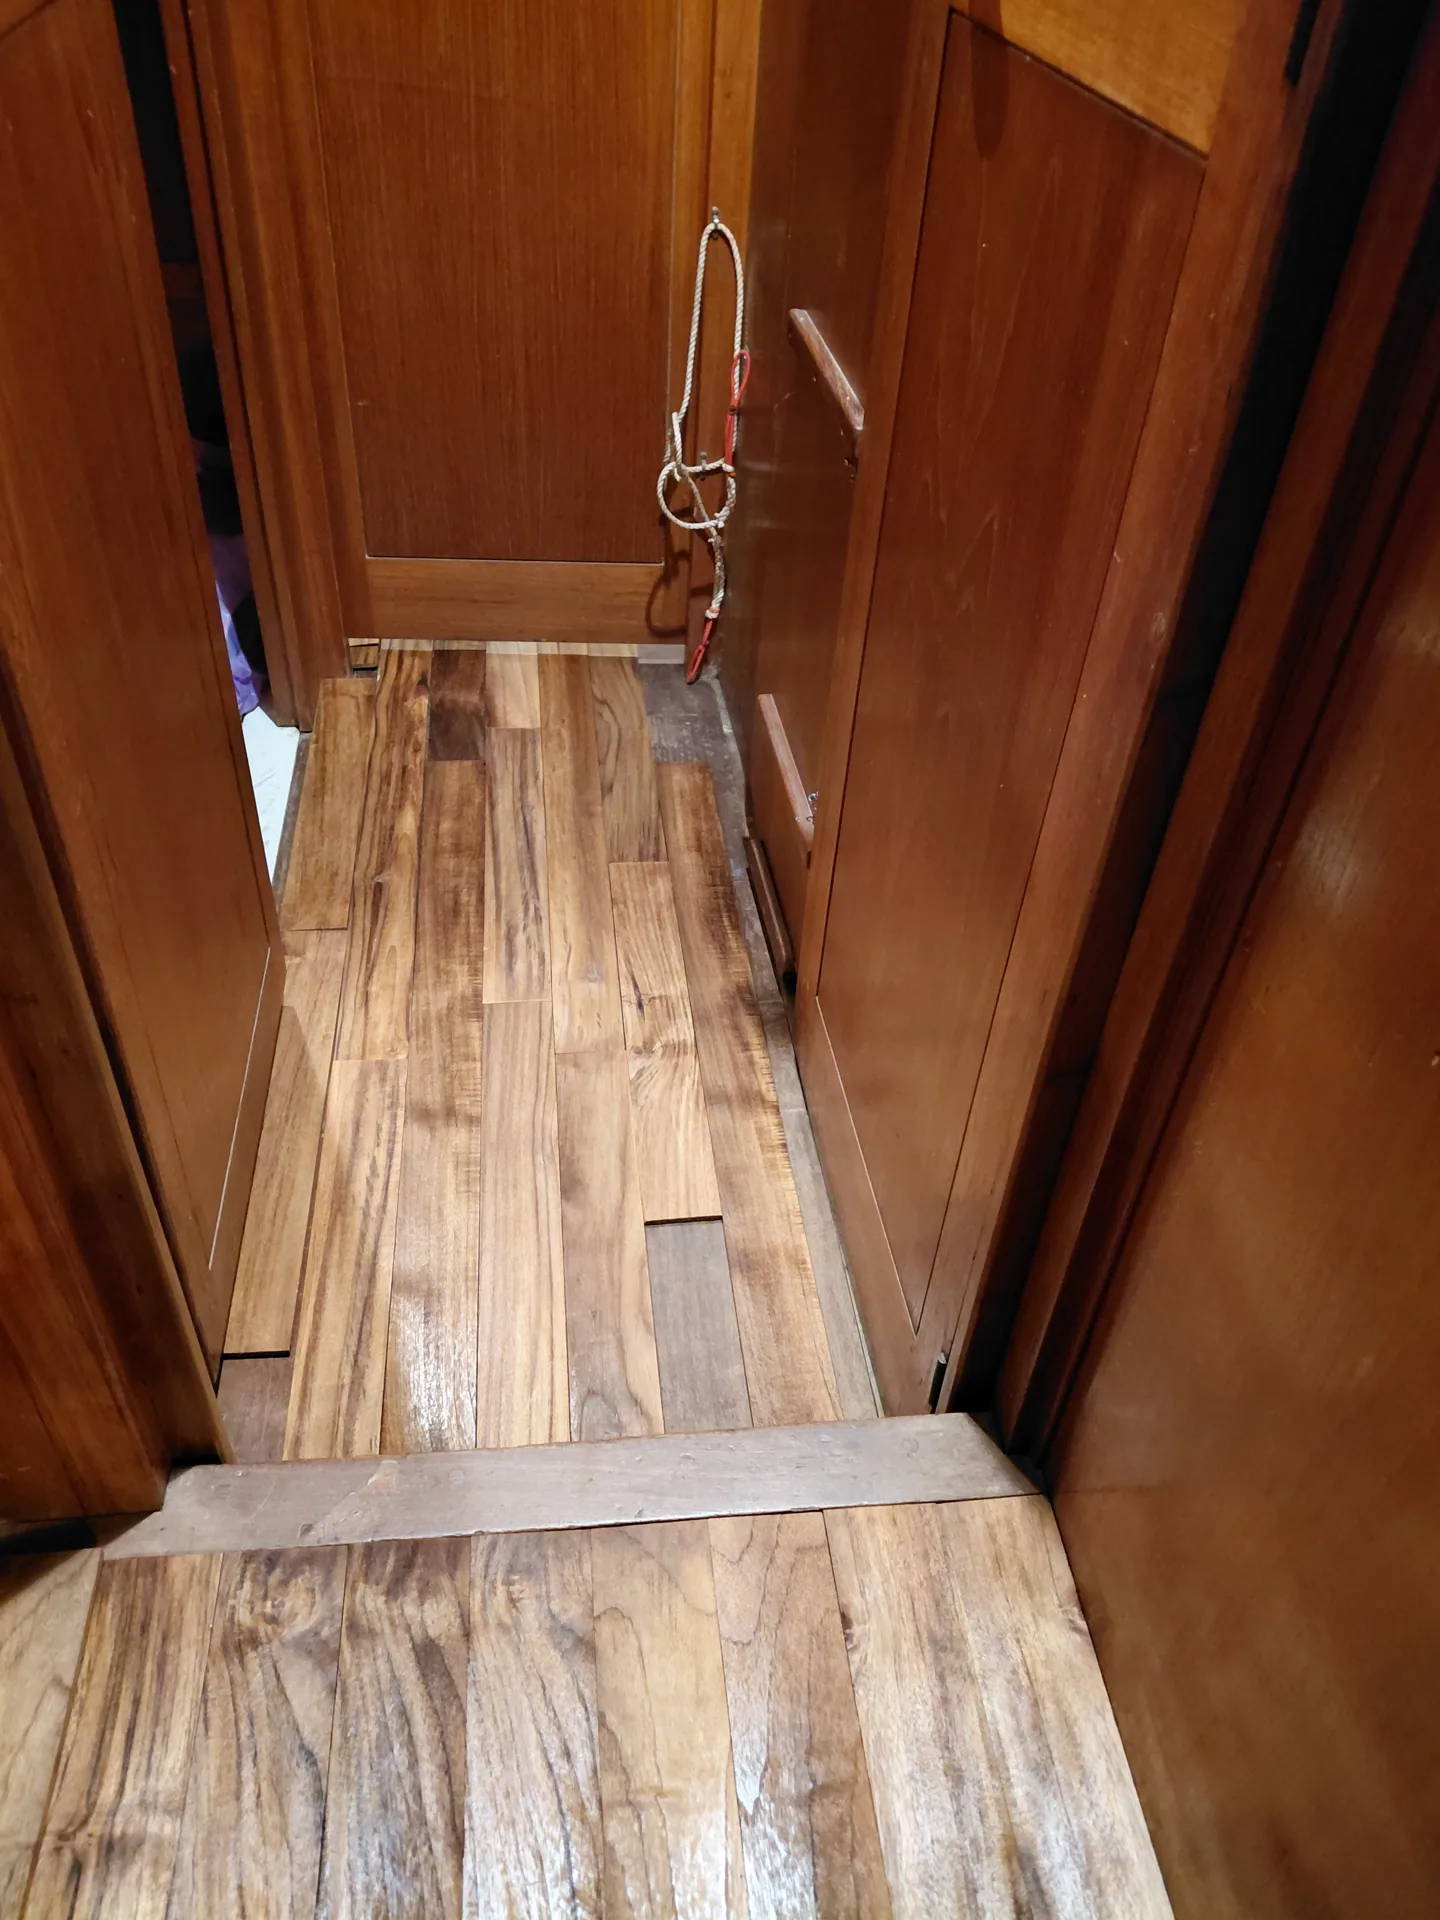
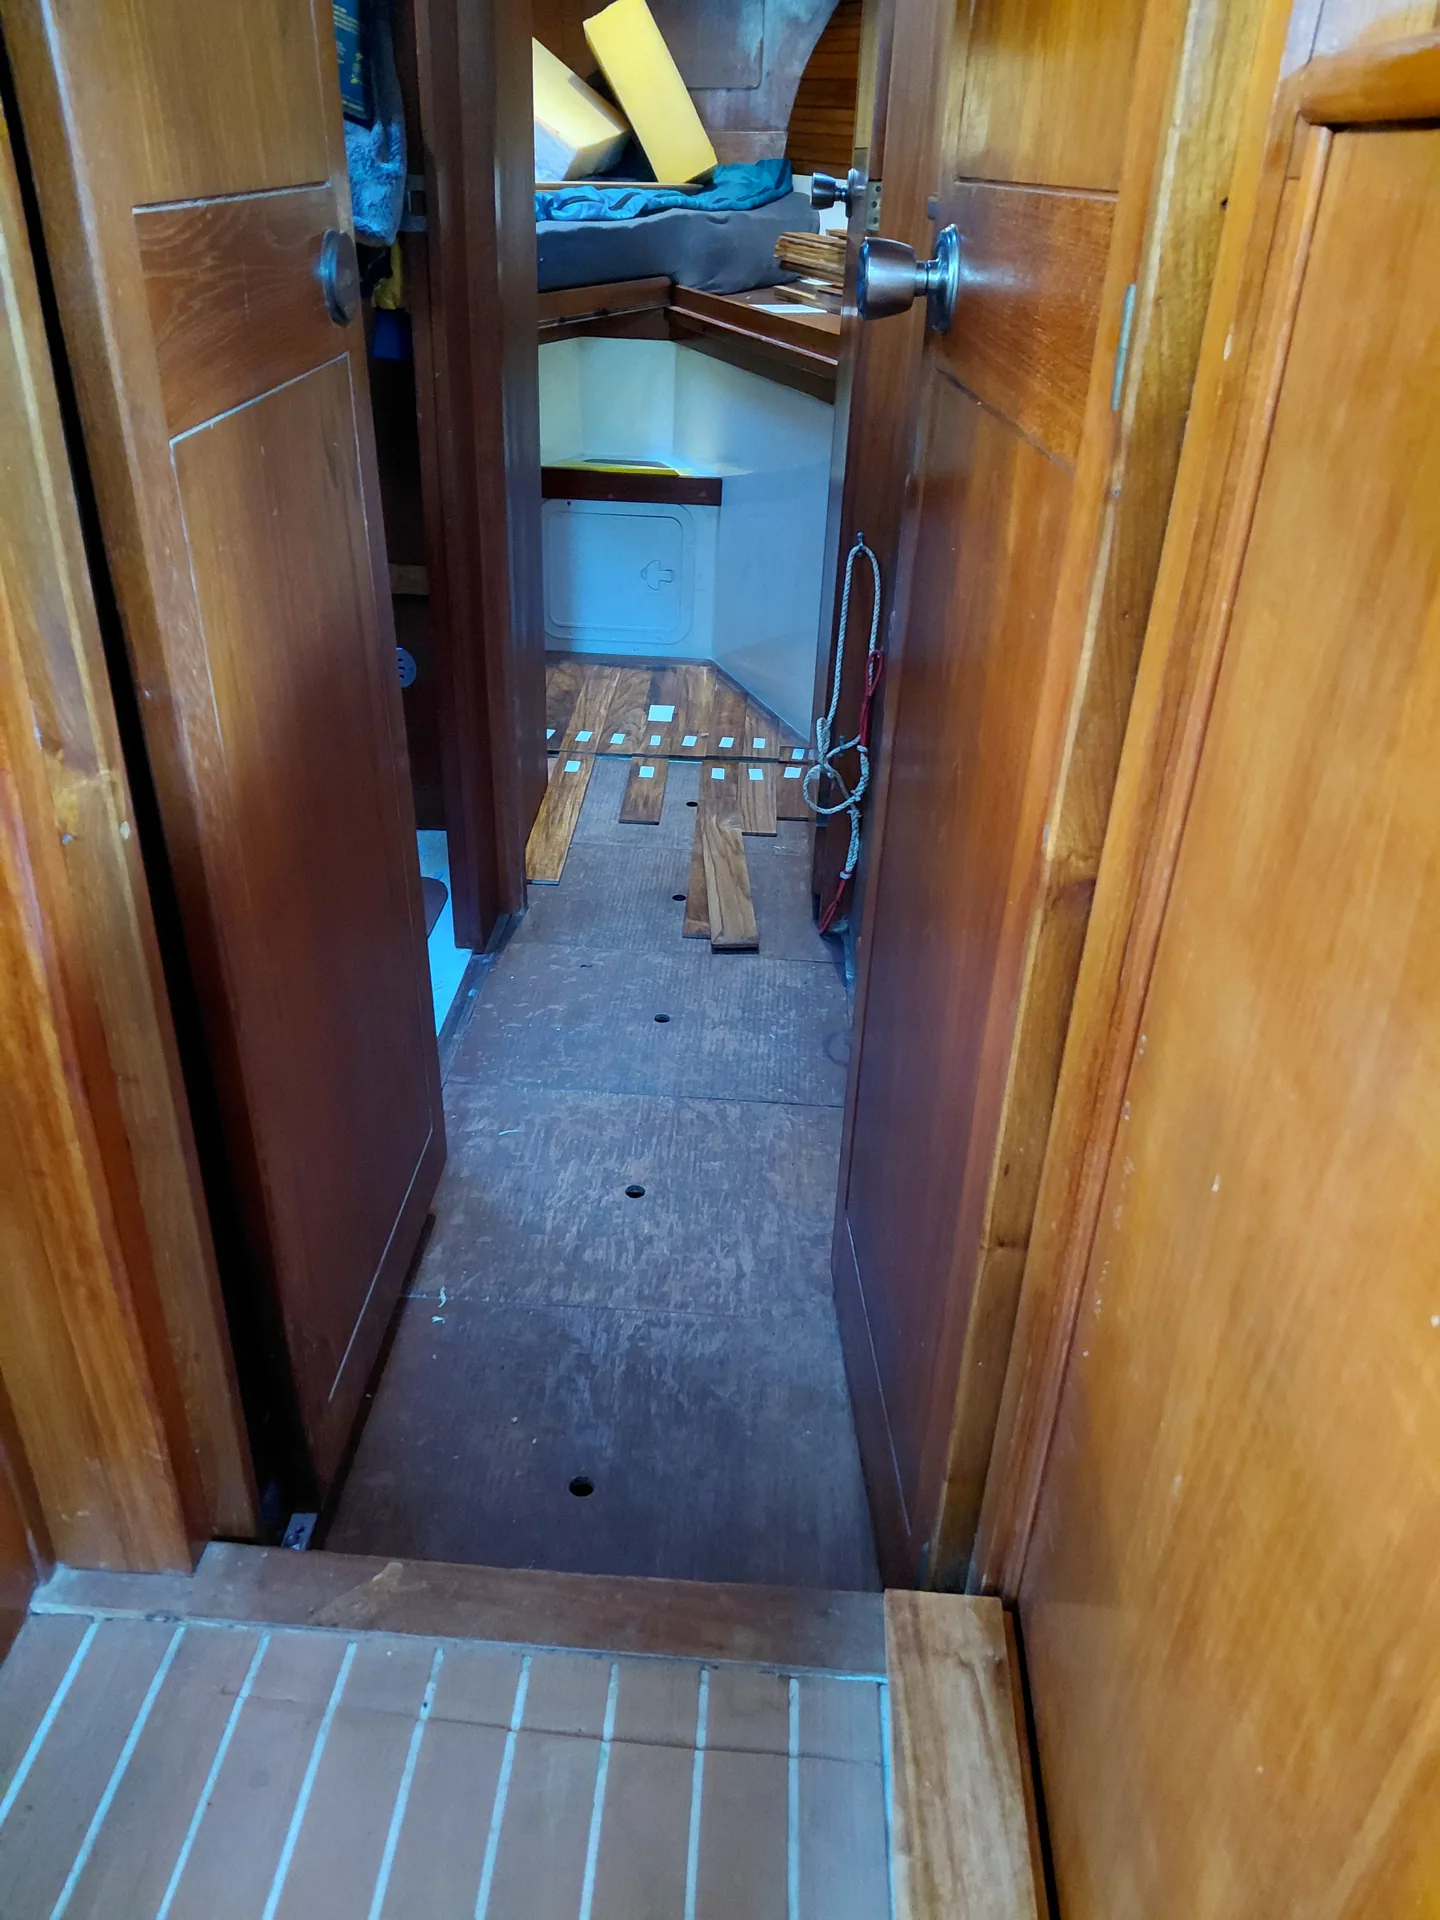
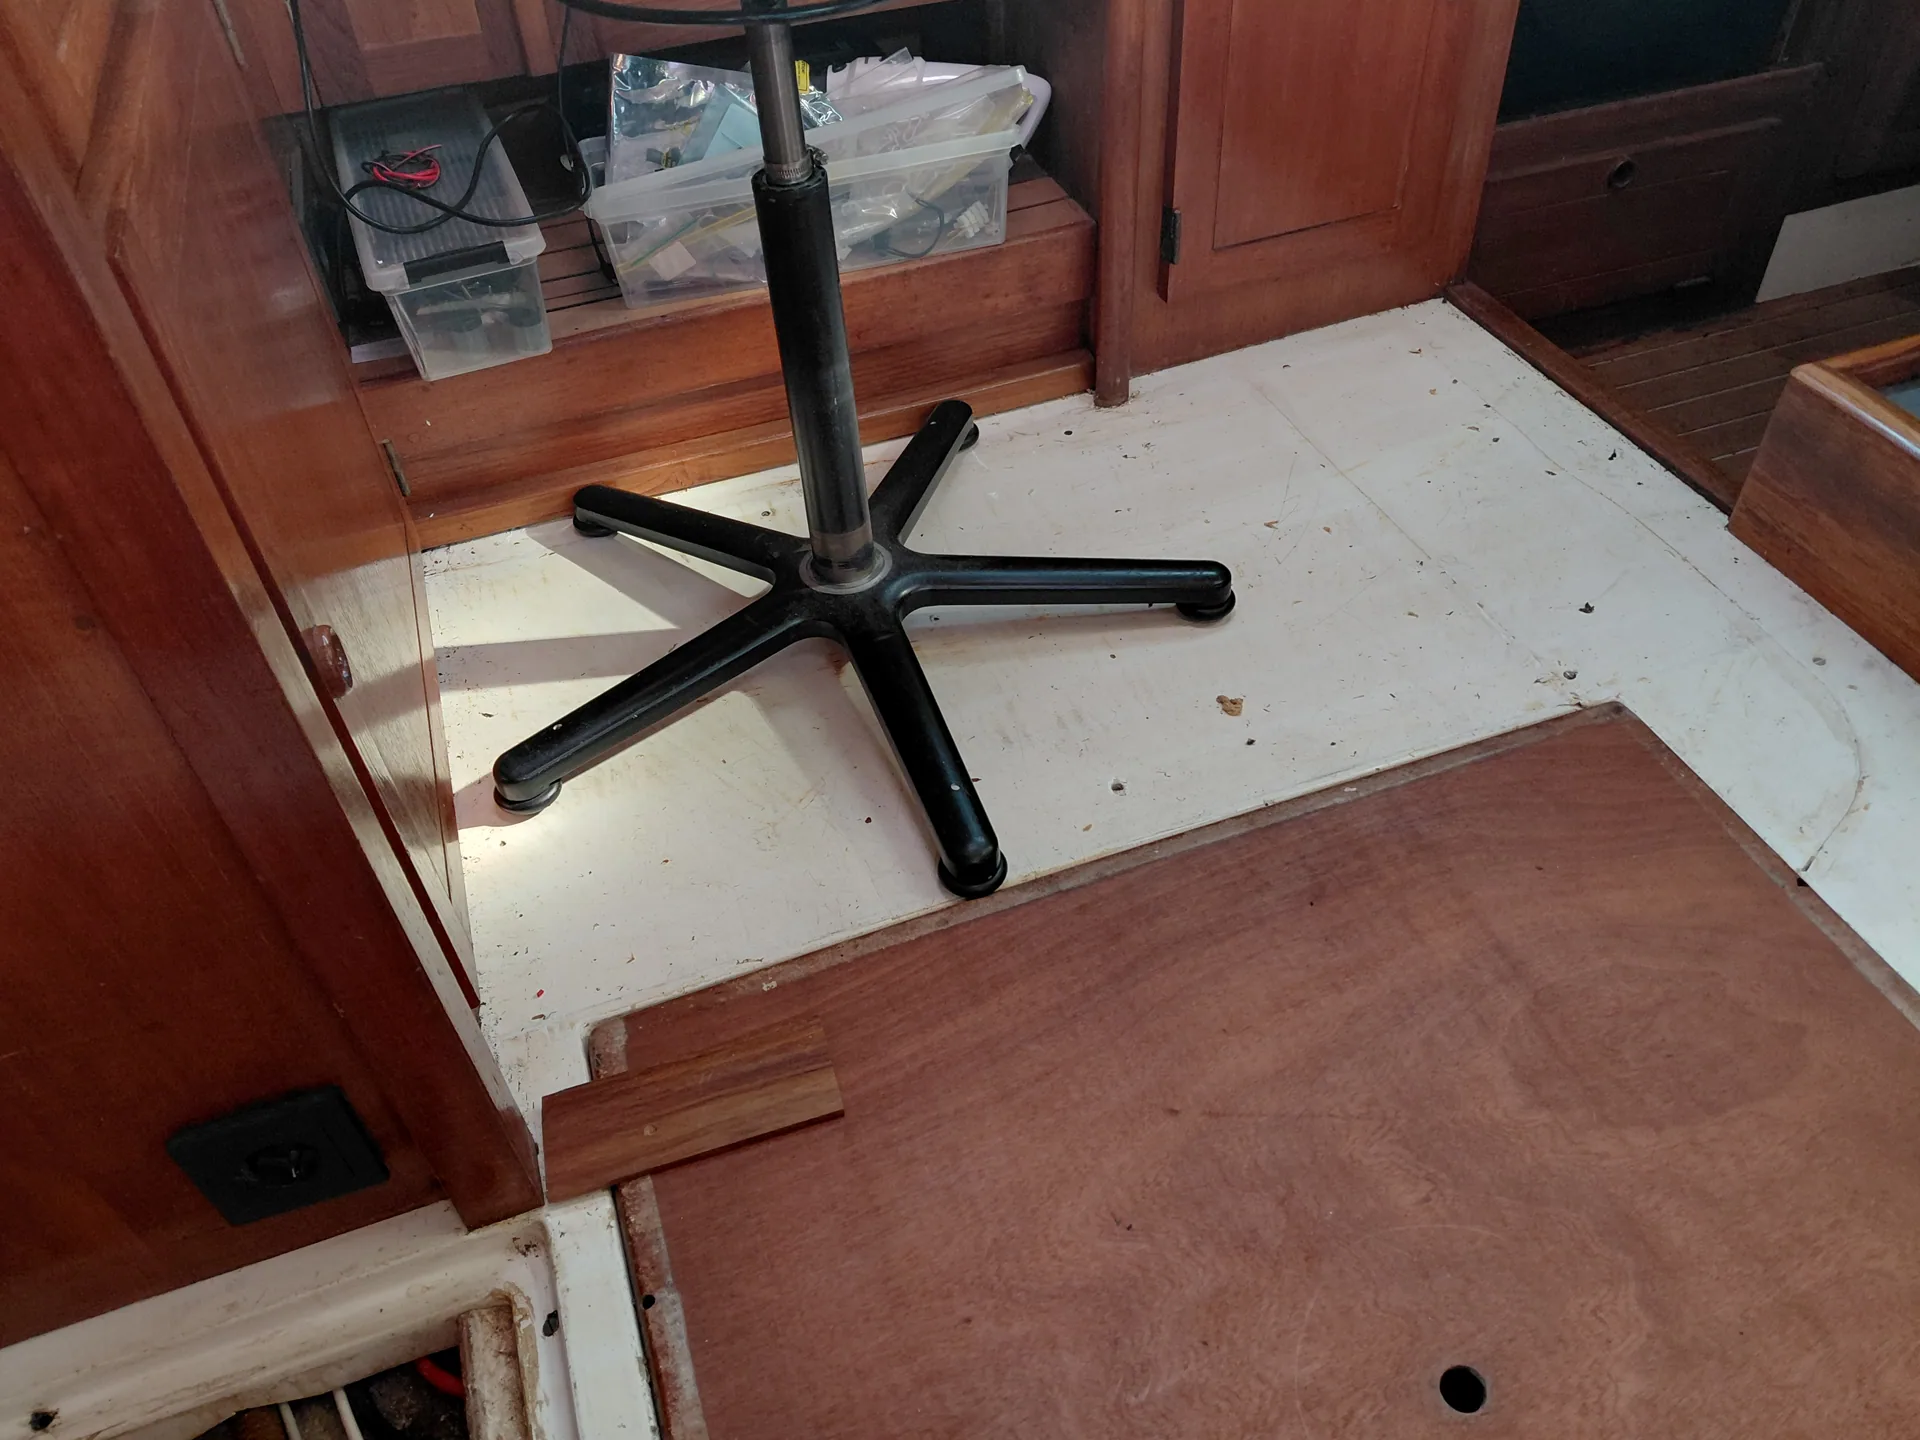
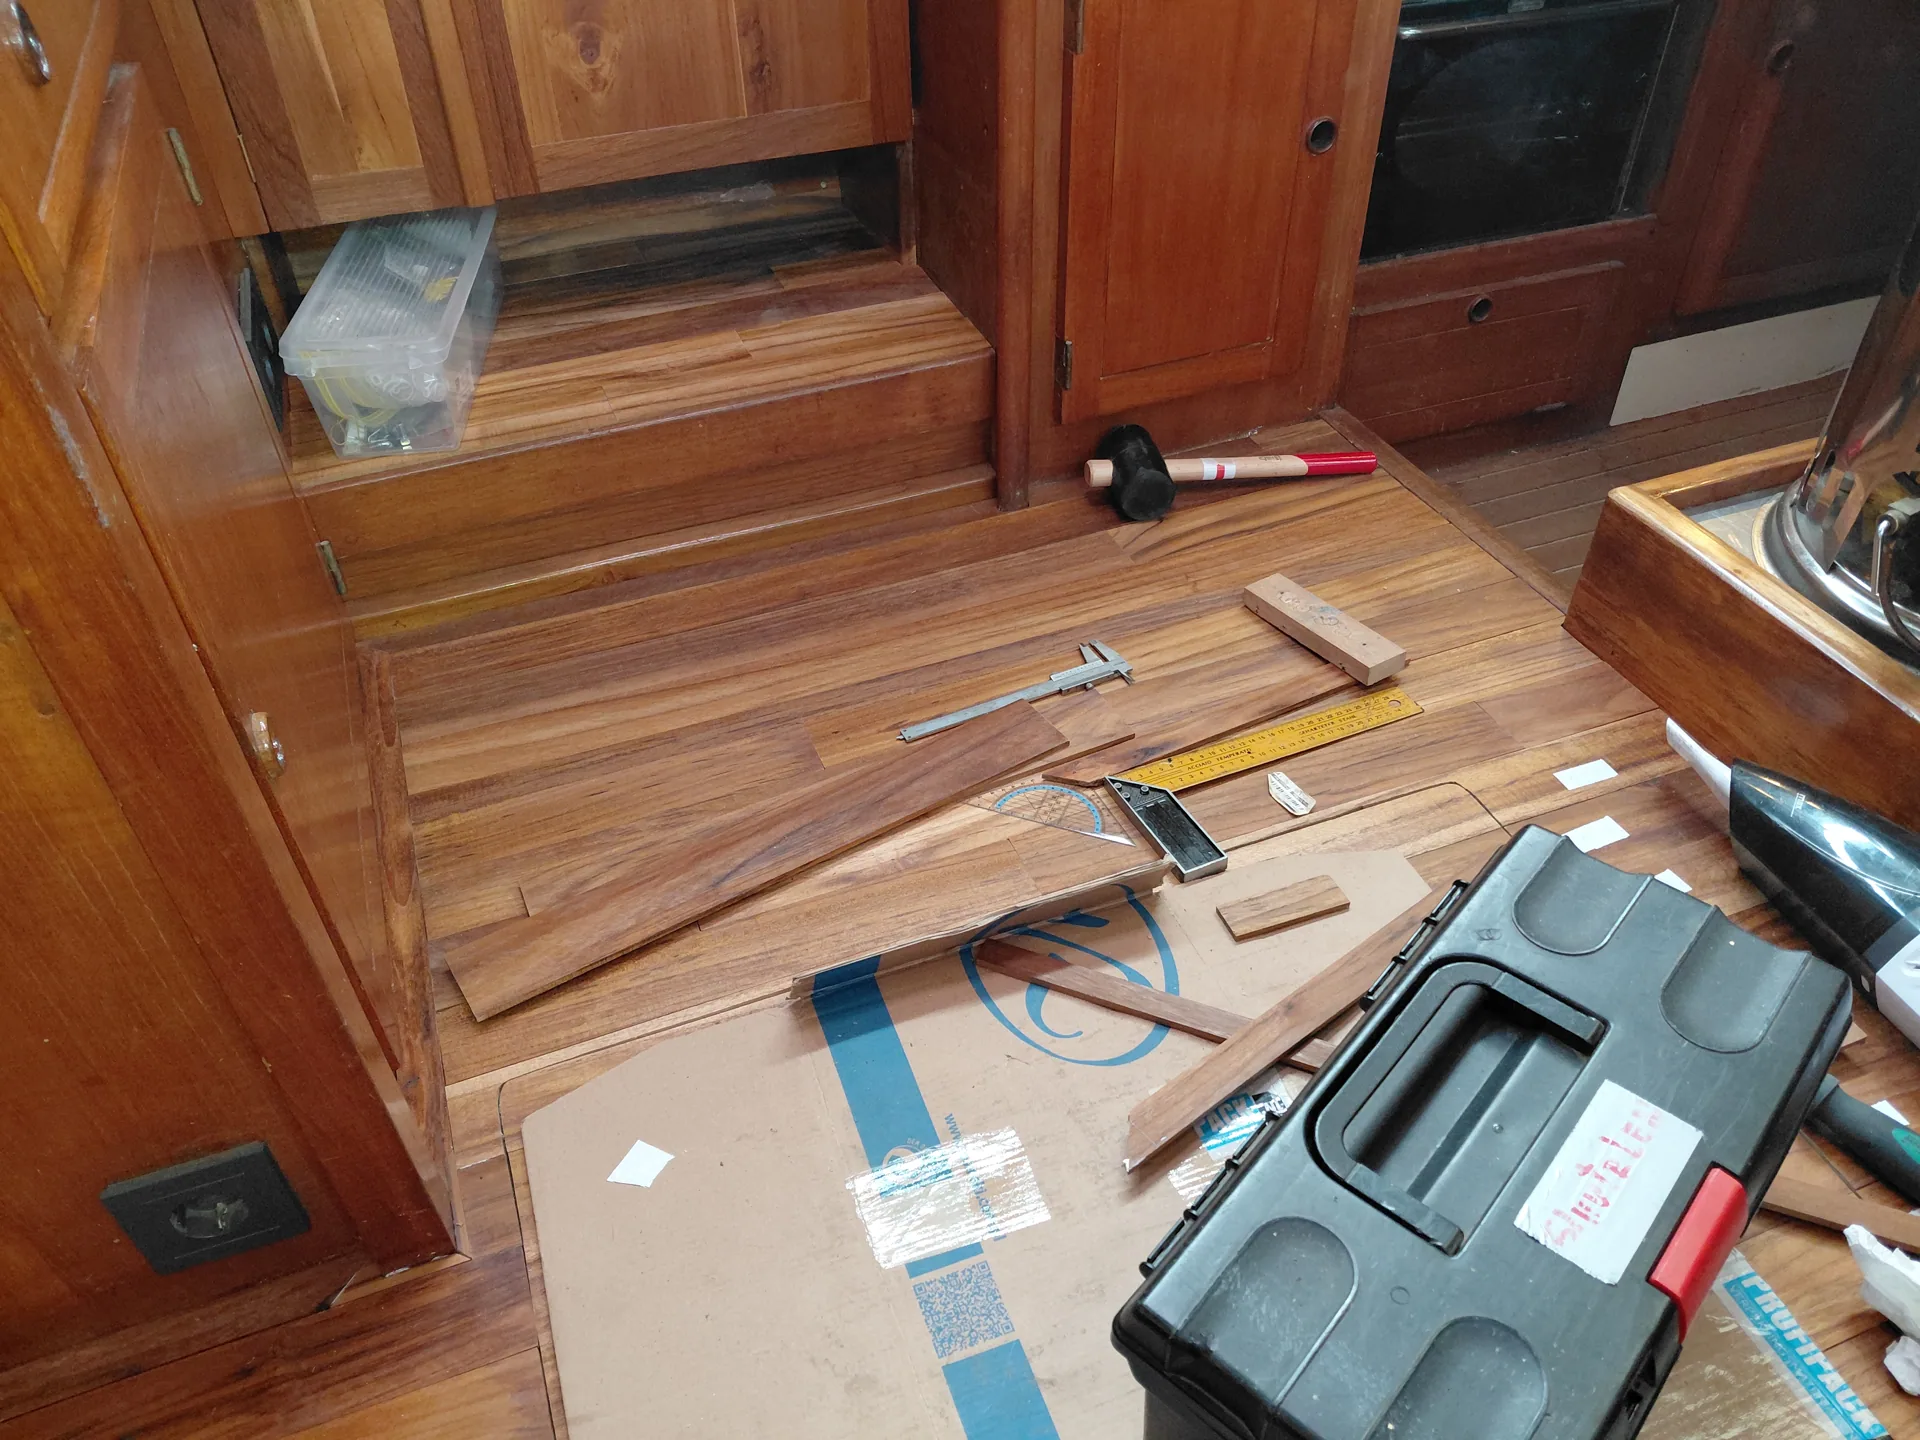
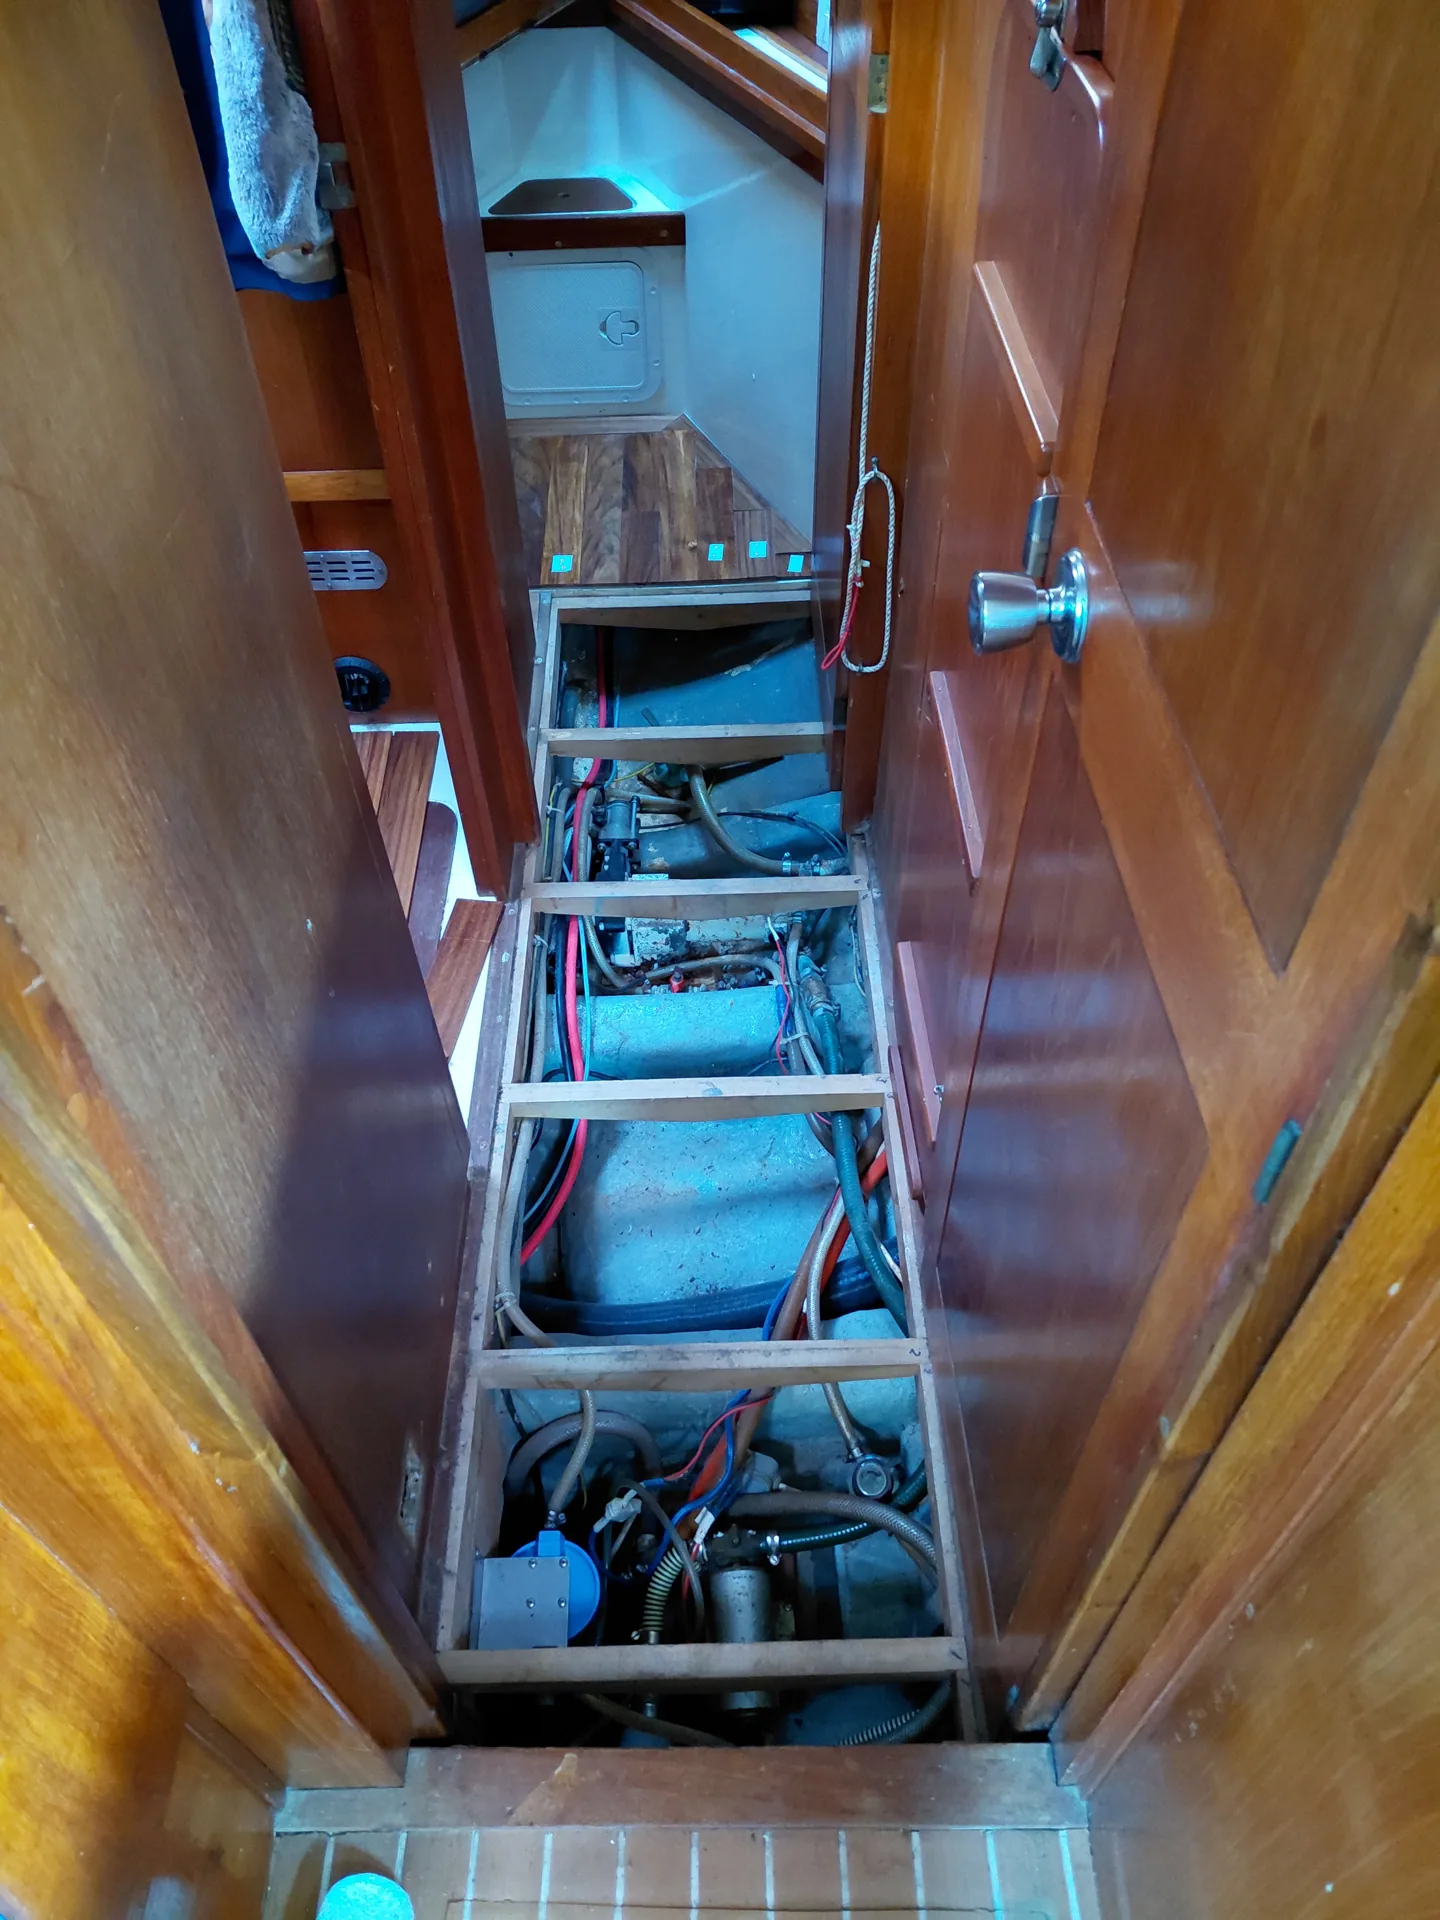
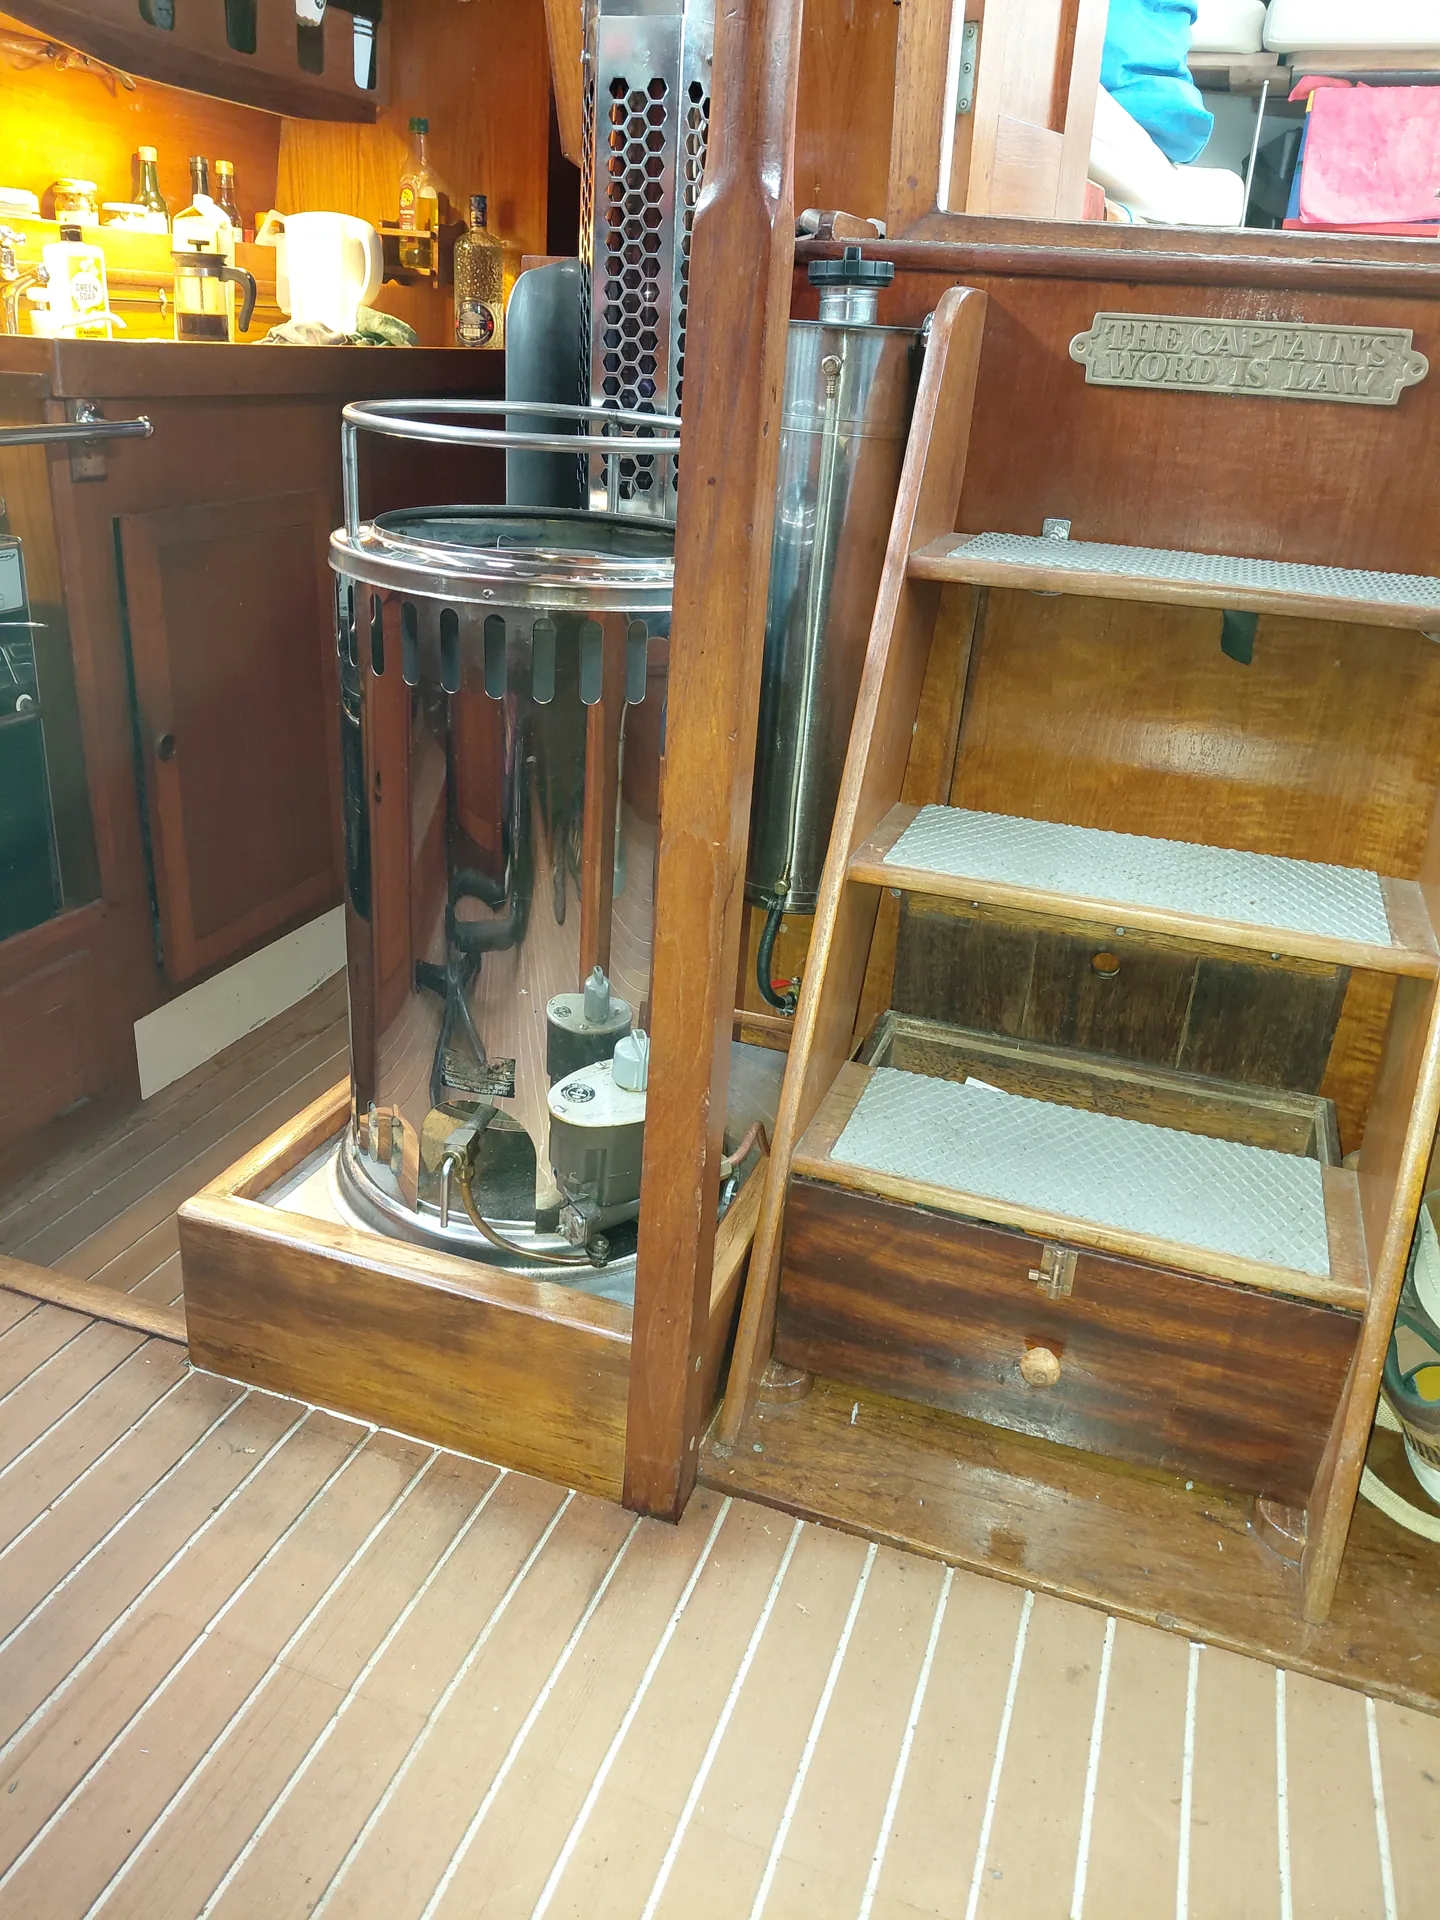
Old cabin floor beside the steps and stove

On wood, precision and the art of making things yourself.

A boat that is almost fifty years old has character. It is there in her lines, her woodwork, her construction and the way everything was originally designed and built. But character does not mean everything has to stay as it is.

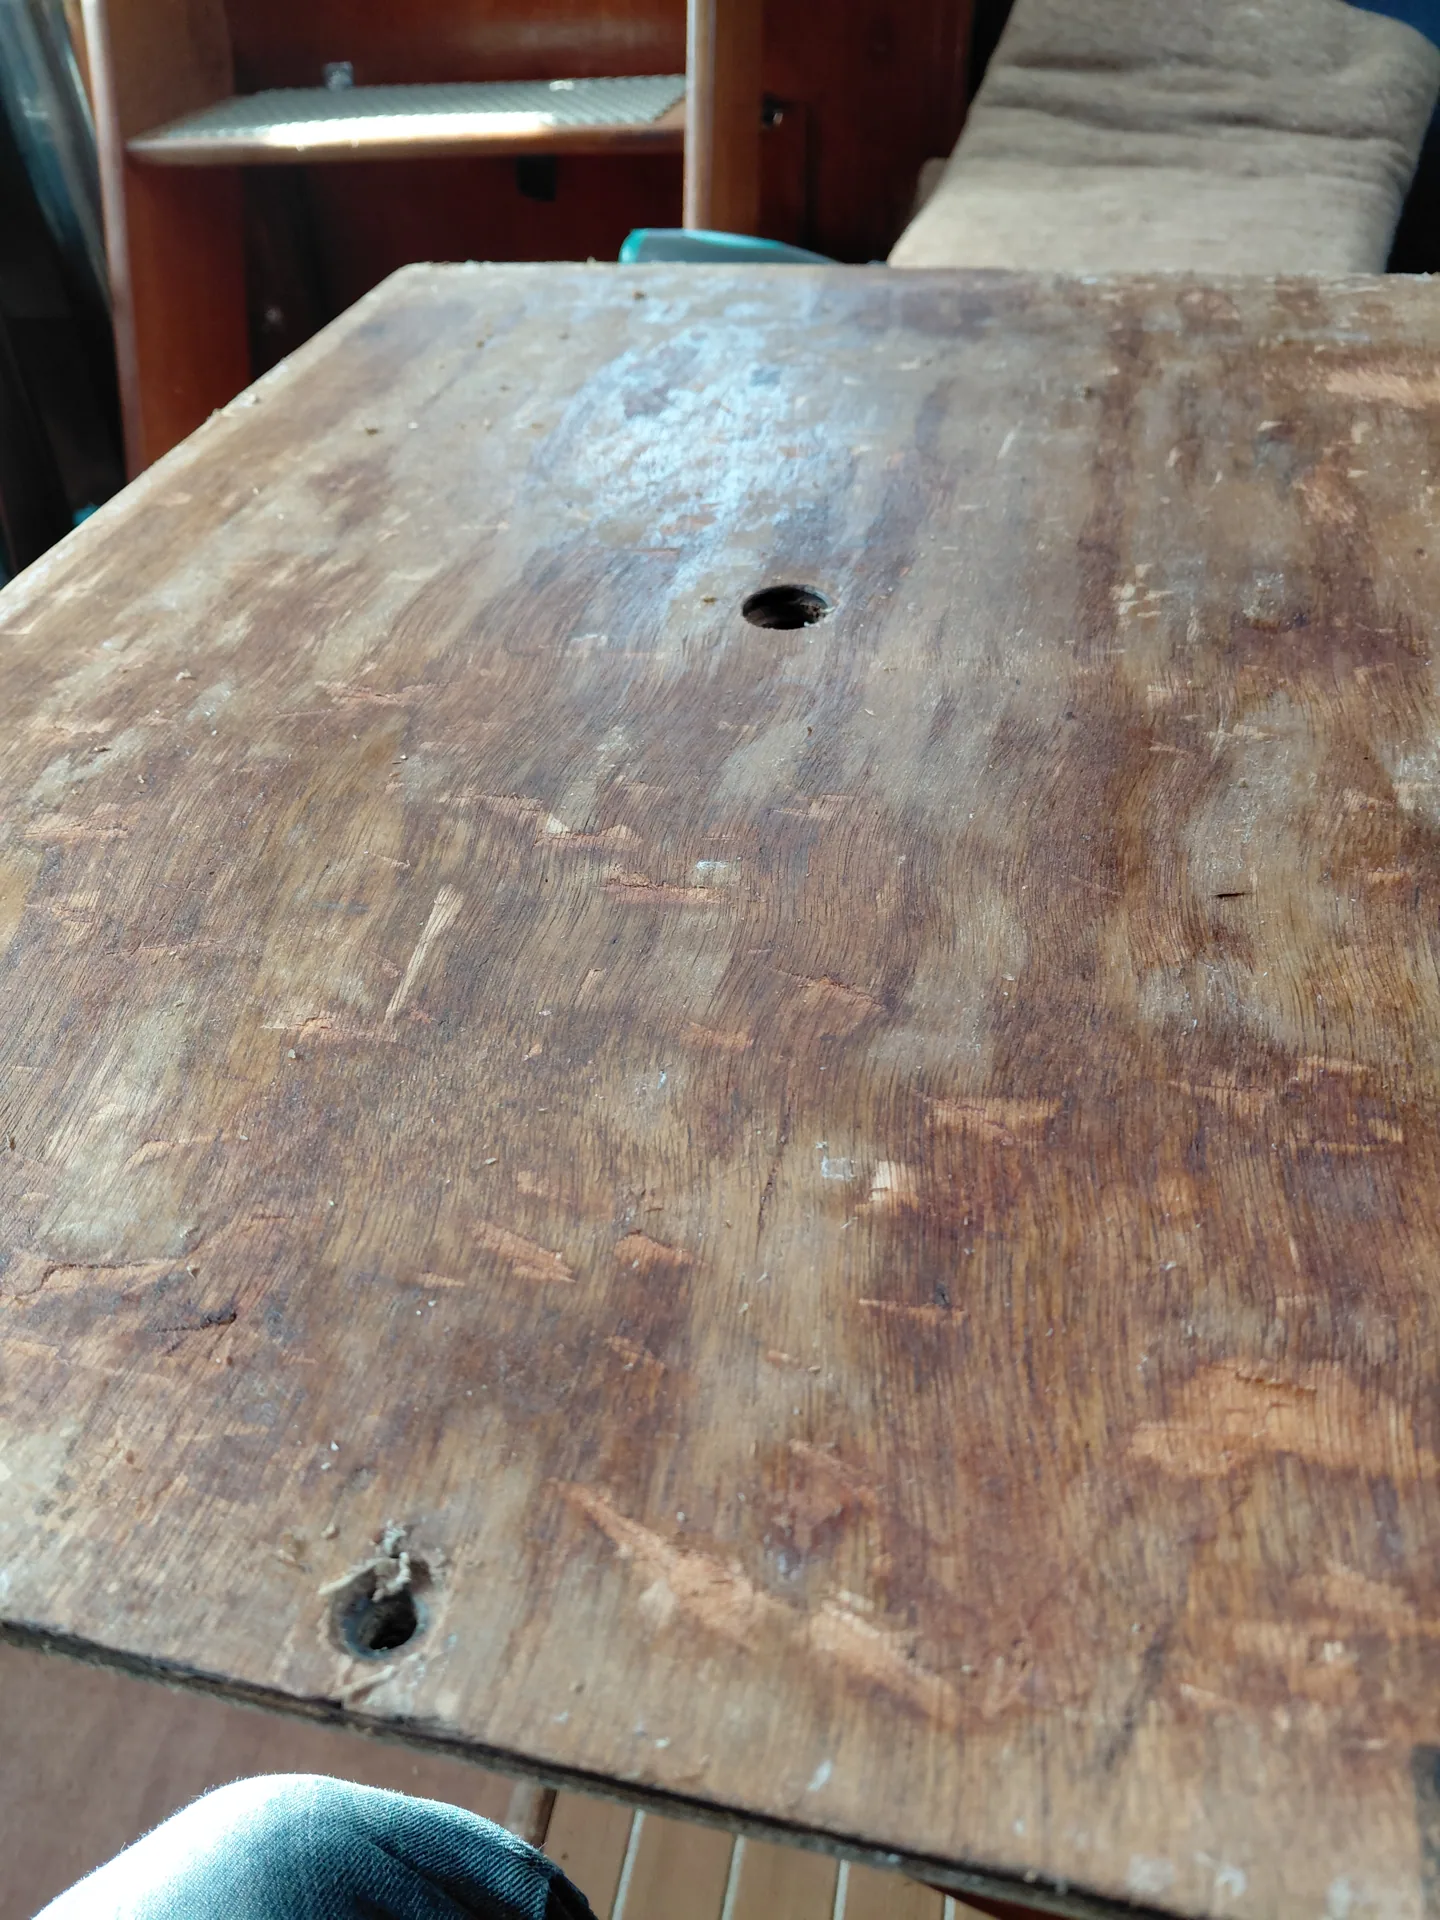
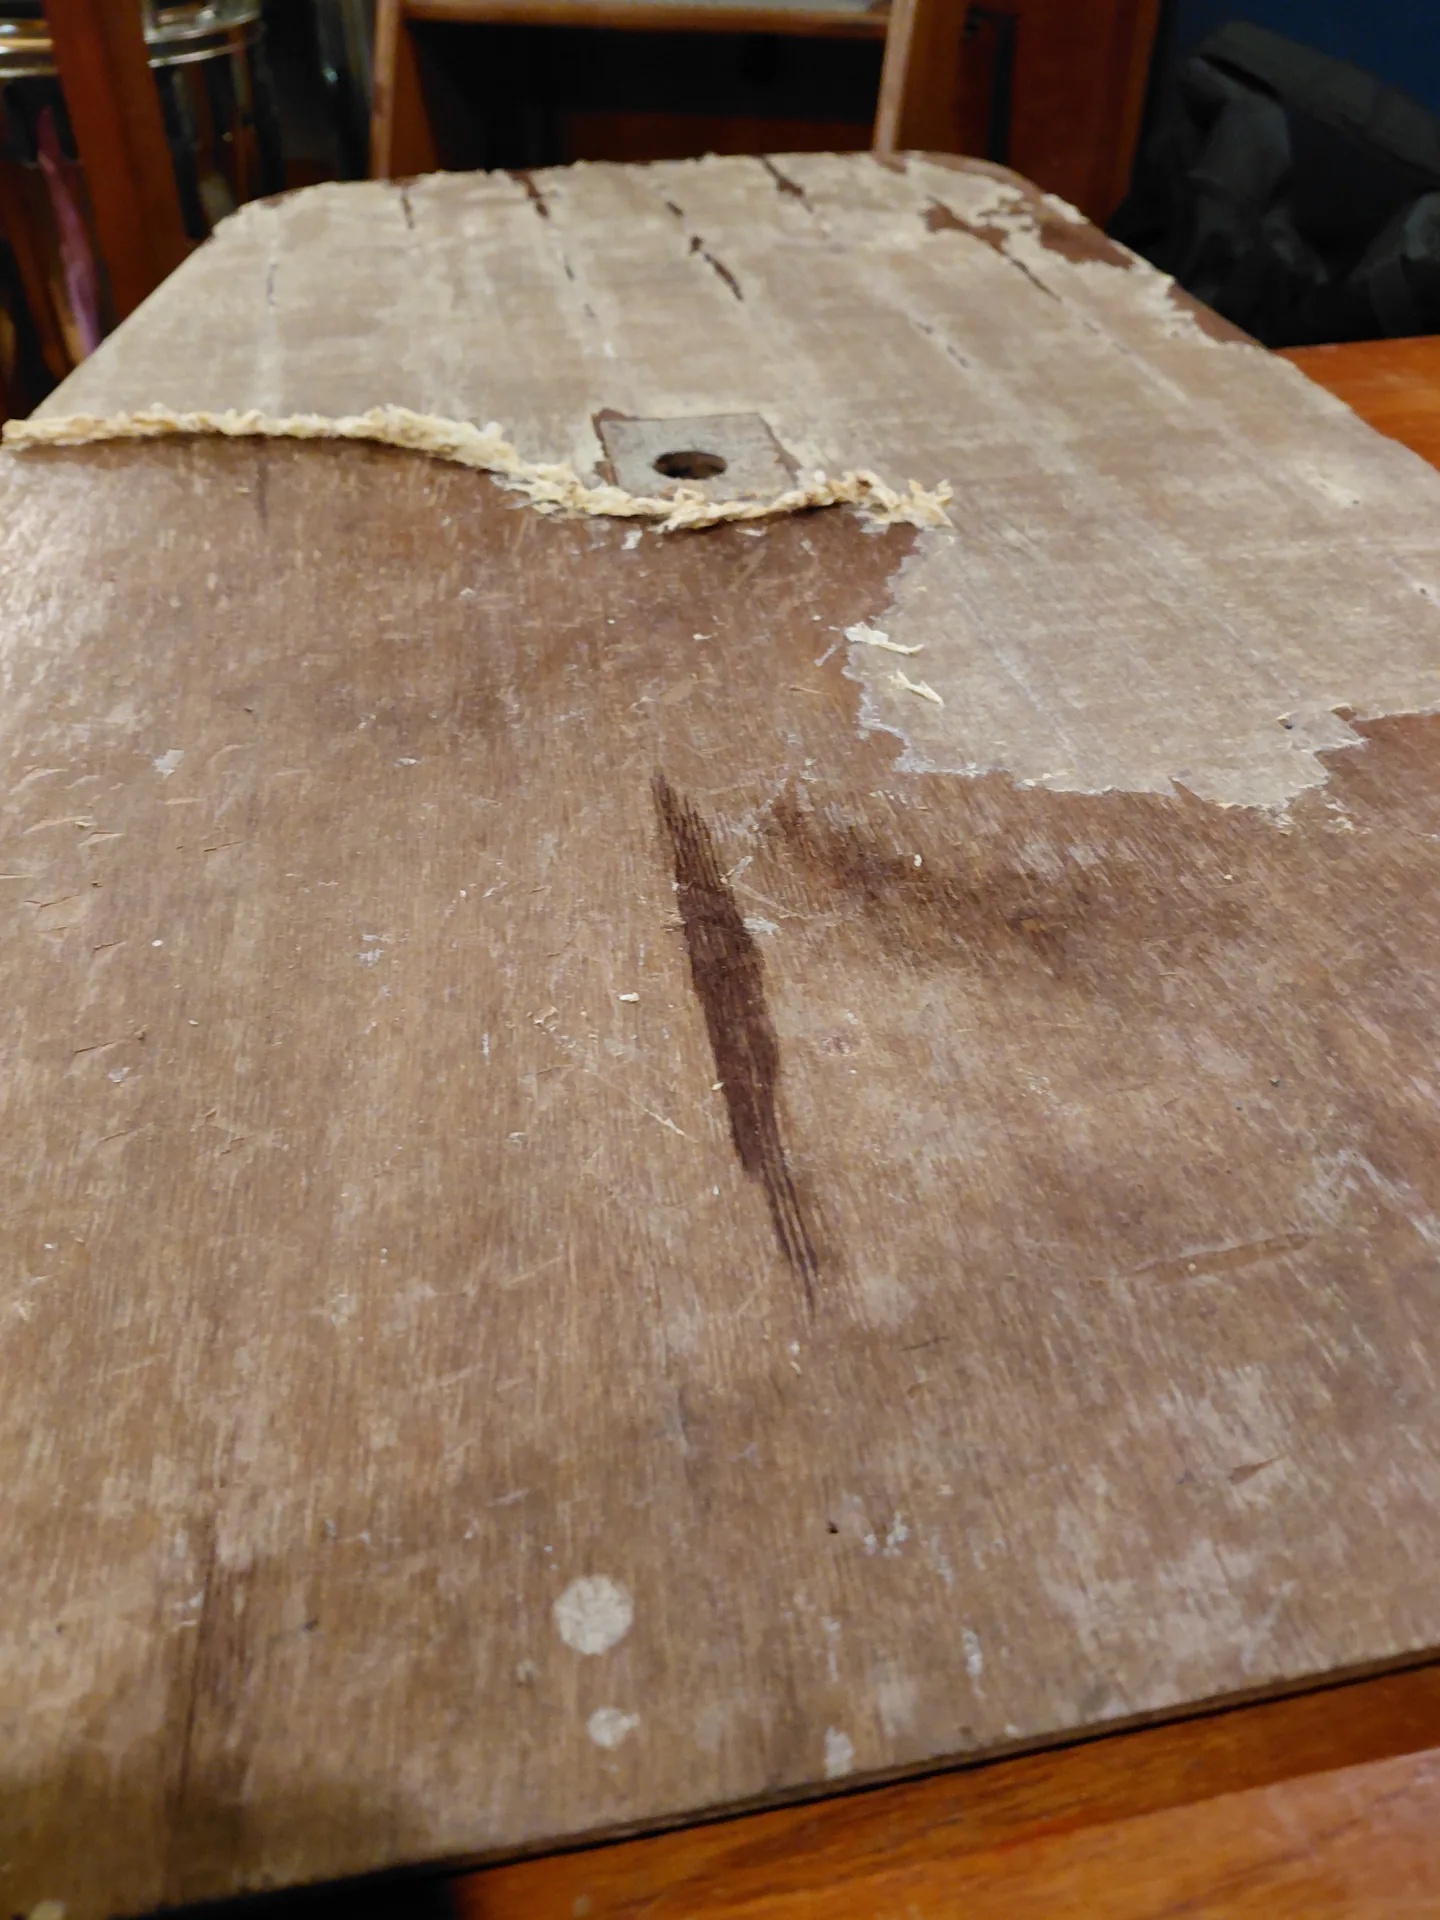
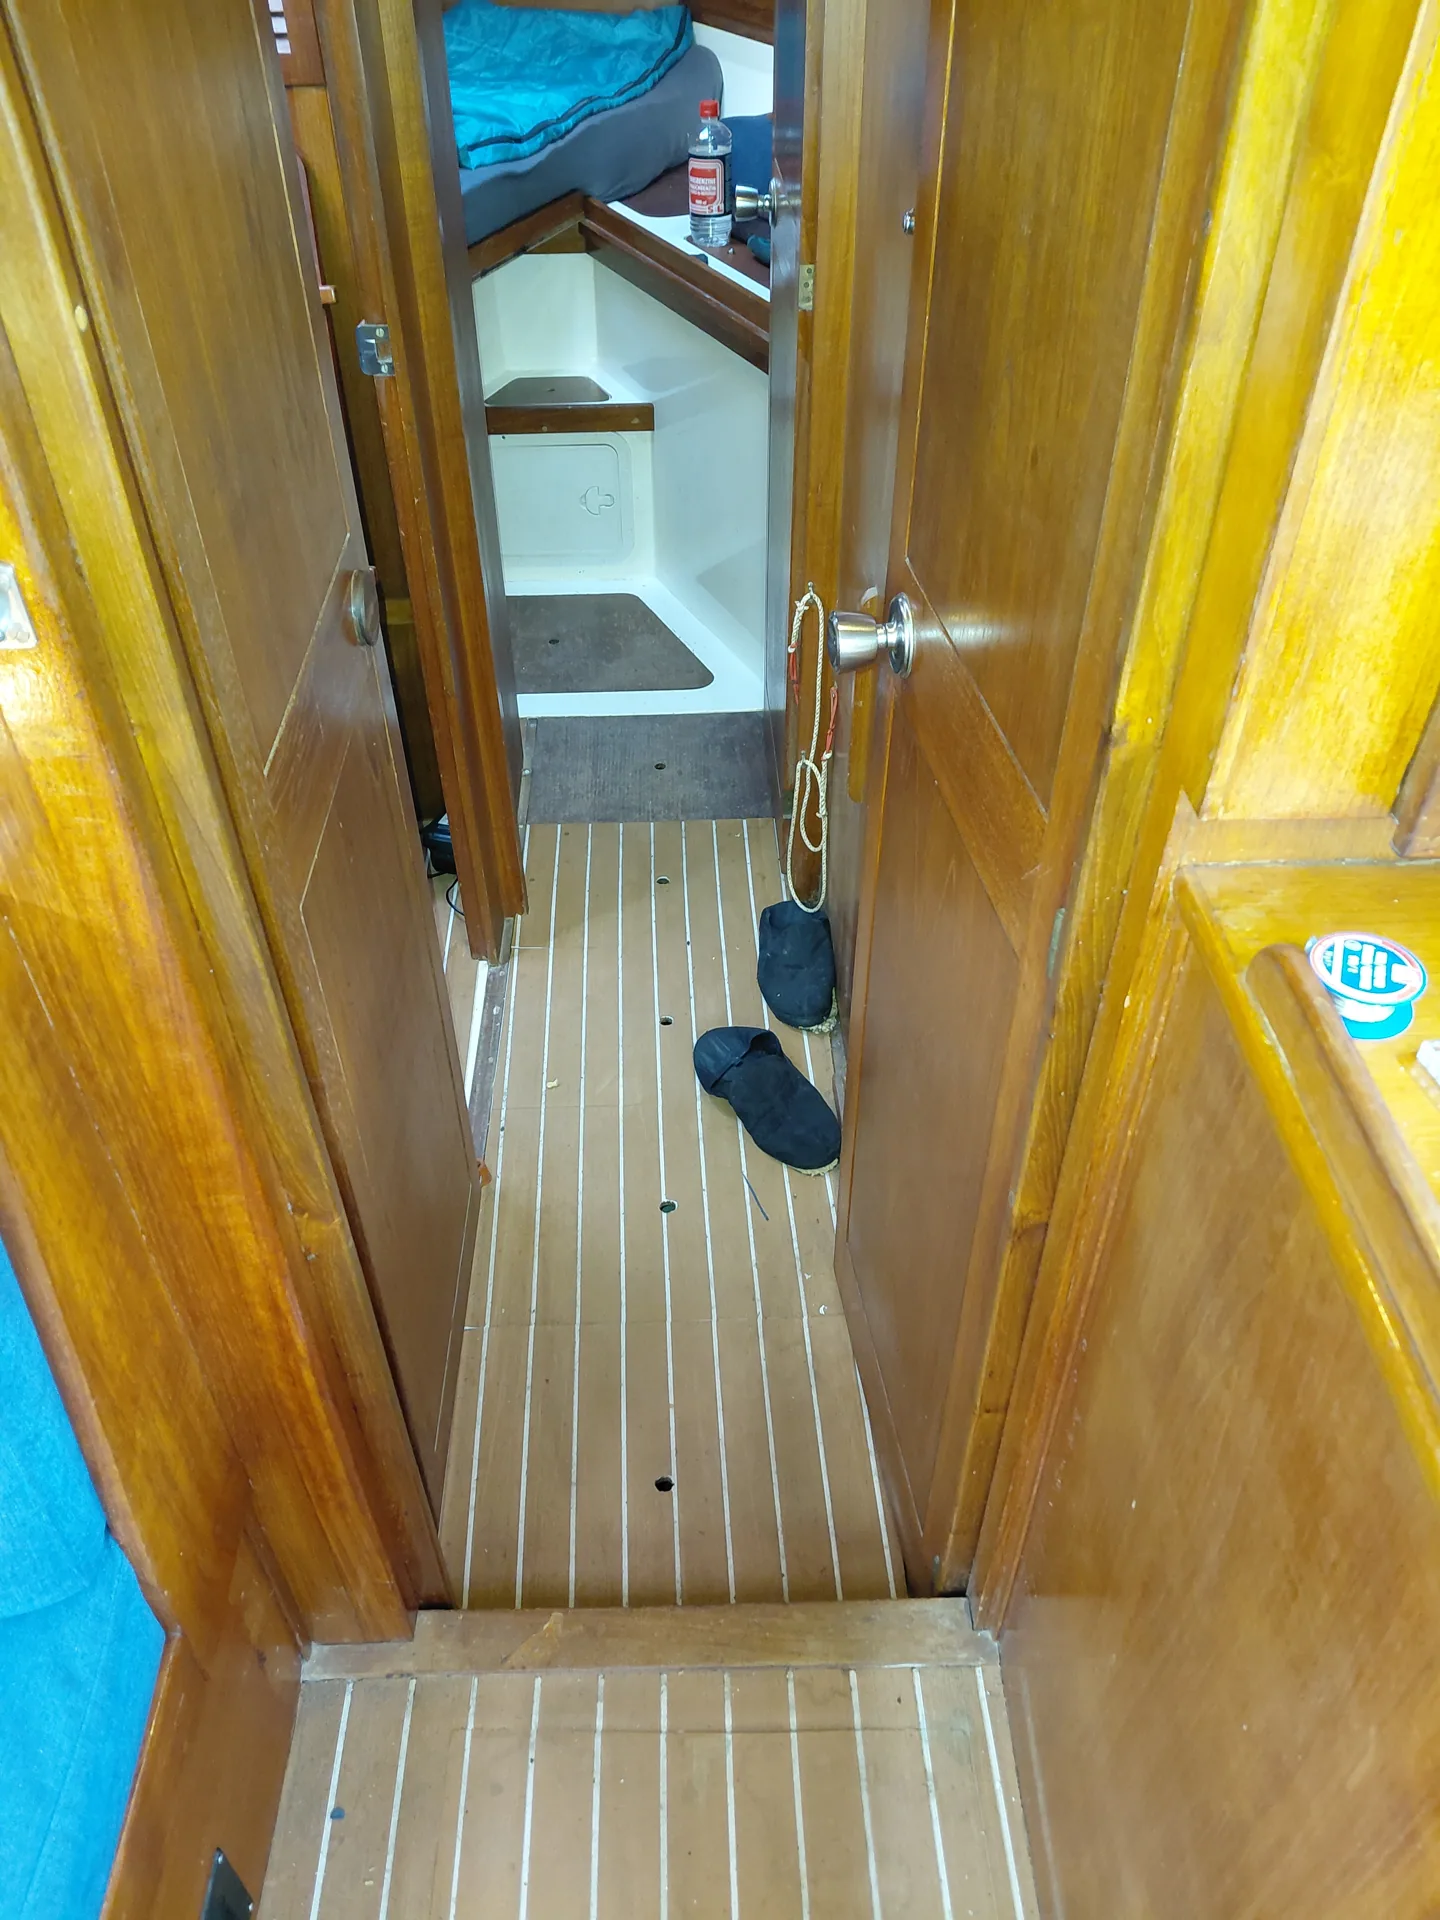
The floor of my Moody 42 needed replacing. It had been covered with EVA foam, a kind of imitation teak made from foam rubber. It looks nice in a picture, but in practice I found it a nightmare. It was difficult to clean, and whenever I used water, I ended up walking around in wet socks for three days because it simply would not dry.

After much deliberation and searching, I came across a batch of plantation-grown teak at a reasonable price. The boards were 7 millimetres thick and came in various lengths. Exactly what I was looking for.

I wanted a warm, durable floor that would do justice to the rest of the interior.

So this would be a bespoke job.

Understand first, then build

No sooner said than done. Leo and I drove out to collect the boards I had reserved.

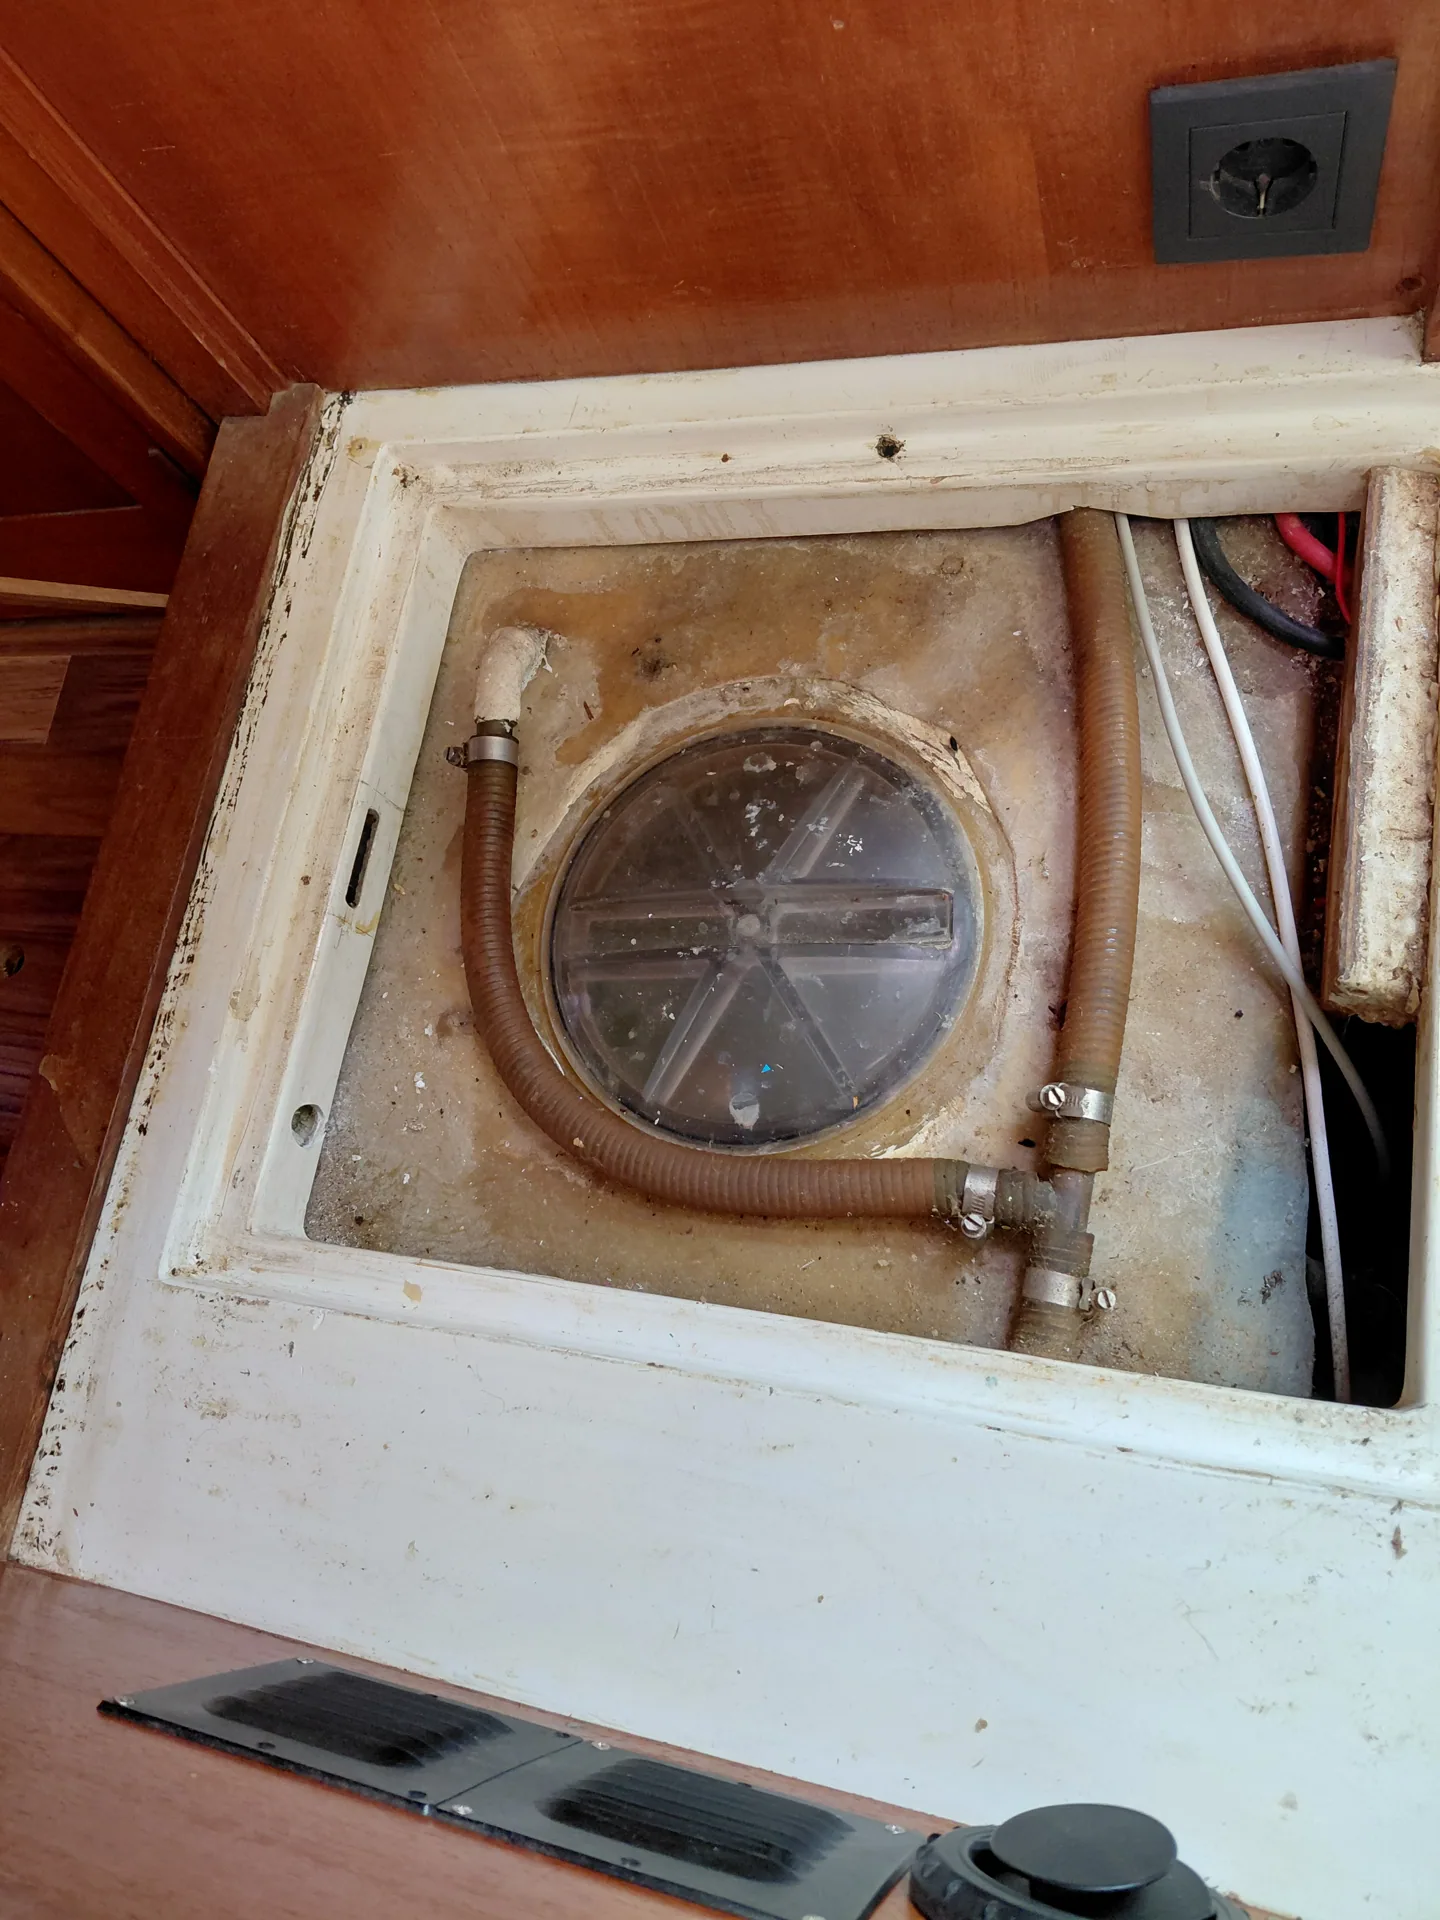
On a boat, almost nothing is straight, square or standard. And beneath the floor are pipes, cables and equipment that need to remain accessible. A beautiful floor that you have to tear apart to reach something is not a good floor.

So the work began with looking, measuring and understanding, before any teak was cut.

Laying out the boards, moving them around and looking again. How could I make the grain flow as naturally as possible across the different floor hatches? I wanted a calm, coherent whole rather than a random collection of strips.
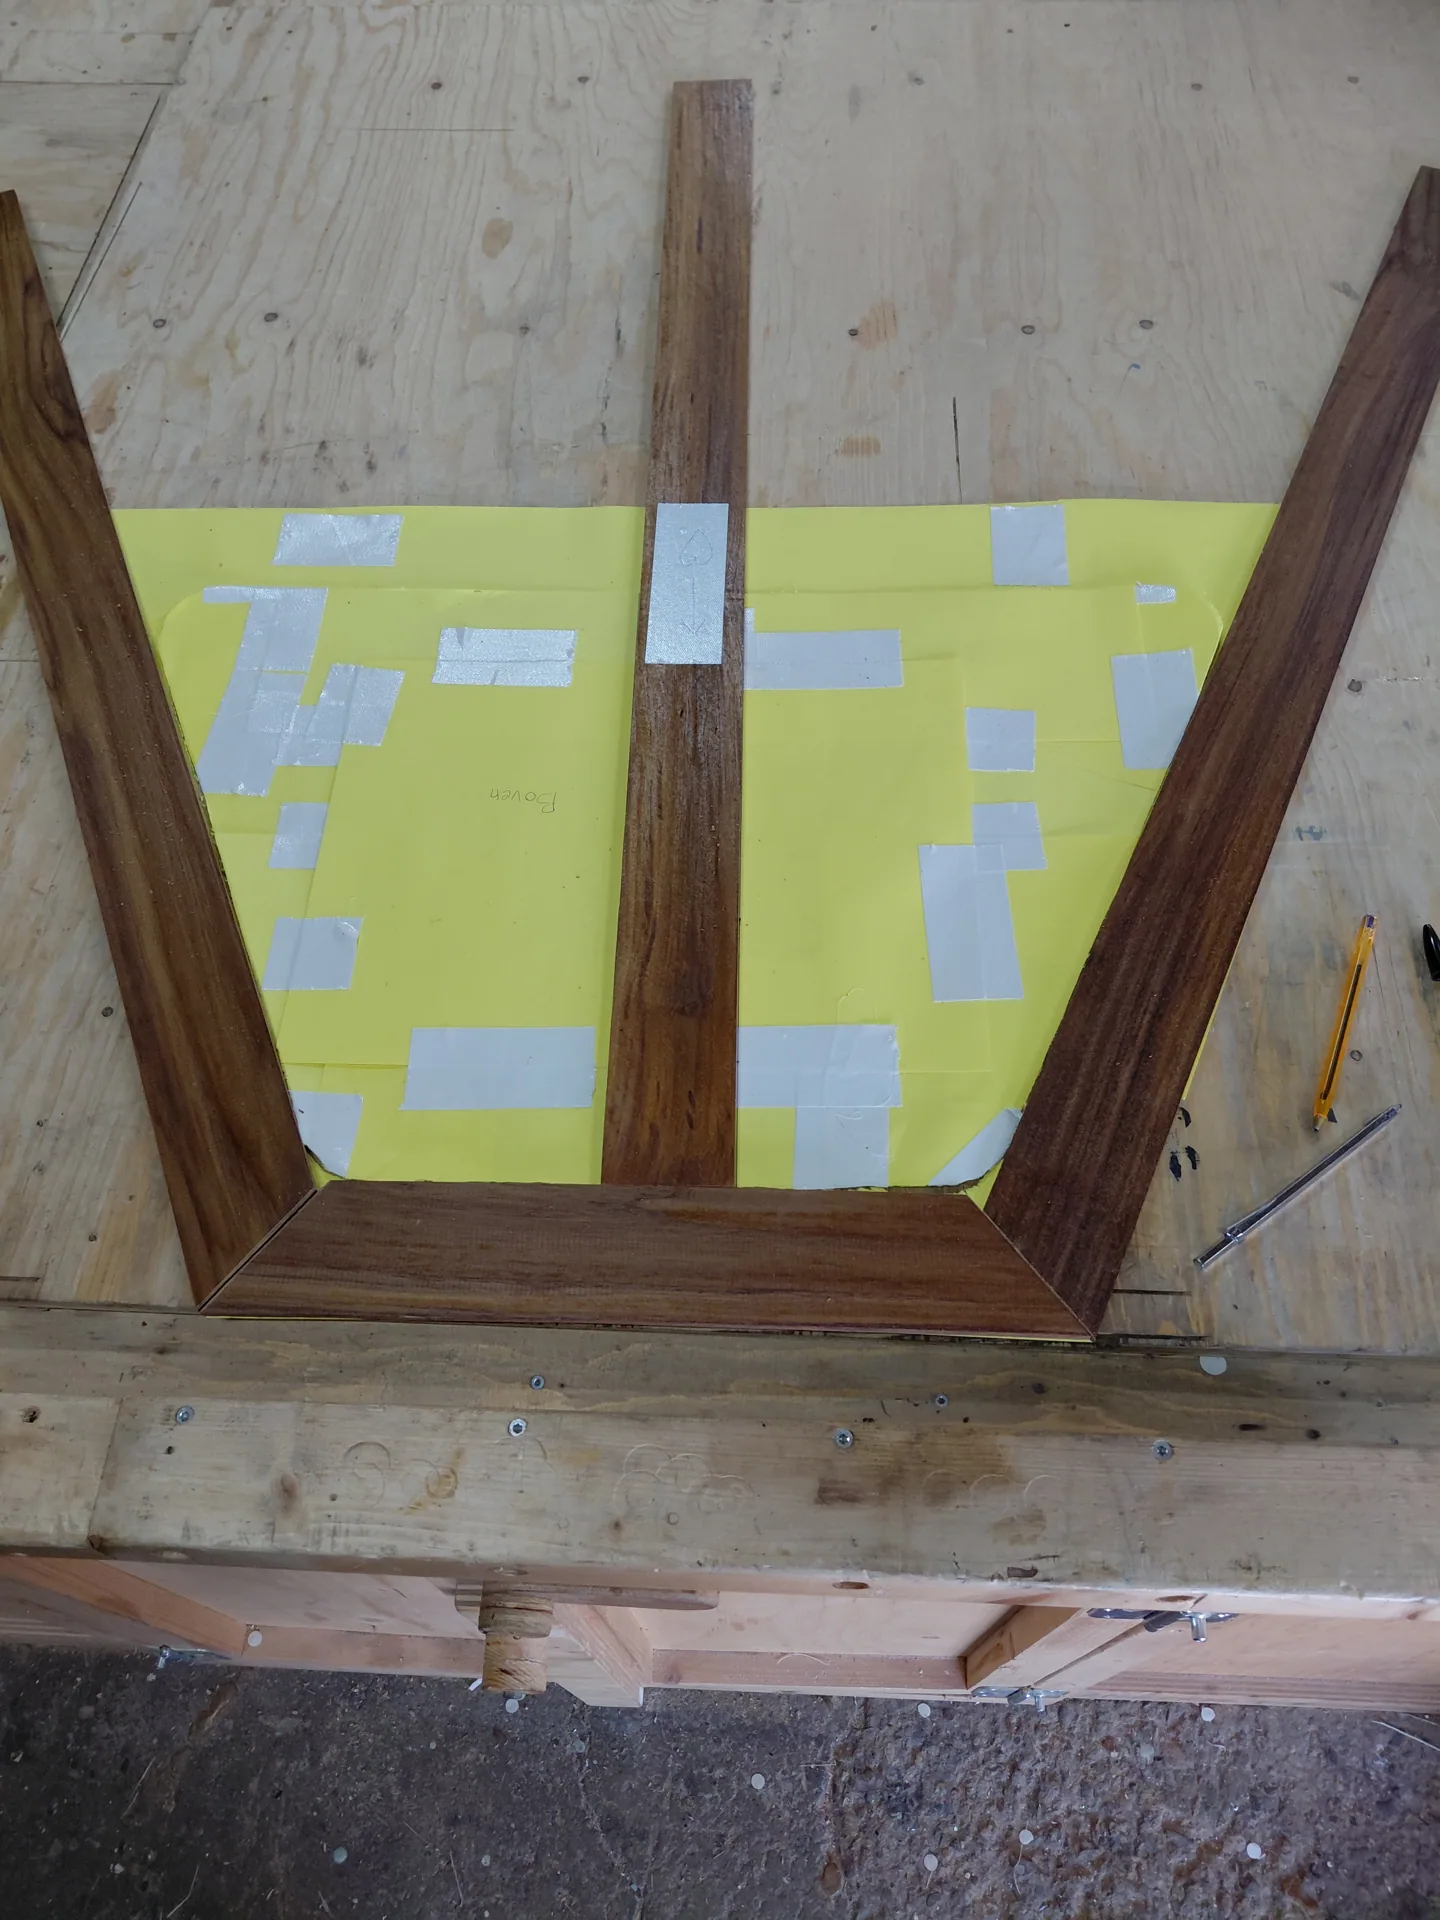
A wooden puzzle

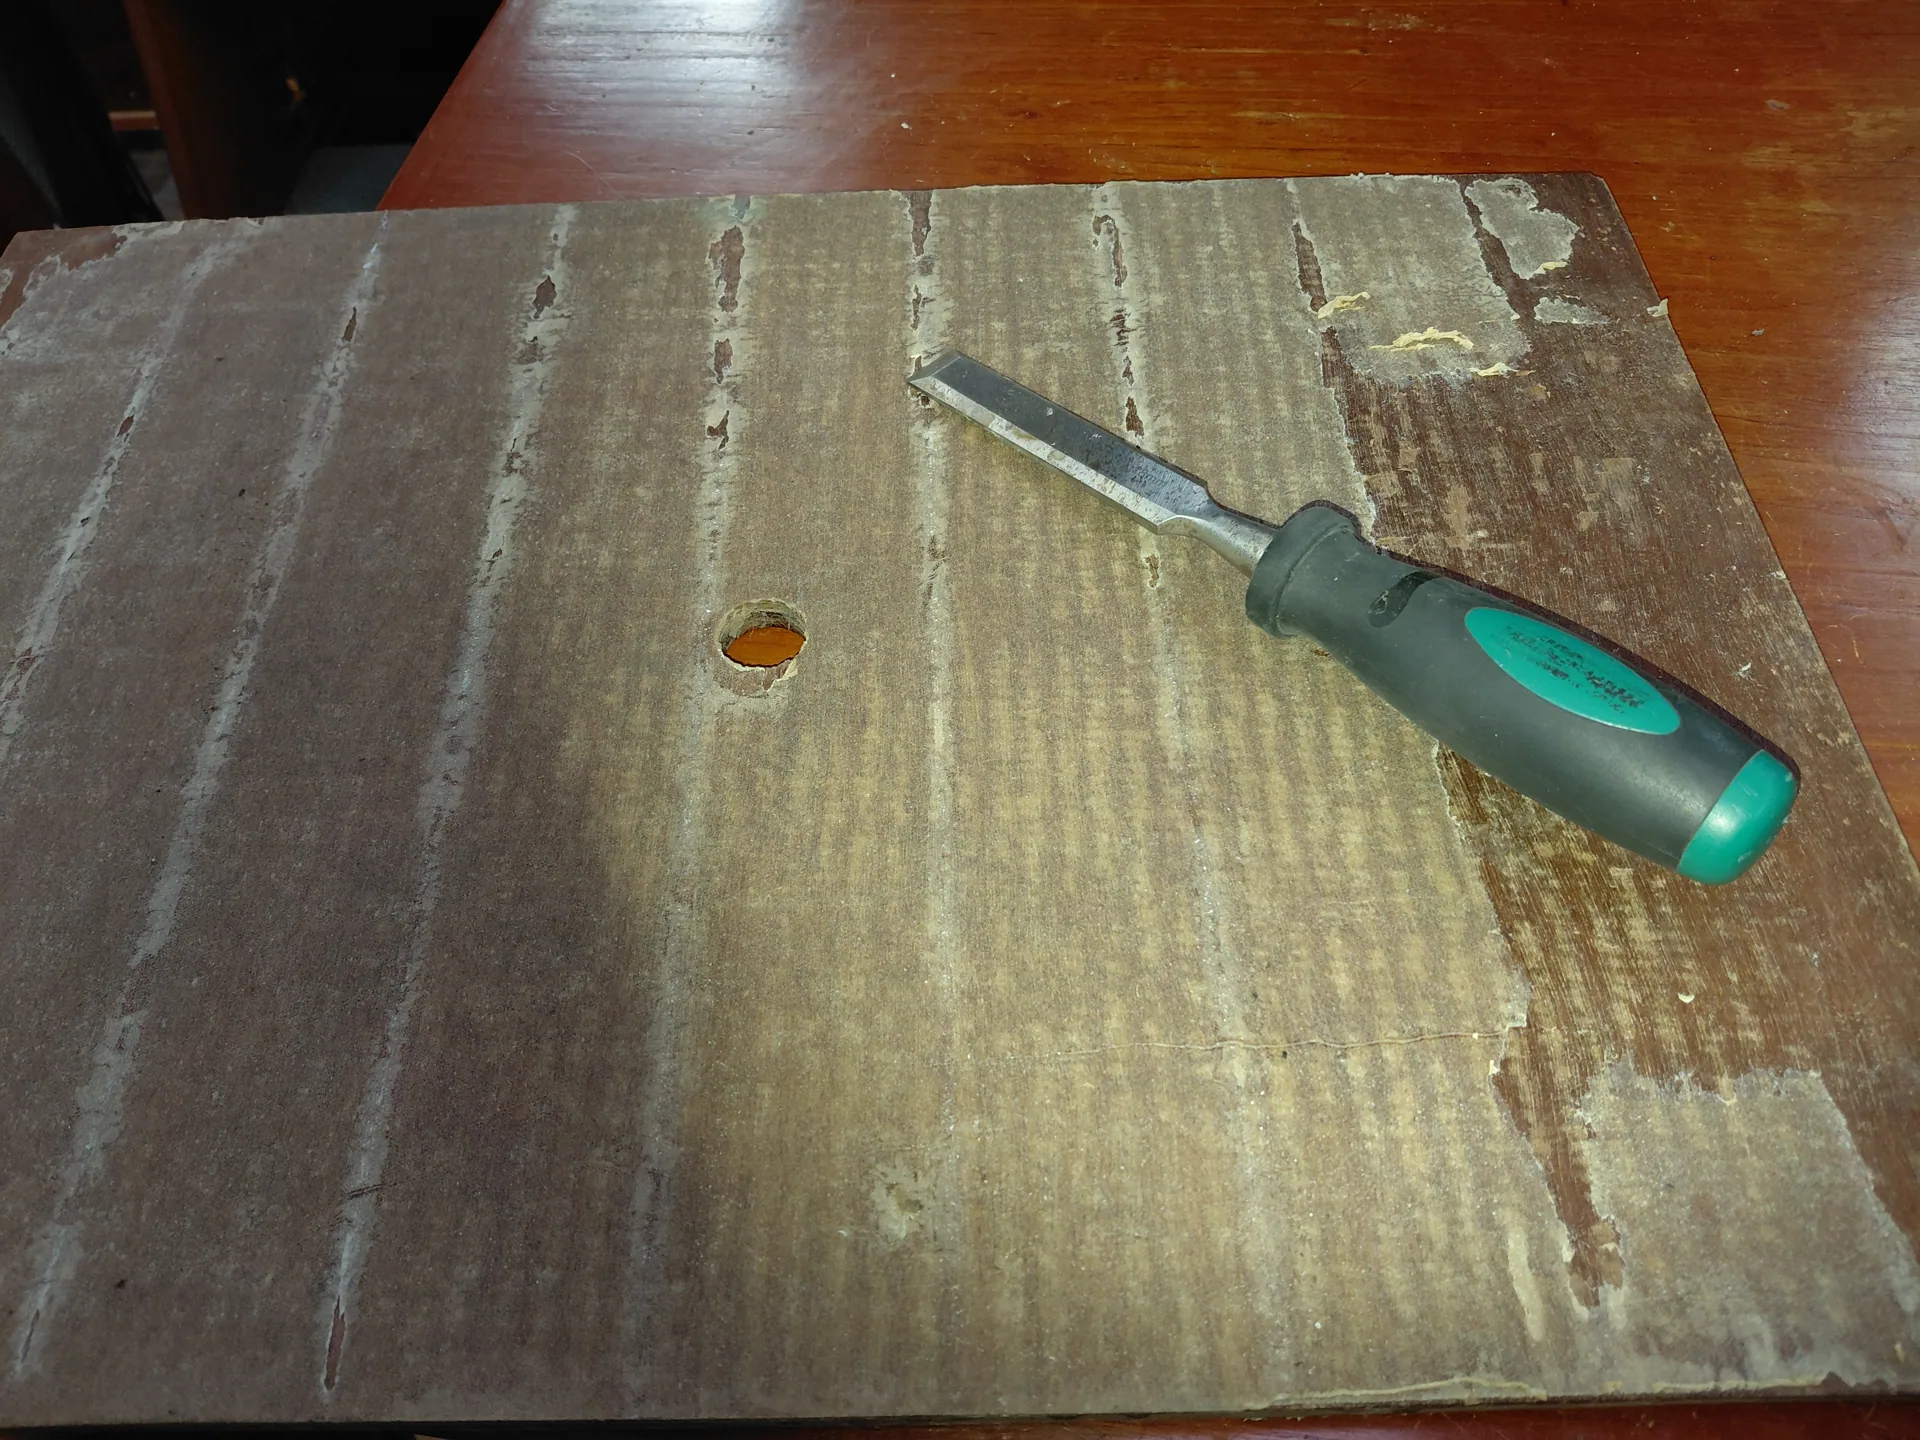
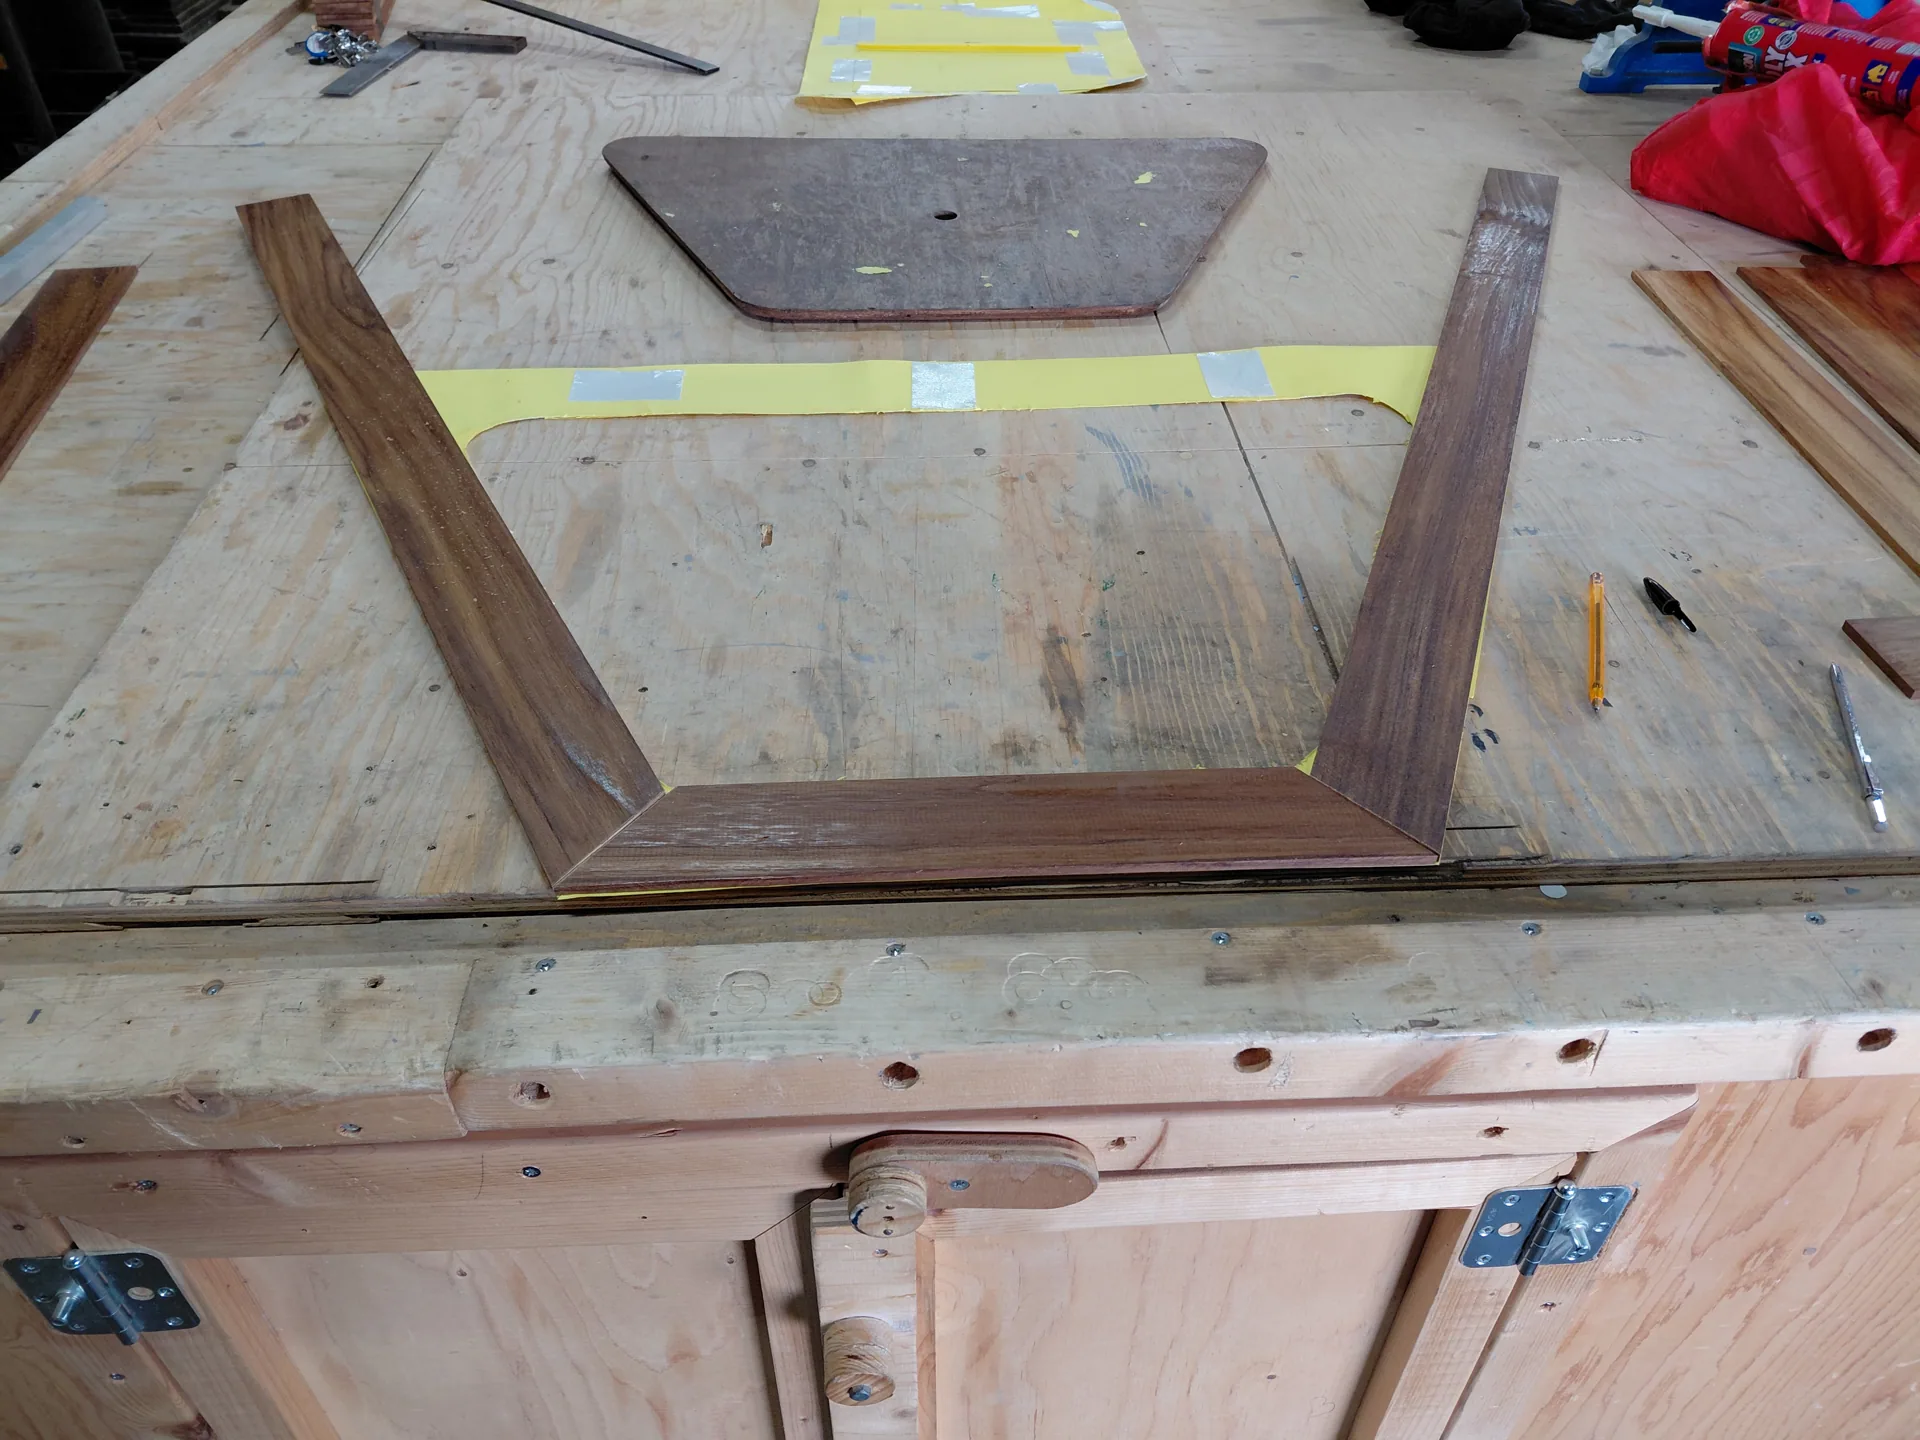
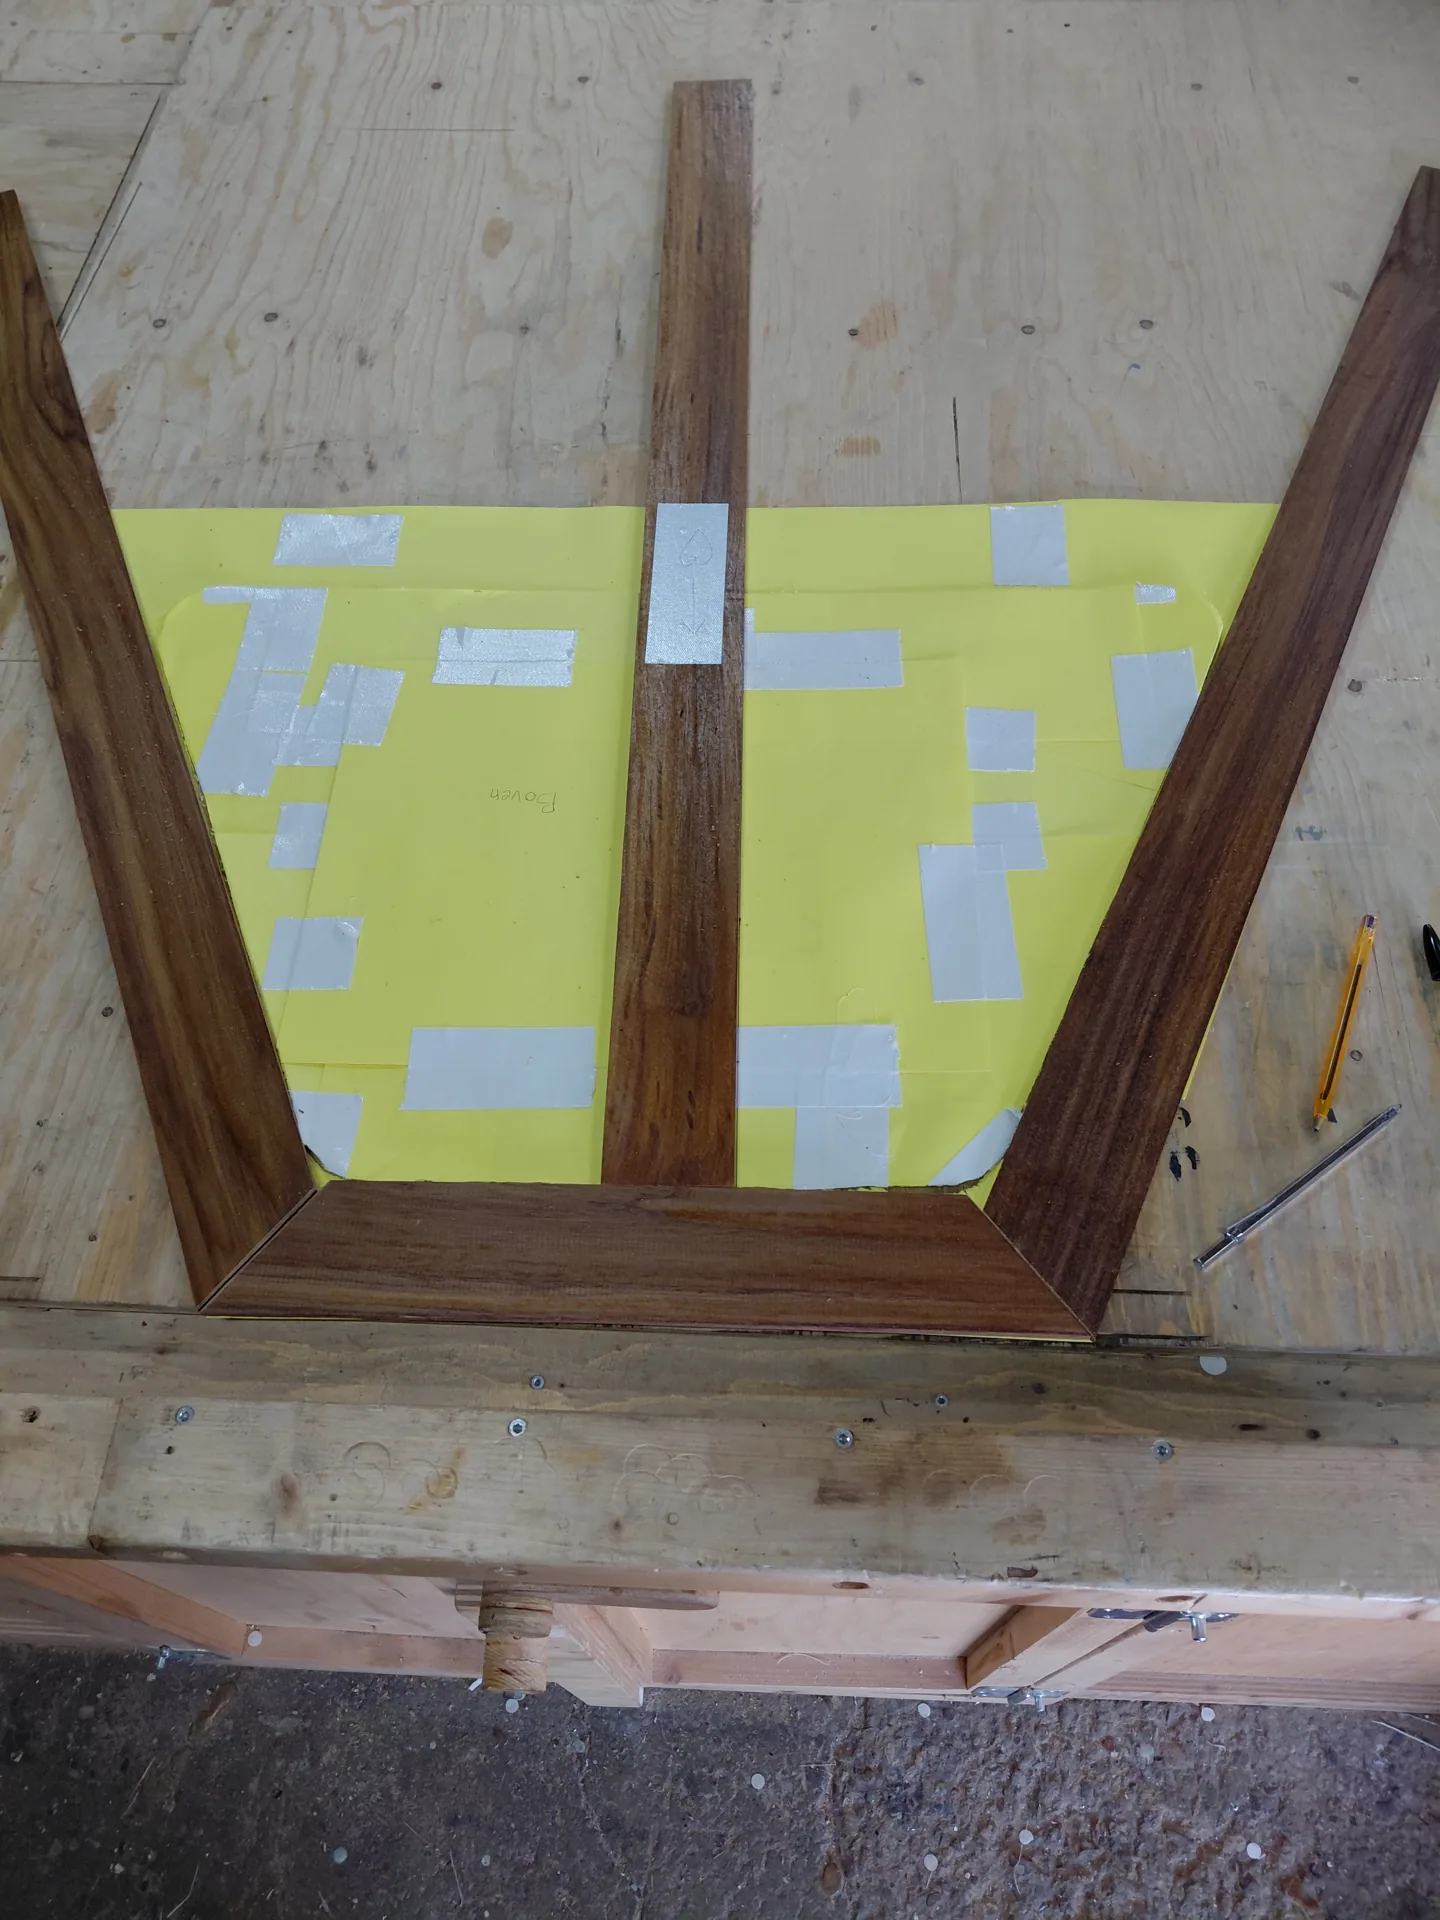
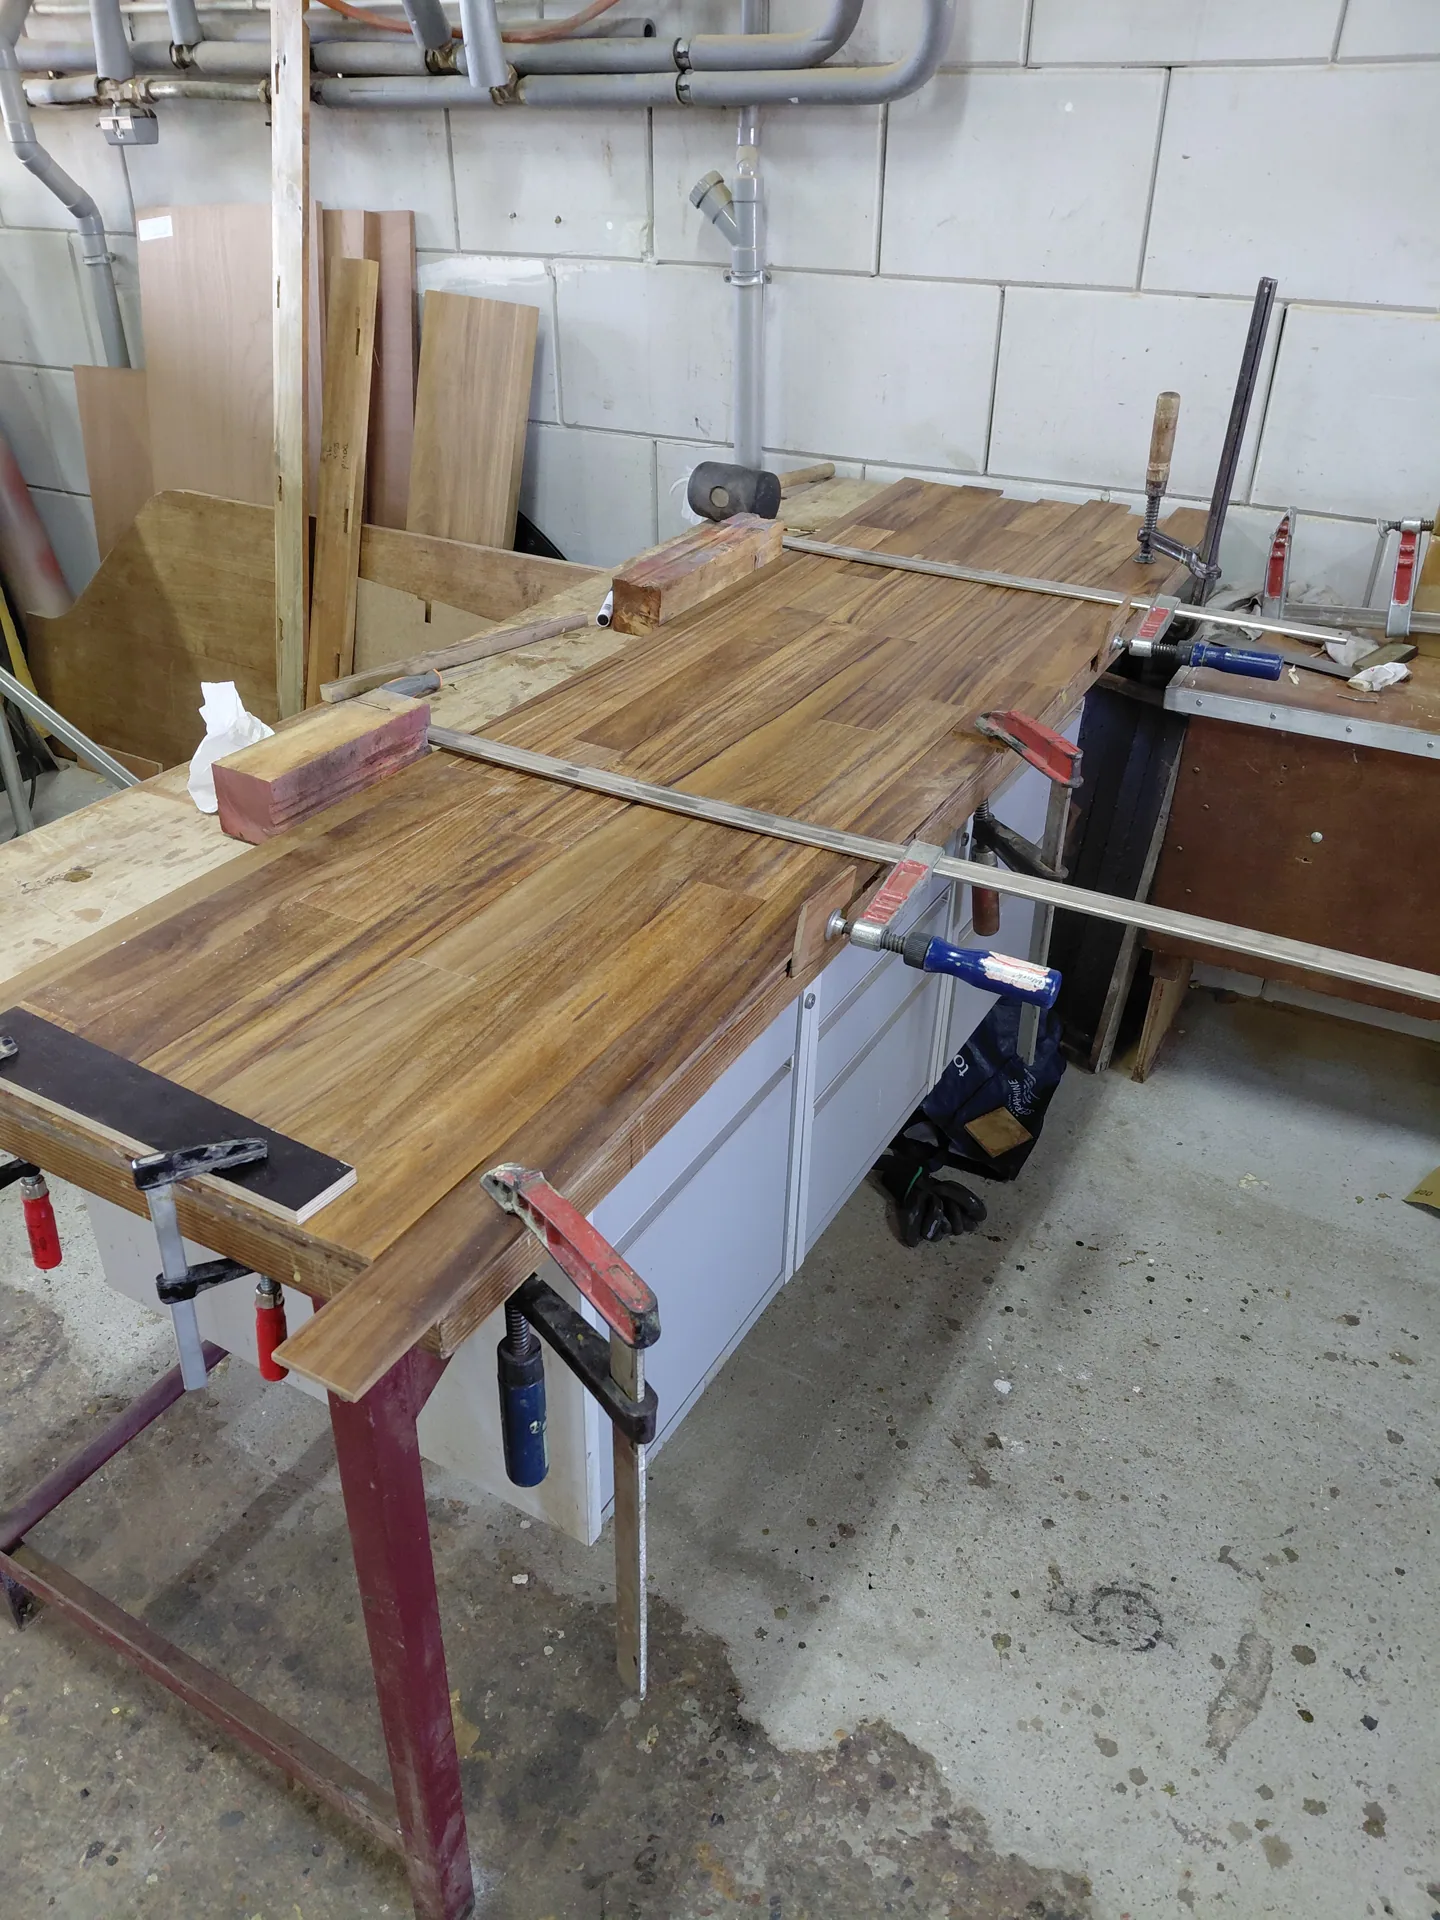
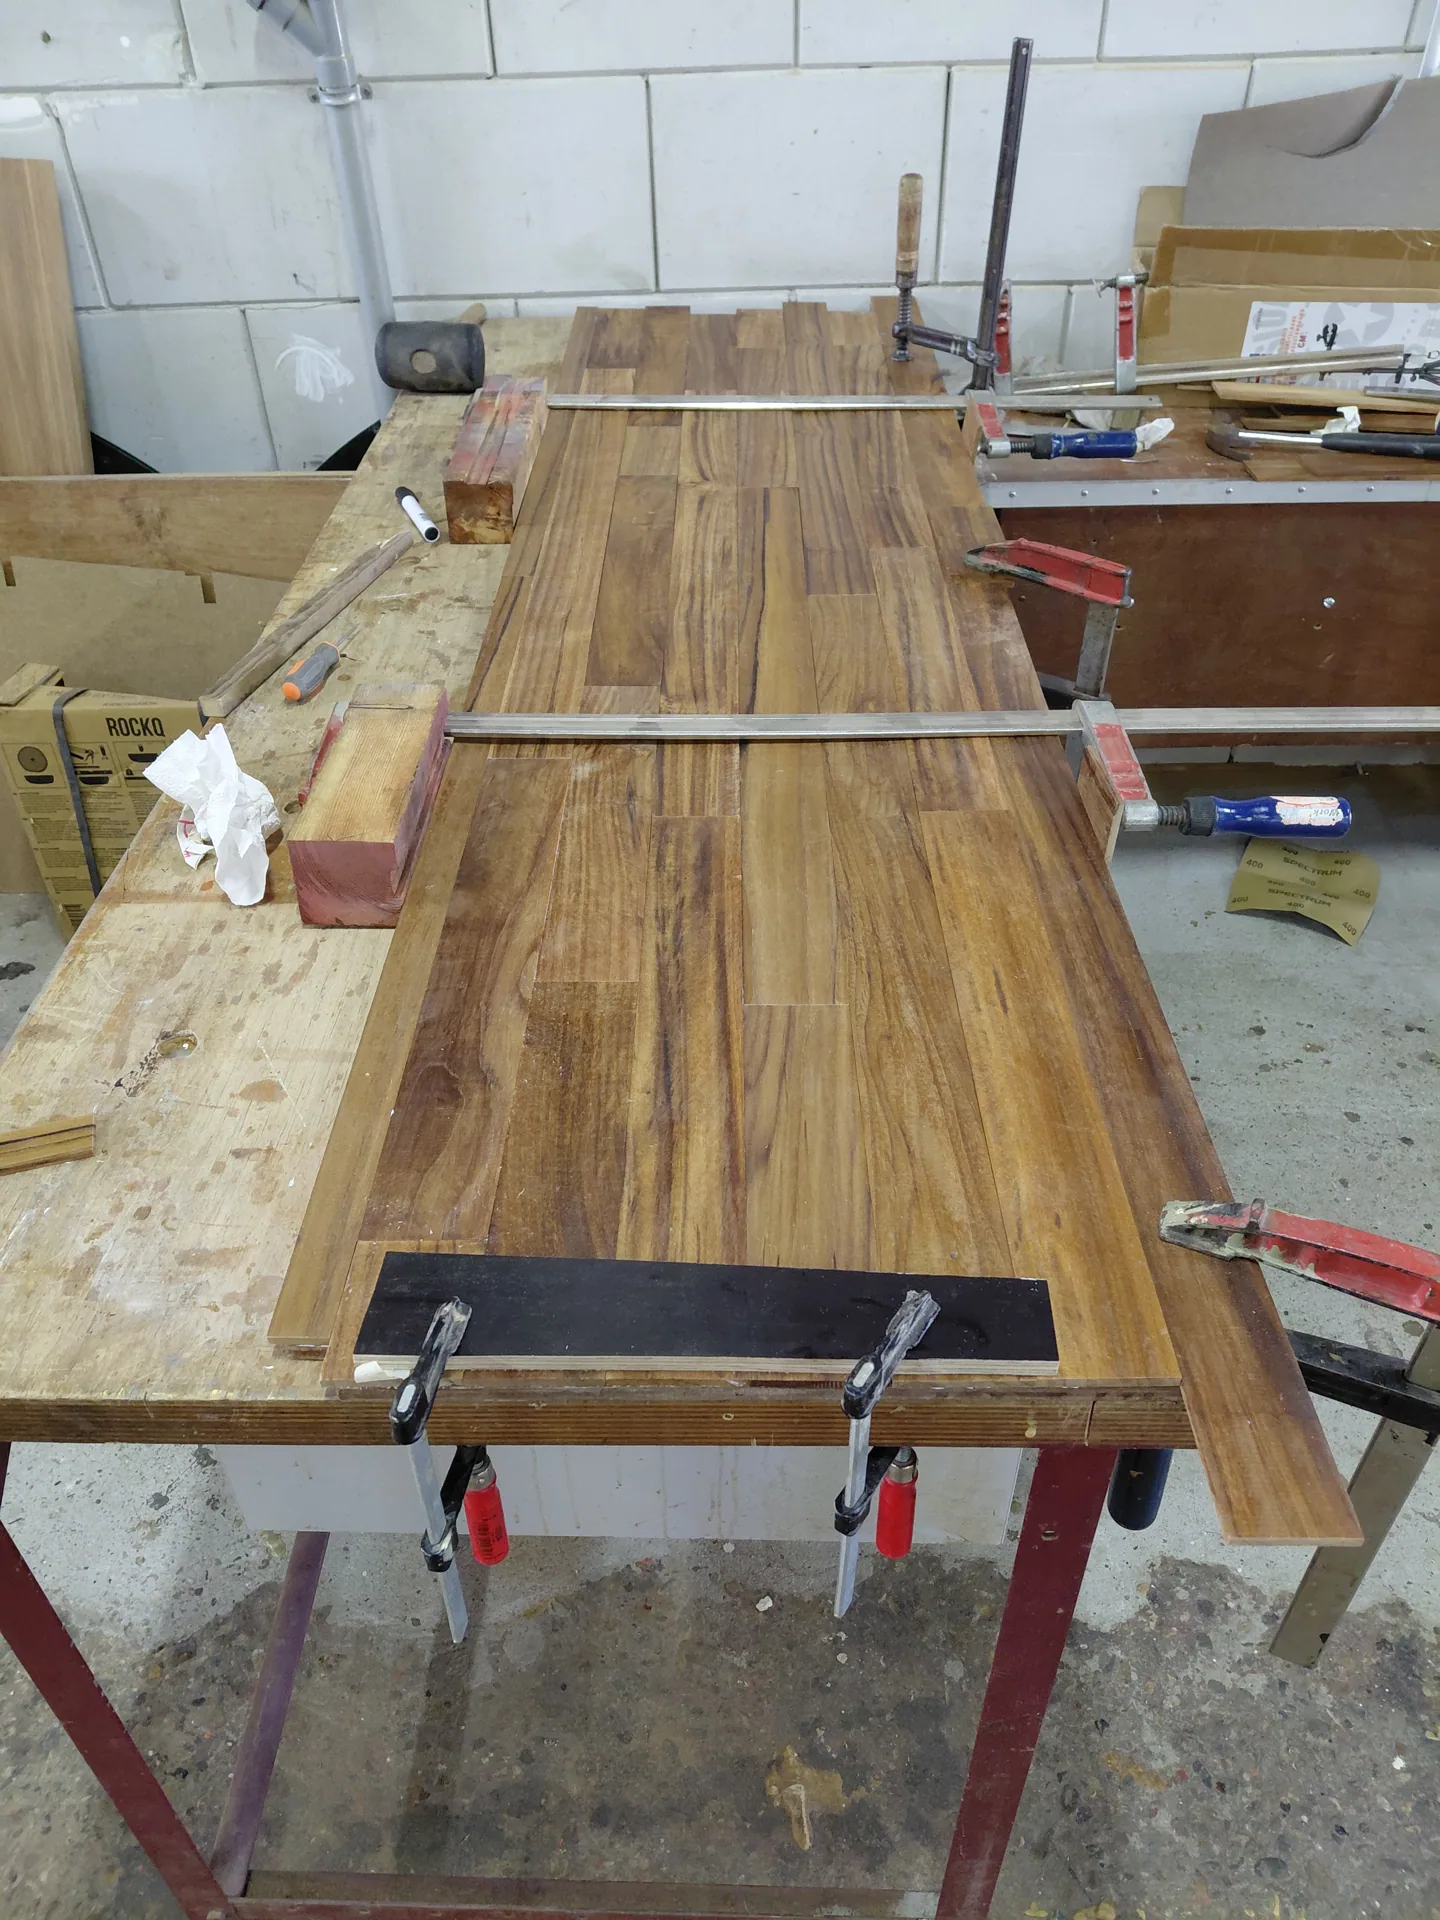
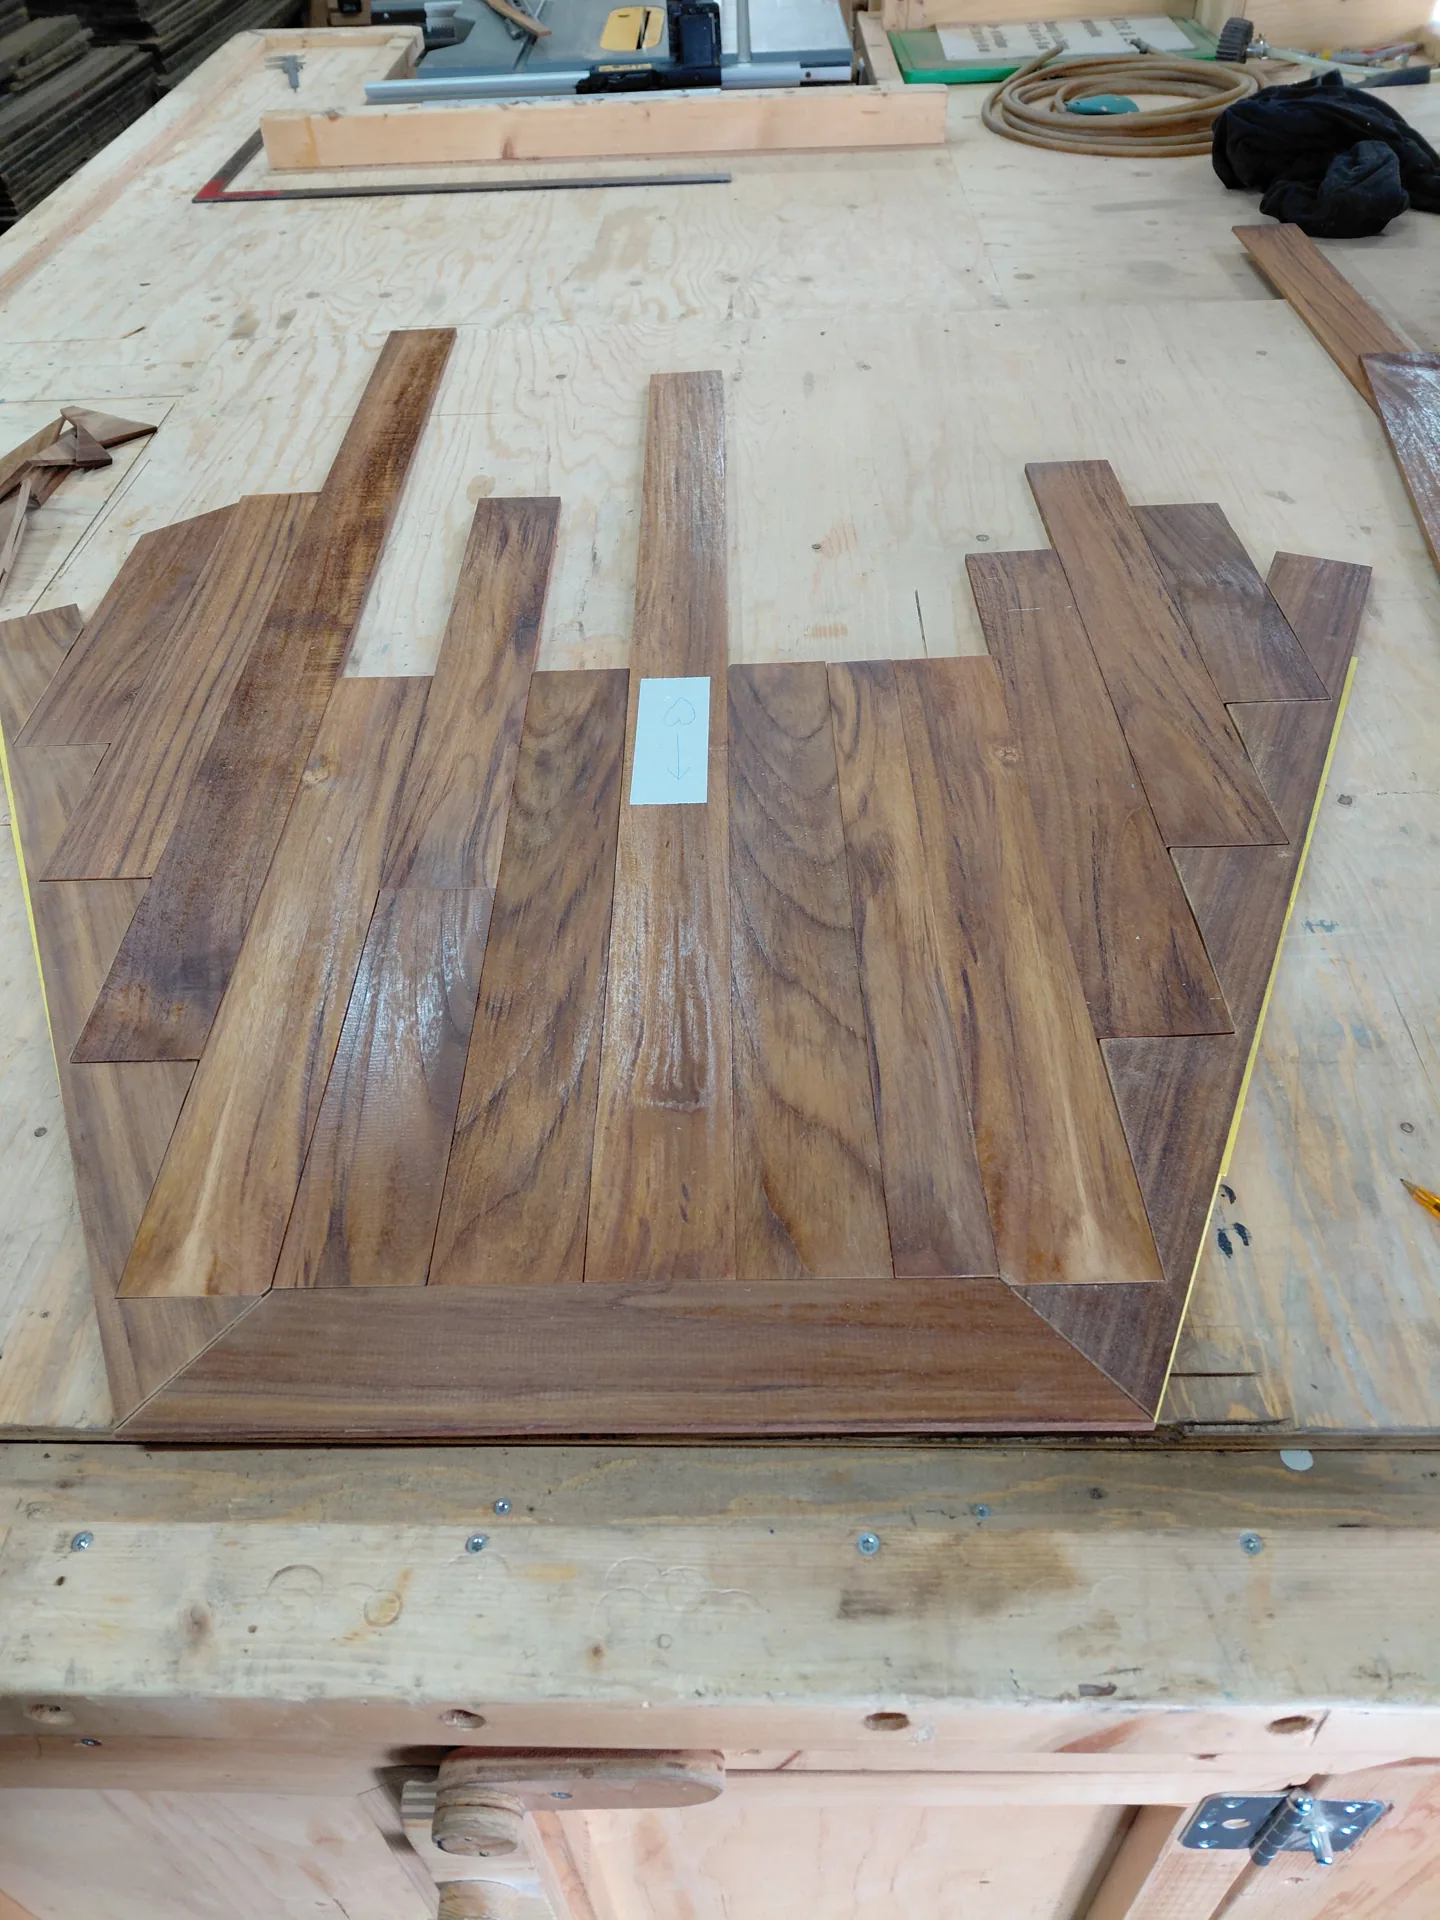
Template for the forecabin teak floor on the workbench

Teak is a beautiful material. Warm in colour, full of character in its grain and long prized in boatbuilding.

But it also meant fitting, measuring, rearranging and carefully balancing the grain patterns.

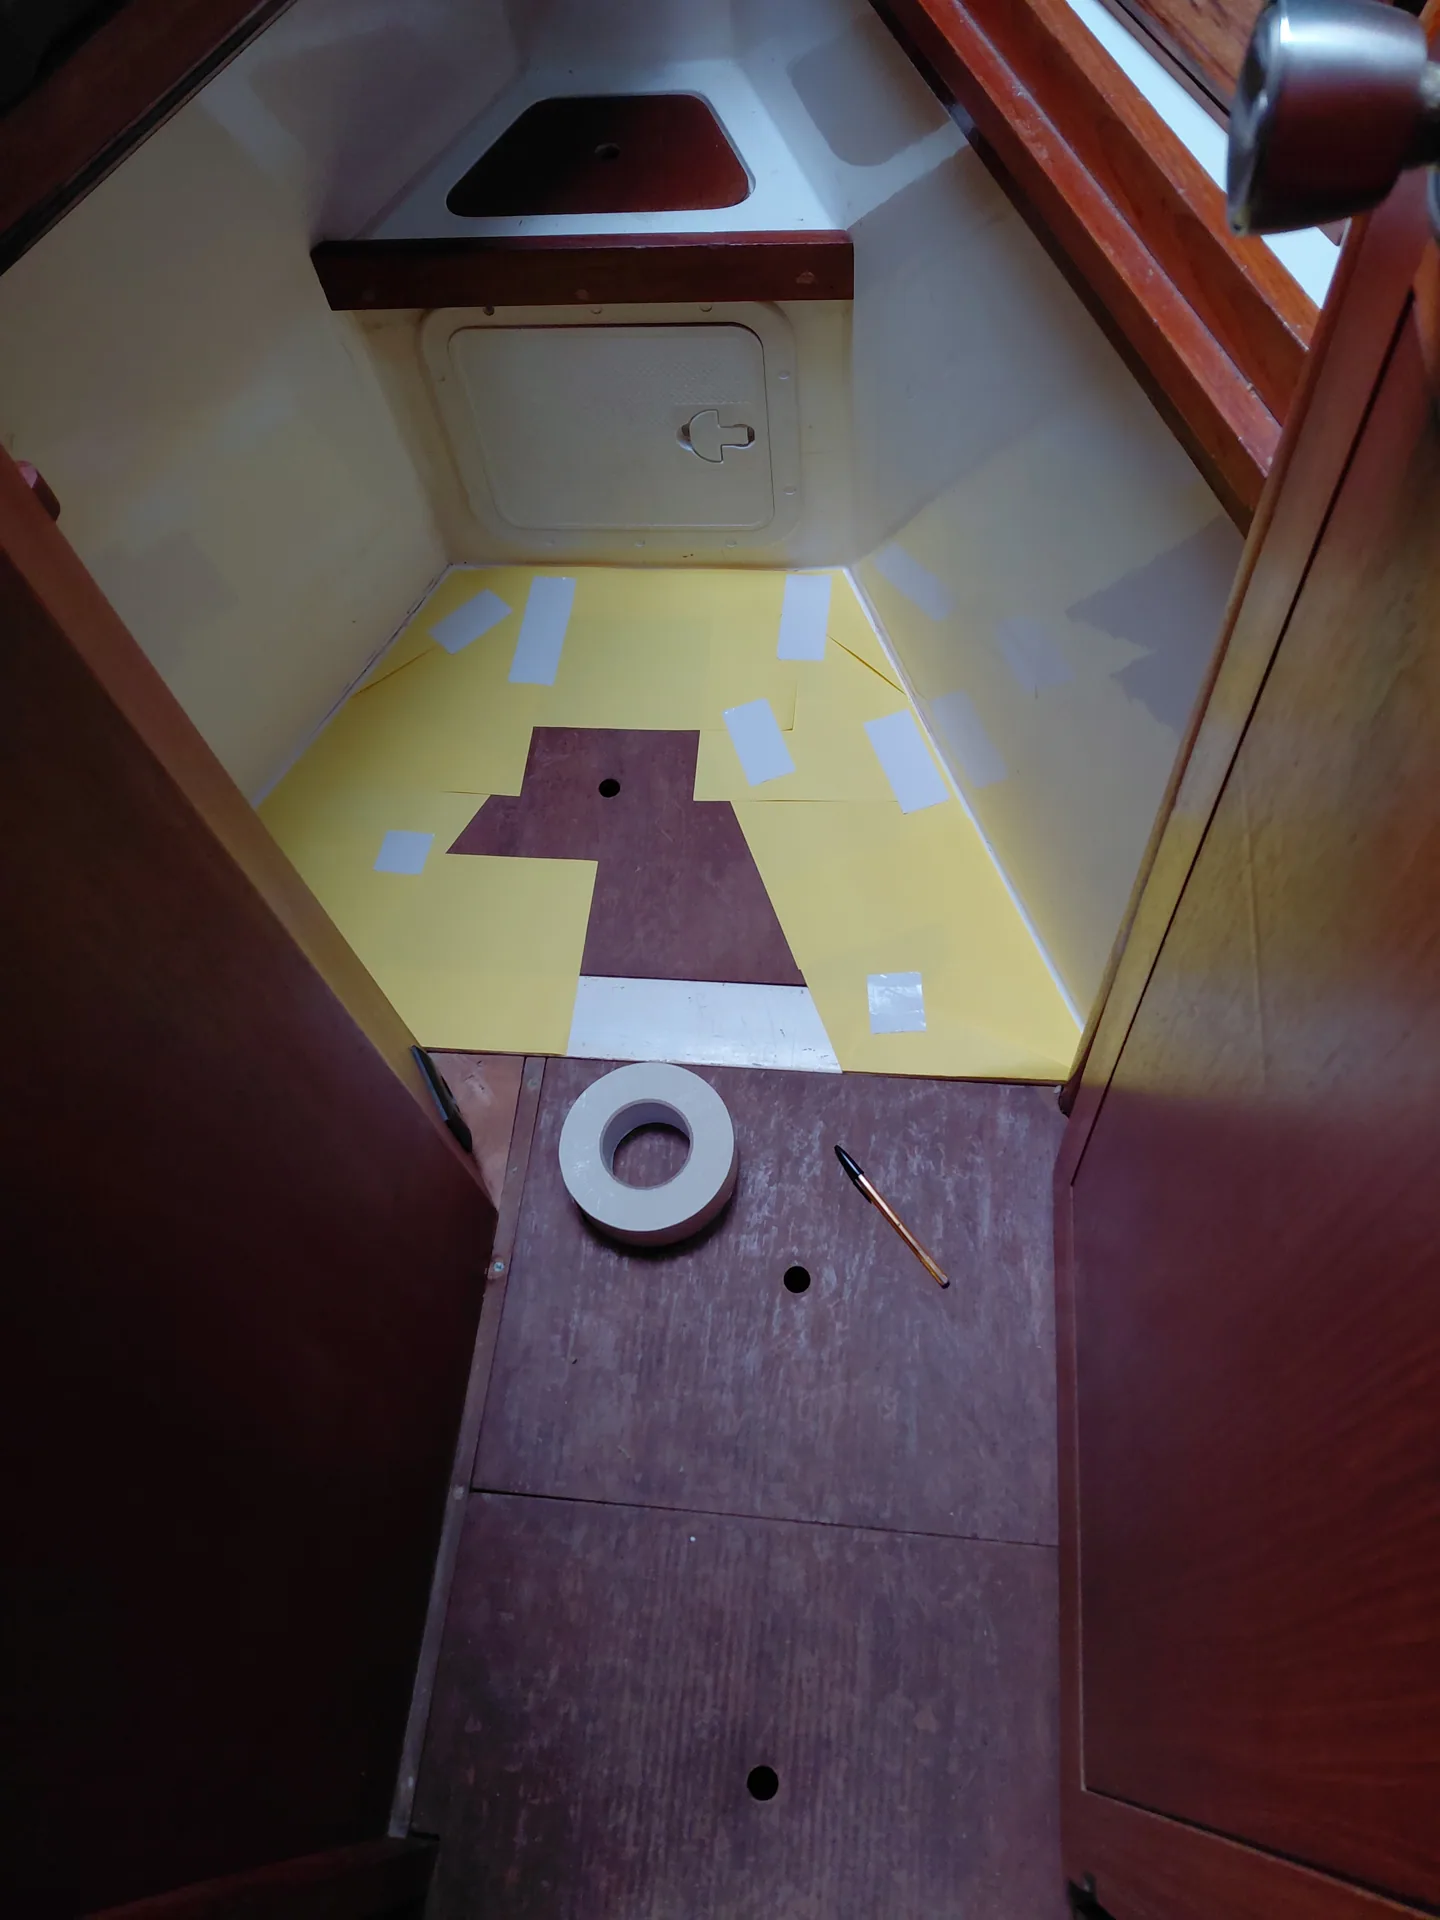
For the intricate shapes, I made templates first. Precision was particularly important in the forecabin, where the floor tapers.

The edges had to meet the existing joinery. Each hatch had to remain individually removable. And the finished floor needed to look as though it had always belonged to the boat.

That last part may be the greatest challenge in restoration: making something new without it feeling new.

Millimetres make the difference

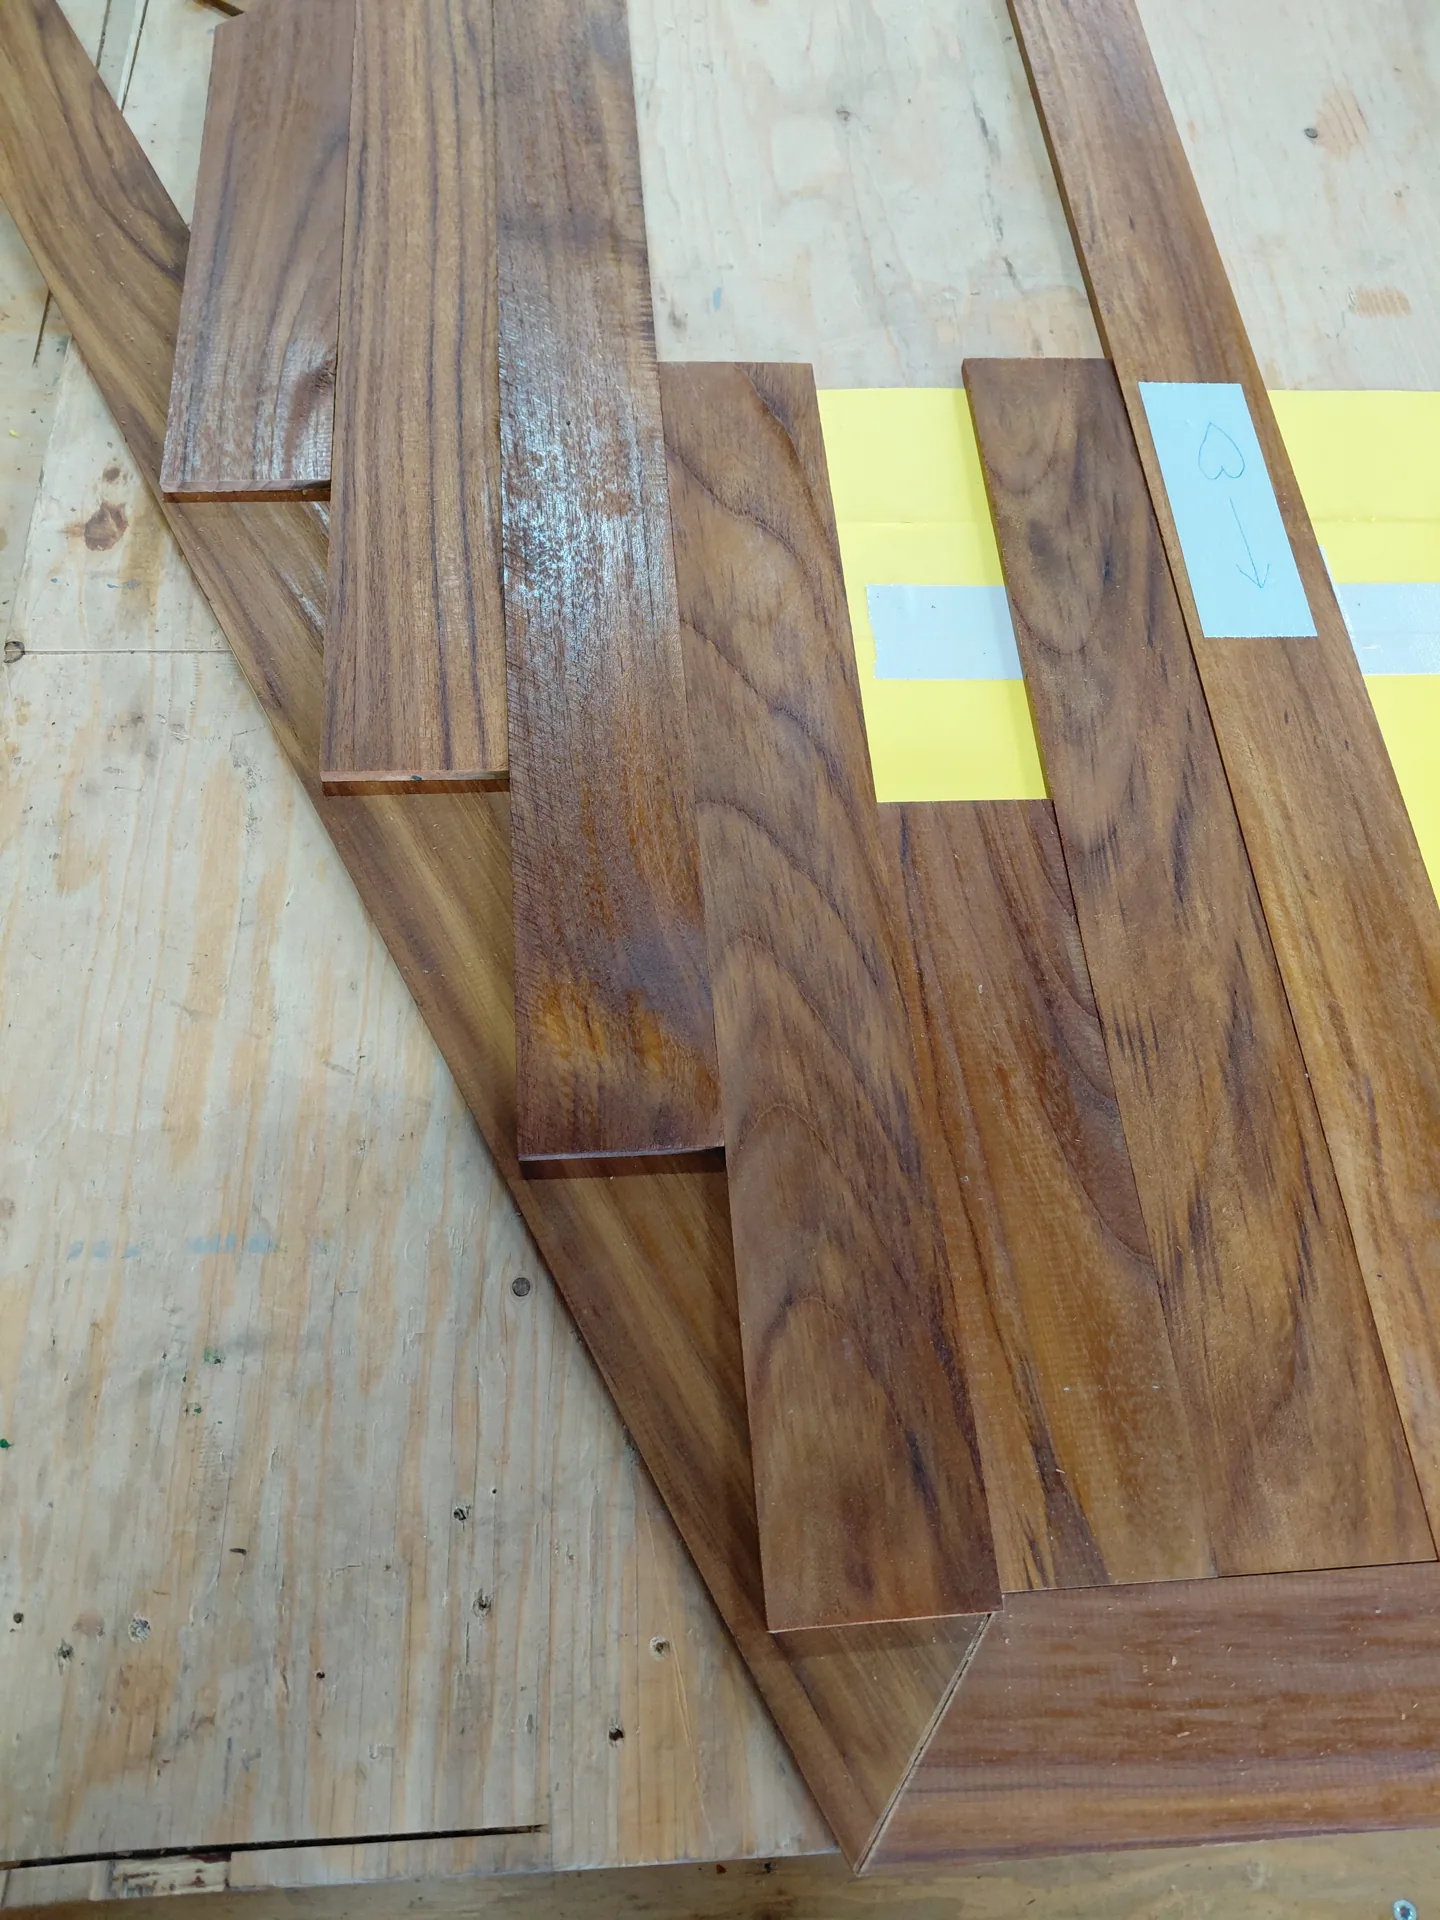
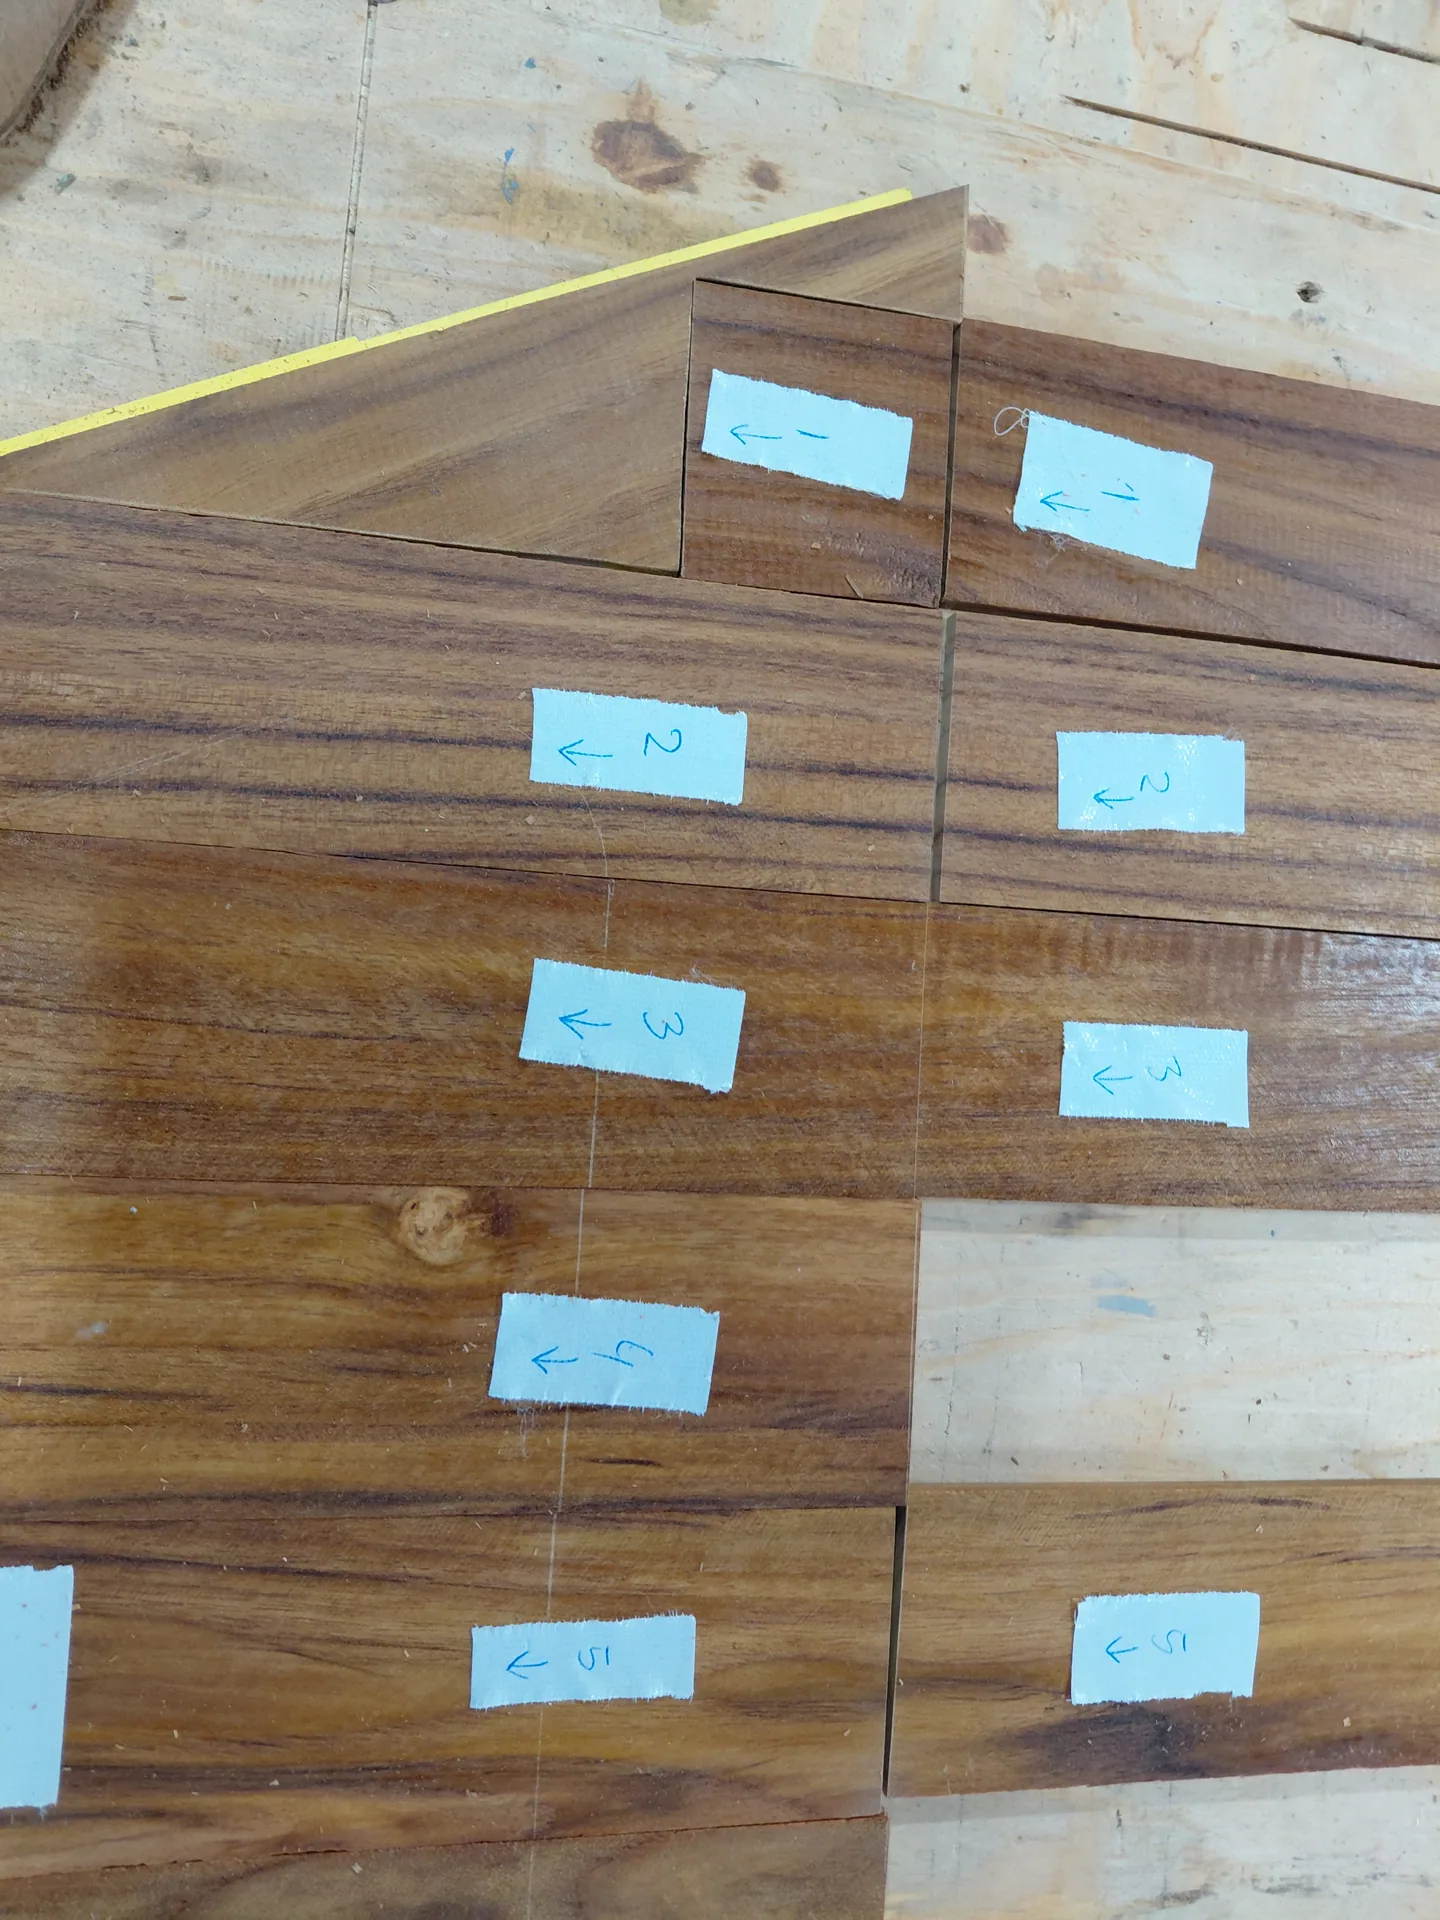
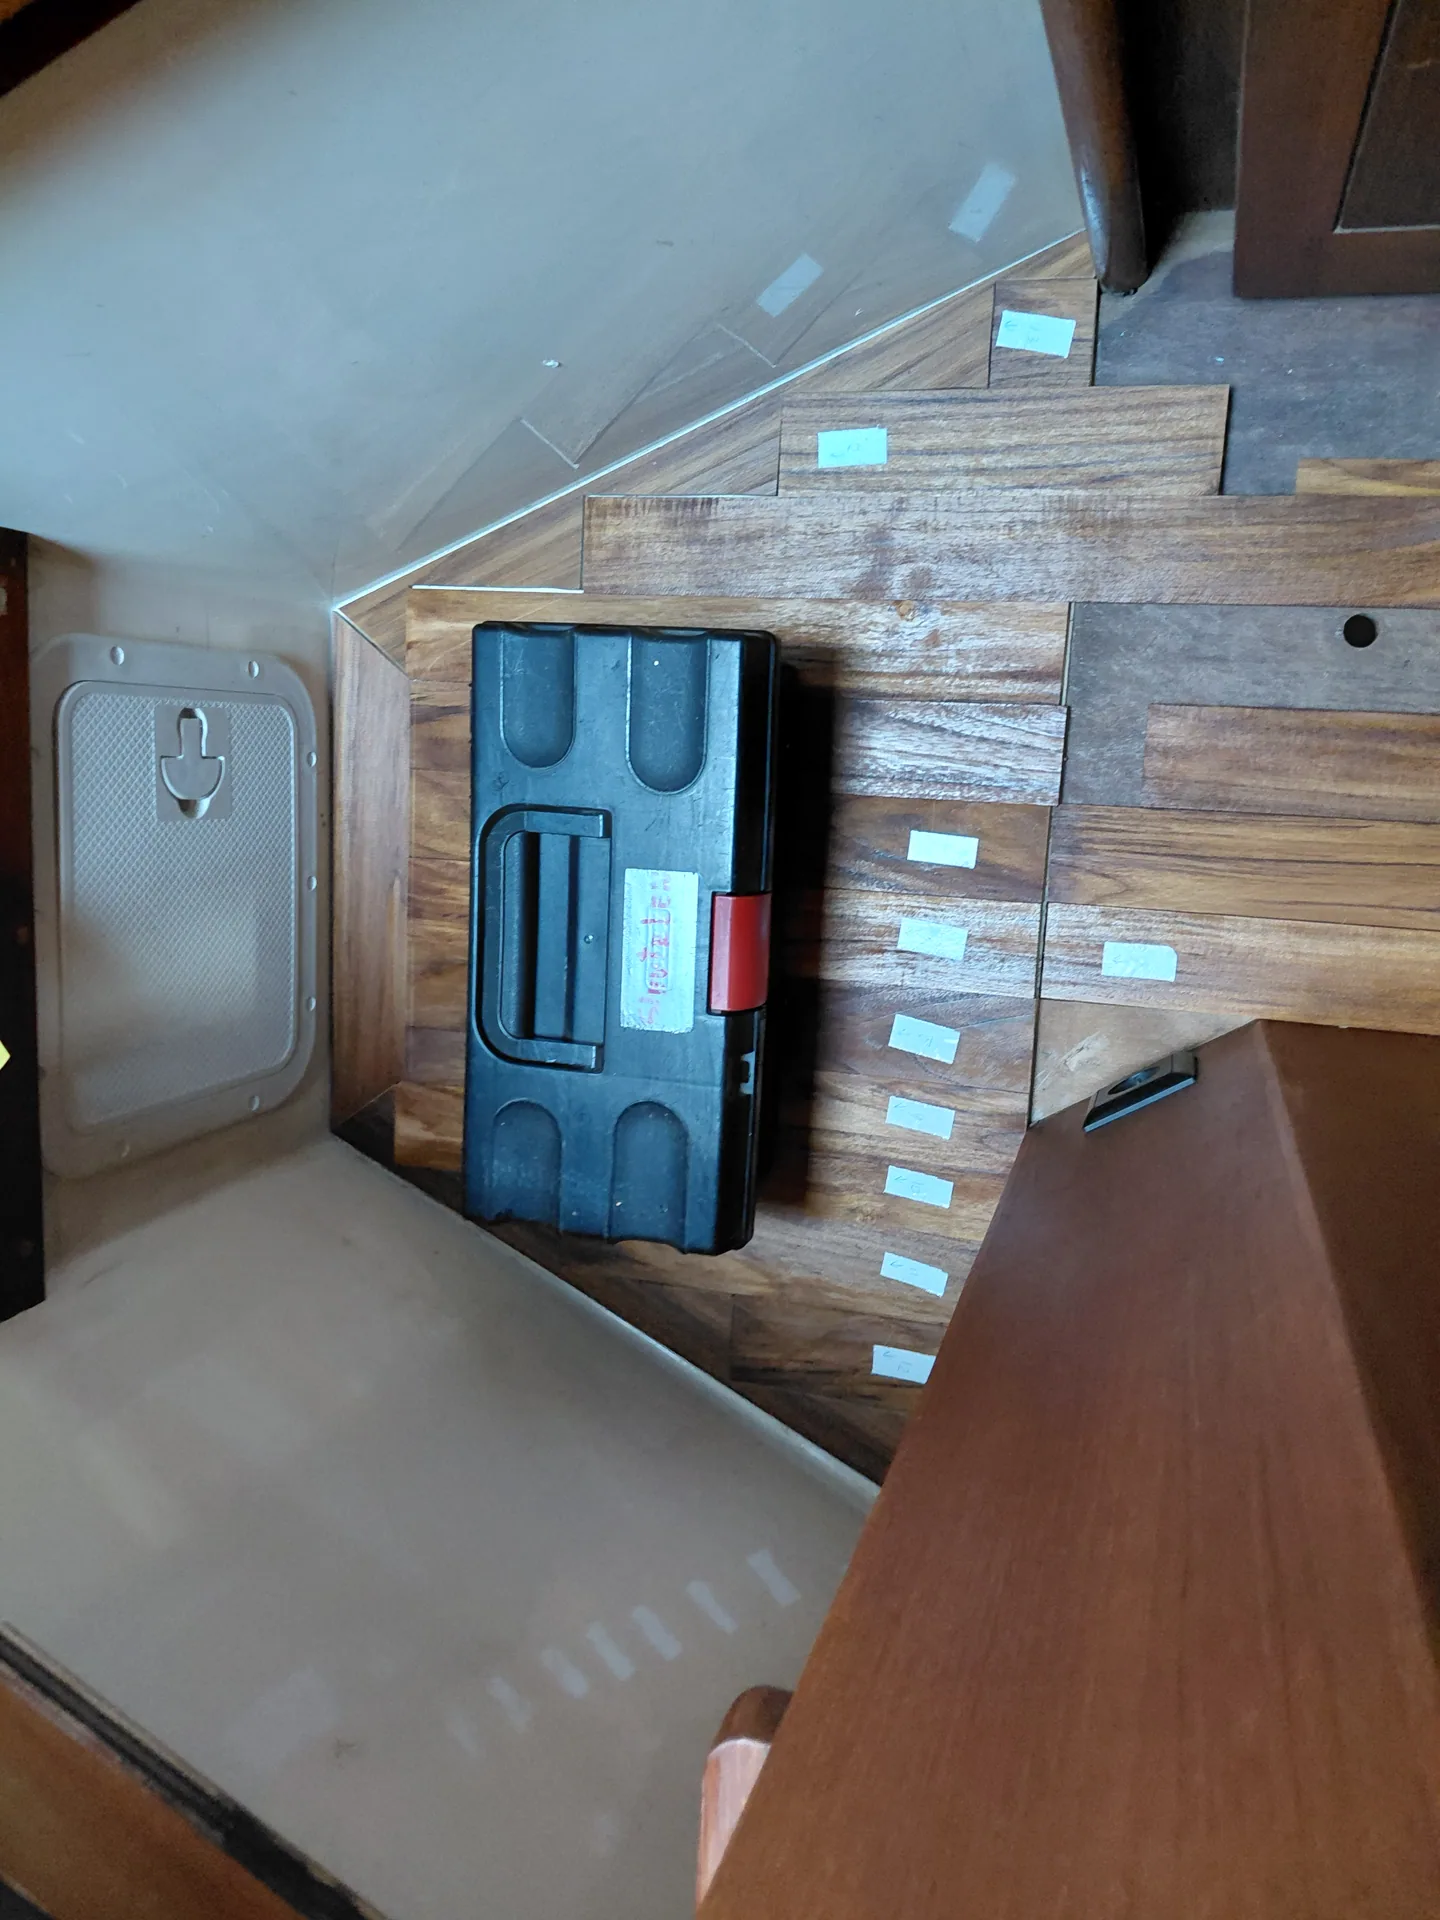
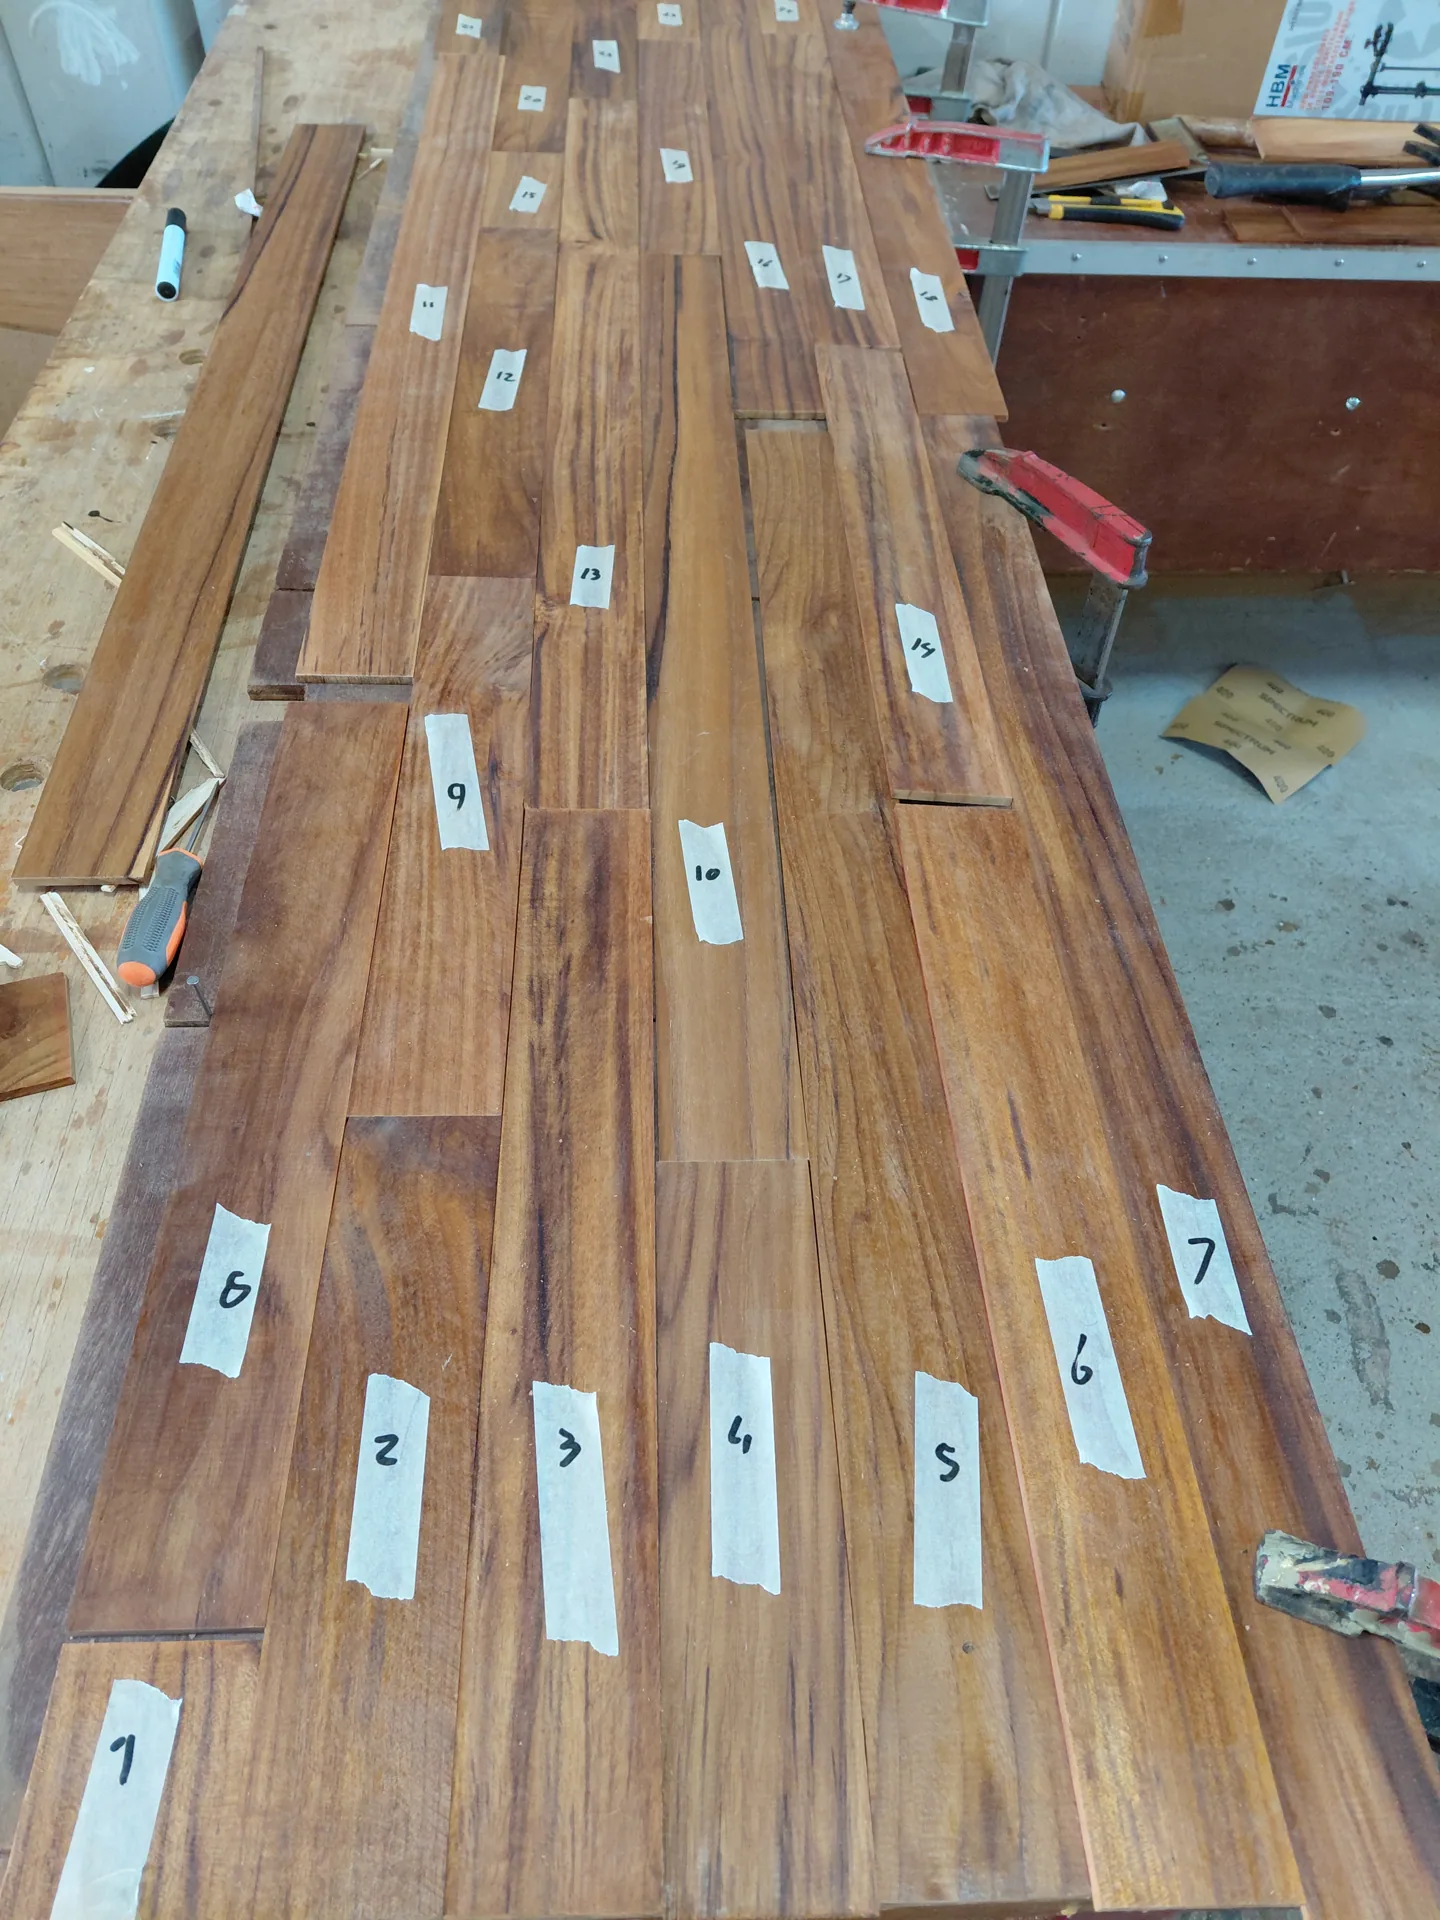
Numbered teak strips dry-laid on the workbench

In woodworking, the difference between an approximate fit and a perfect fit is often just a few millimetres.

An angle that is slightly off. A joint that wanders. A strip whose grain does not match. Small things on their own, but together they determine the result.

That is why I first dry-laid the teak pieces, numbered them and cut them to size. Only once the arrangement was right could the gluing begin.

Using clamps, pressure battens and, above all, patience, I joined the different sections together.

It is work that constantly asks you to move between the overall picture and the smallest detail.

A boat is still a boat

A floor on board has different requirements from a floor in a house.

The boat moves, humidity changes, and beneath the floor there is equipment that needs to be inspected and maintained.

Leo and I decided to treat the teak pieces with Owatrol D1 first. Leo would take care of that at home.

Owatrol D1 is a wood saturator based on alkyd resins and natural oils, particularly suited to hard, oily woods such as teak. It penetrates deep into the wood. The aim is to saturate the wood itself rather than build up a thick protective coating on the surface.

That appealed to me. I wanted to preserve the natural character of the teak.

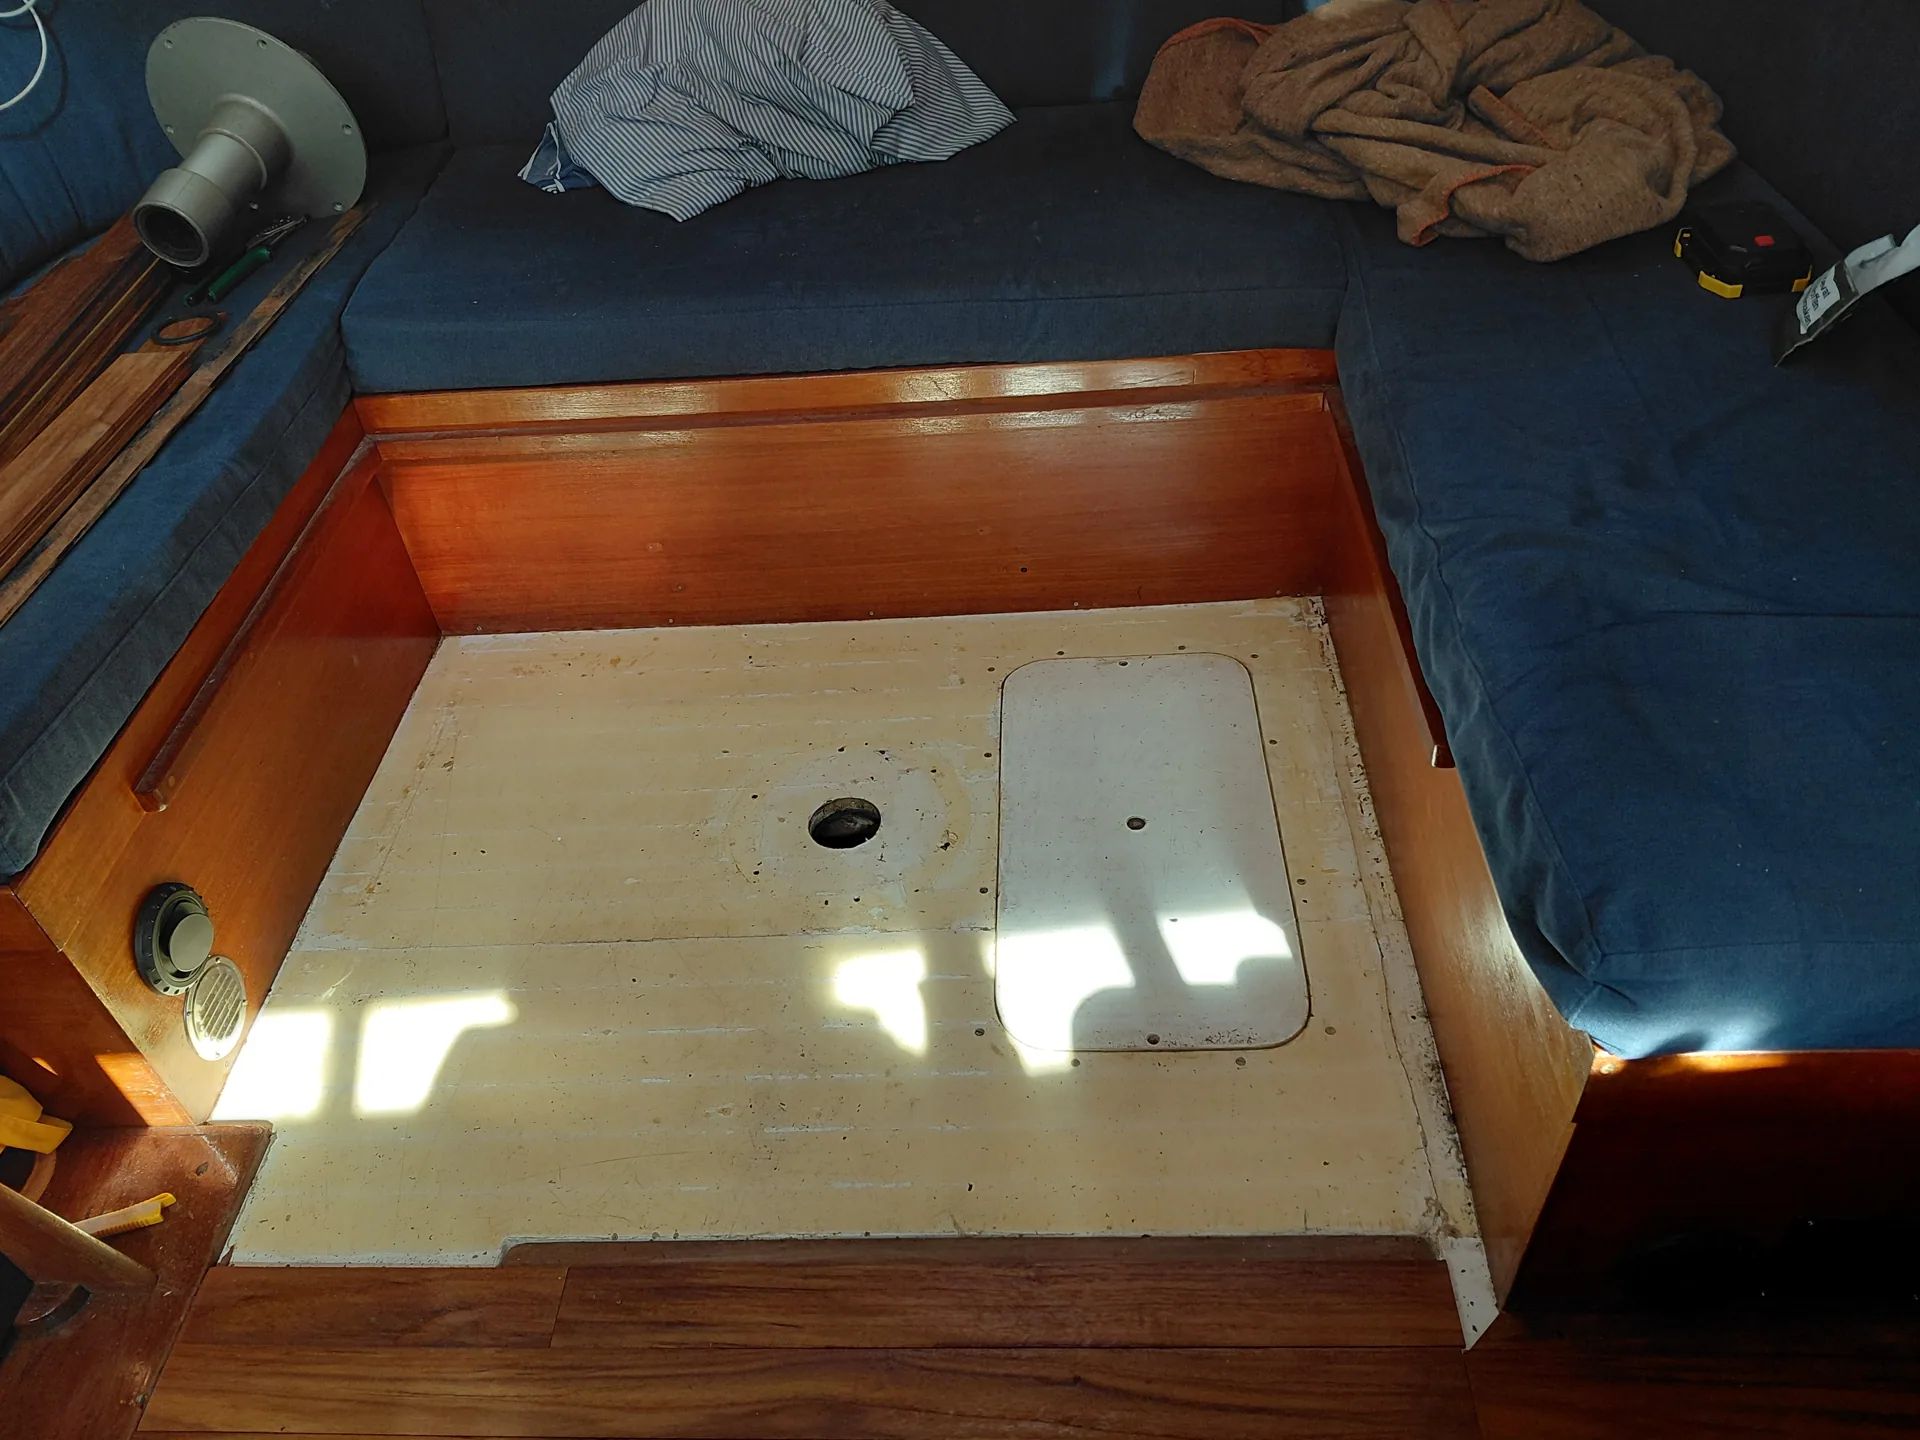
Meanwhile, I had another problem to solve. The fibreglass substrate was not completely level everywhere. The new floor therefore needed both a precise fit and a sound adhesive bond.

At a shop where different suppliers could stock their own shelving, I came across a batch of Poly Max mounting adhesive. At a good price per cartridge, I was able to buy enough for the job.

Sometimes you just have to come across the right materials.

And so a lovely collaboration developed. Each week, Leo brought another batch of treated teak strips, and I carried on fitting, measuring, cutting and gluing on board.

Slowly but surely, the new floor took shape.

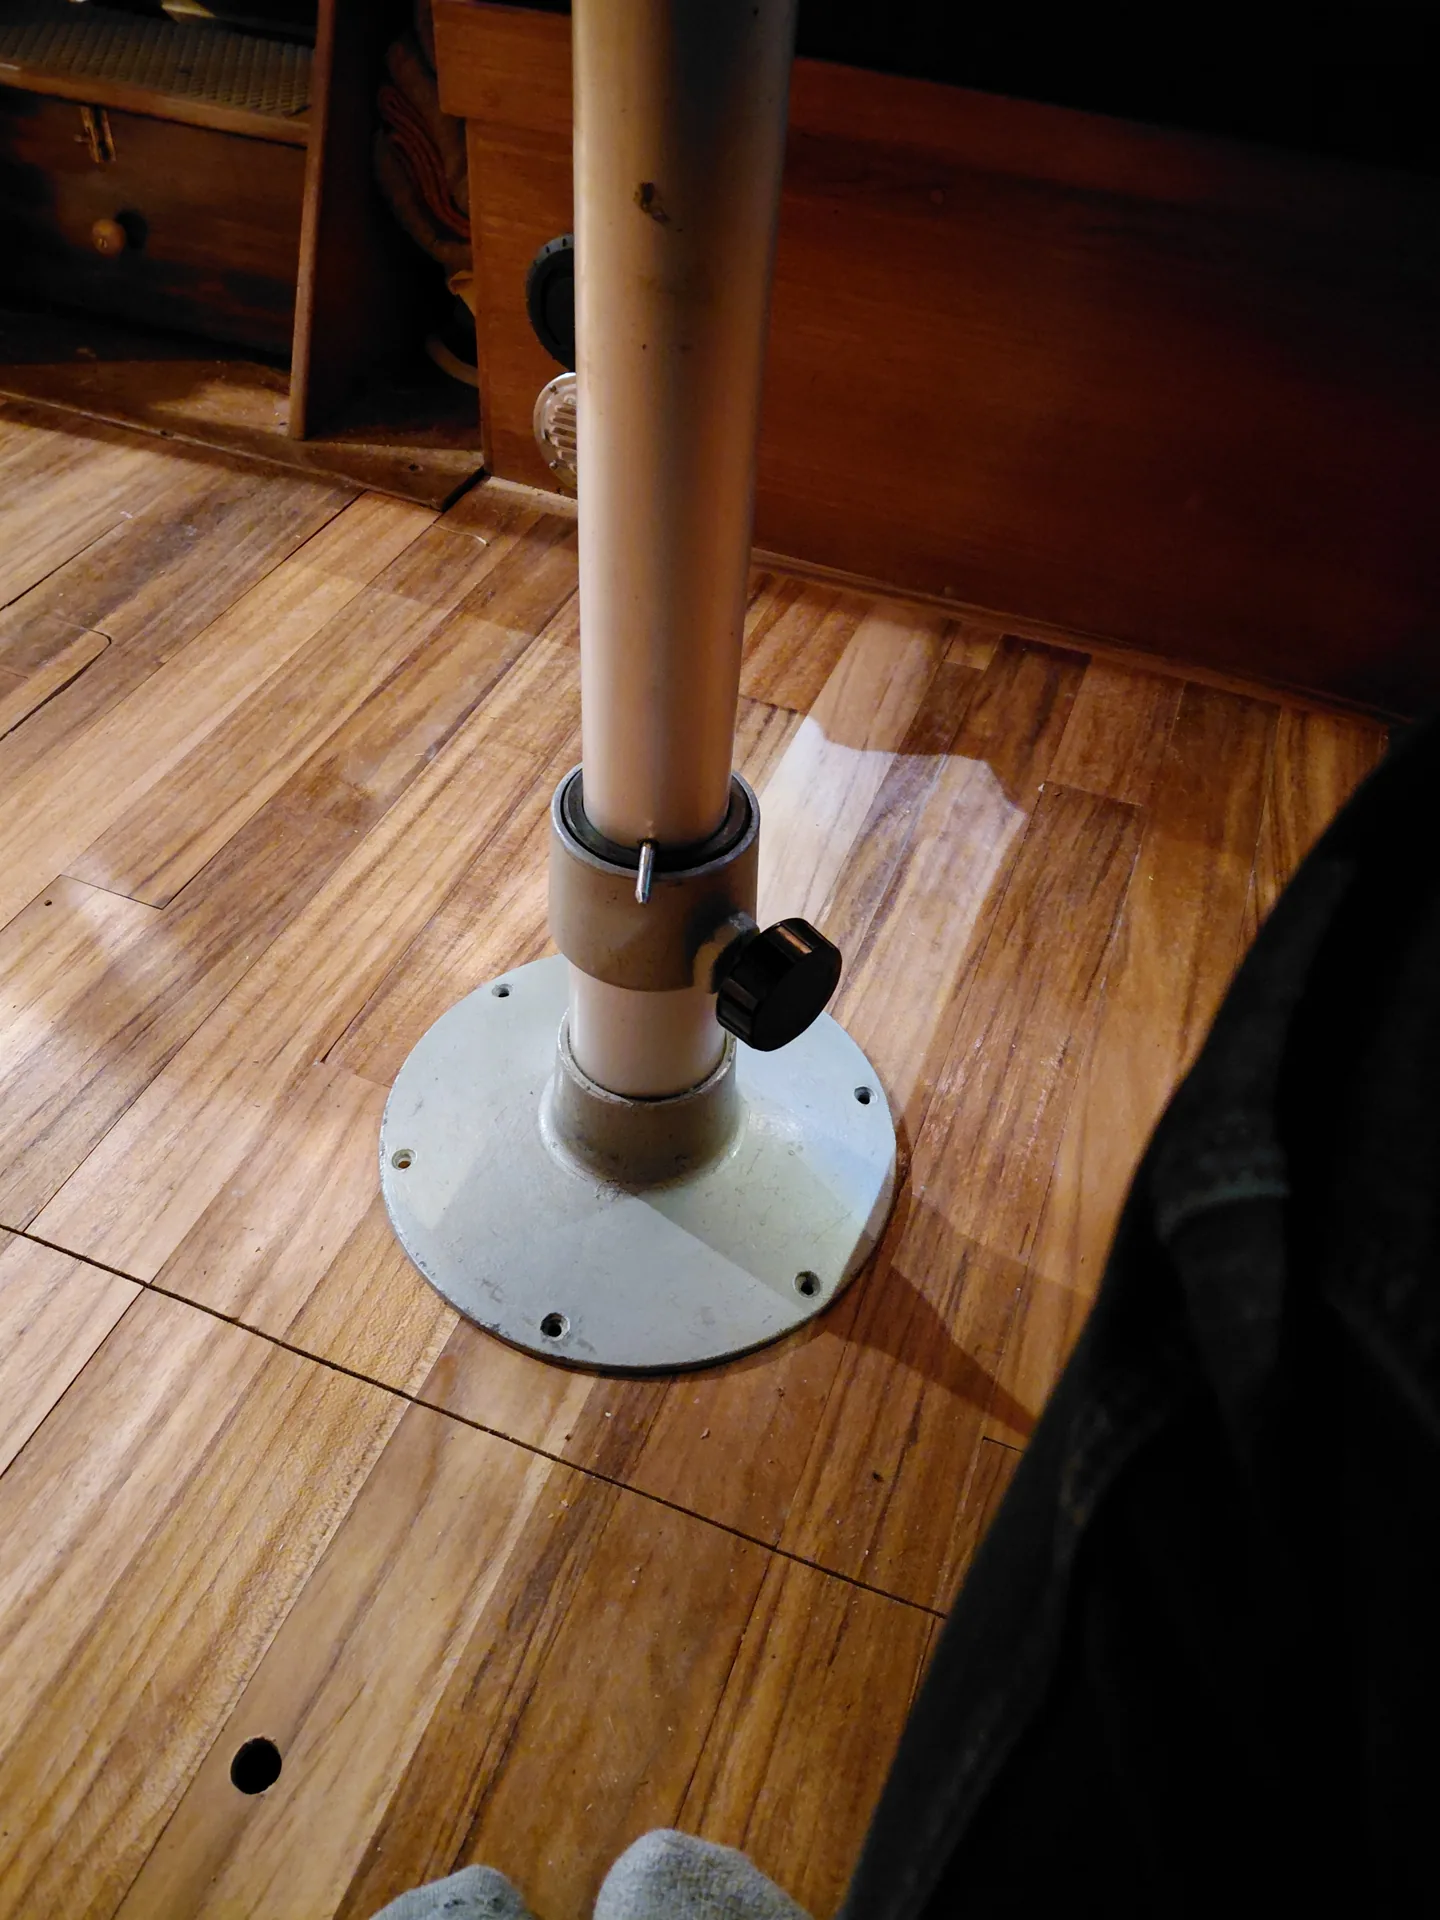
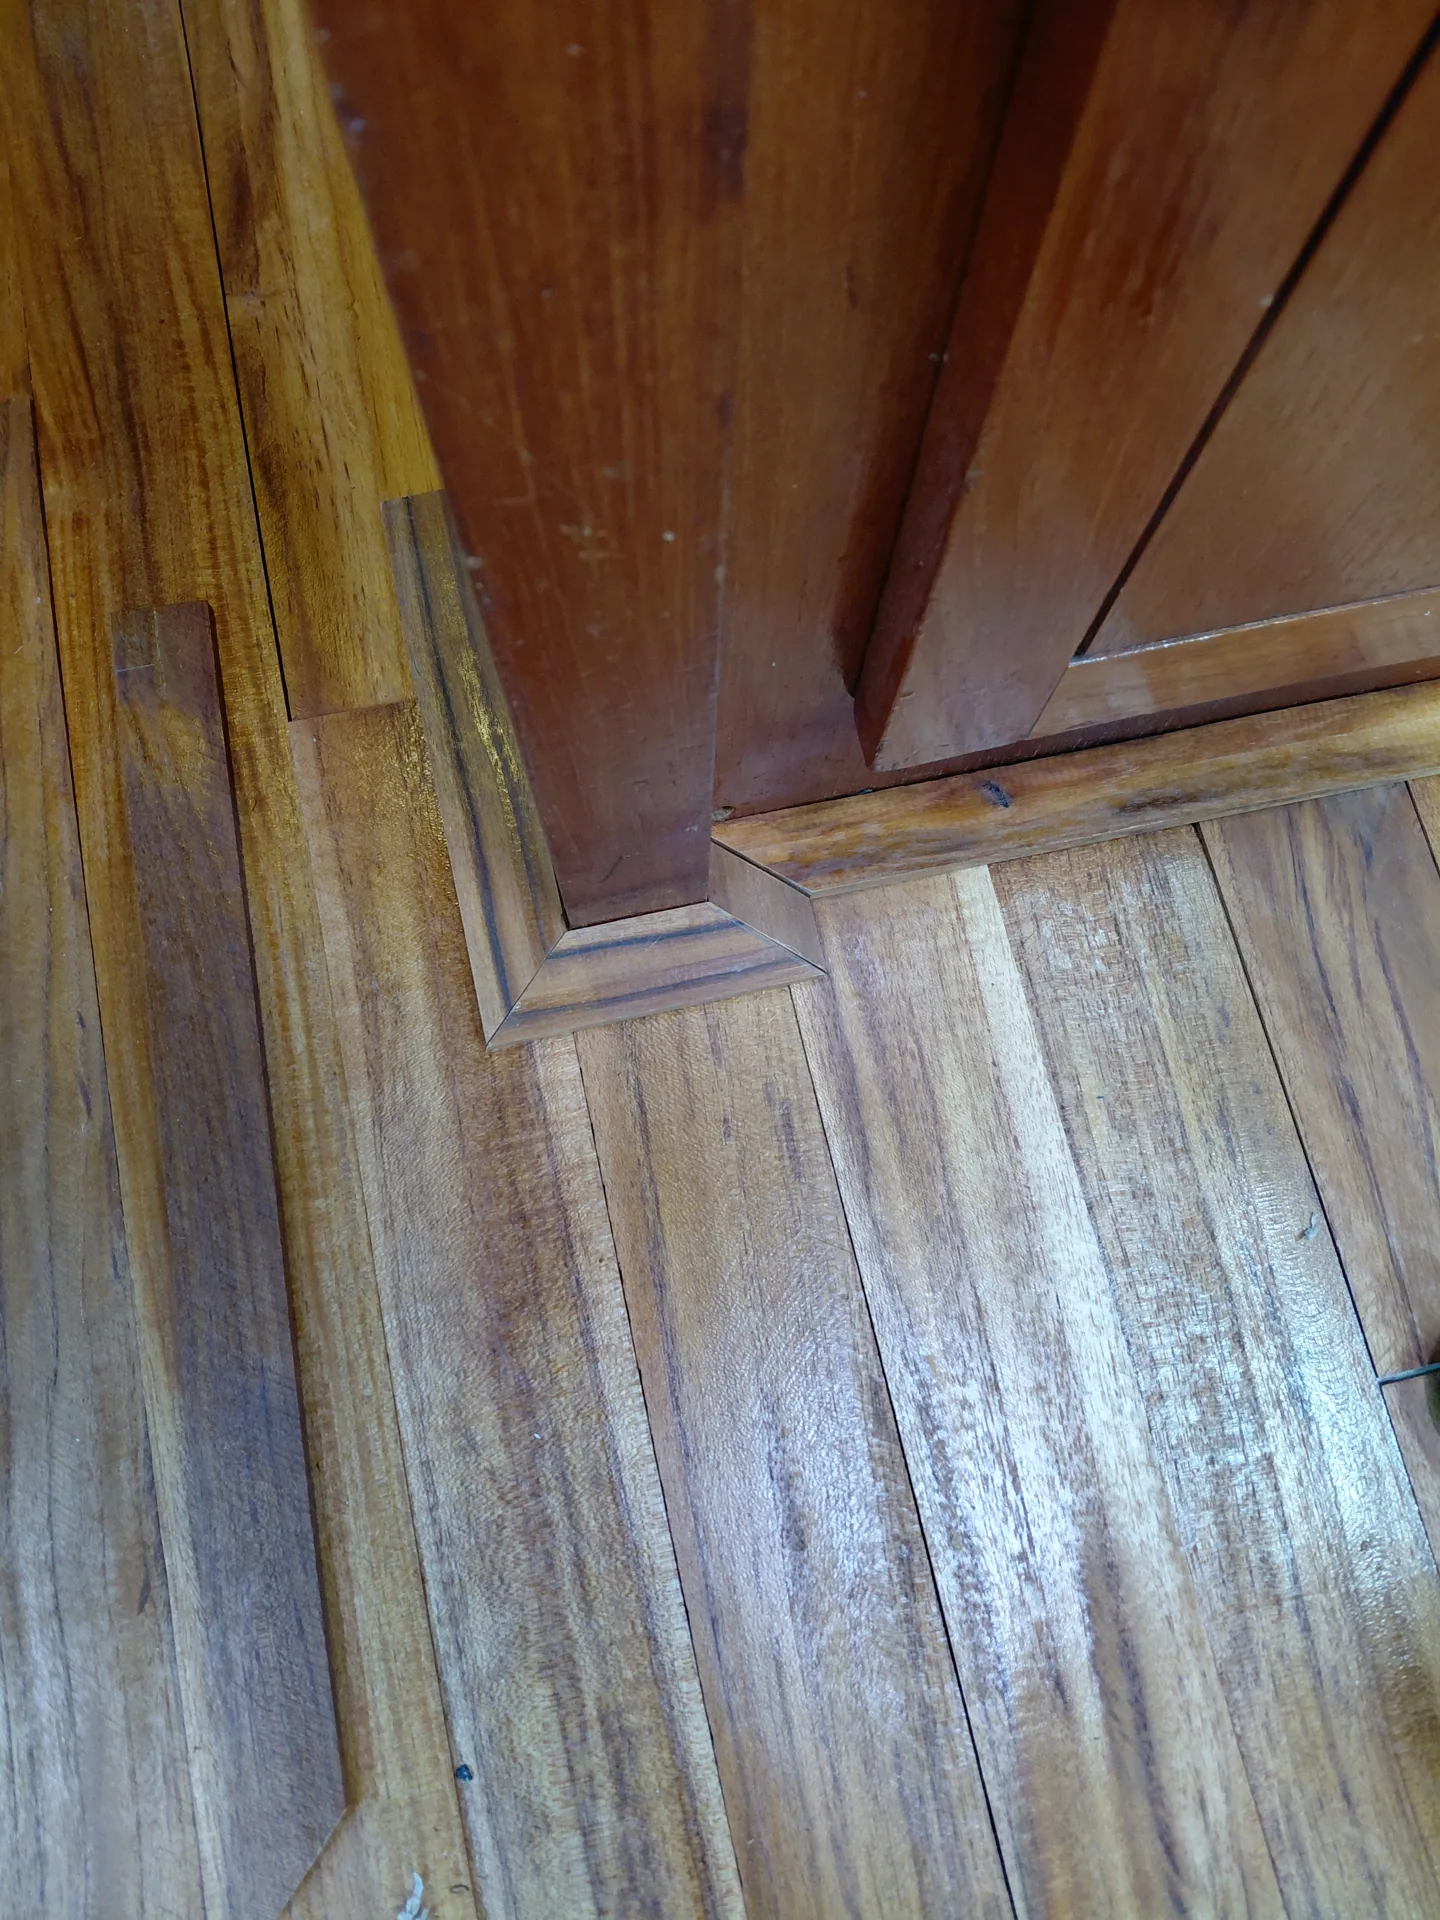
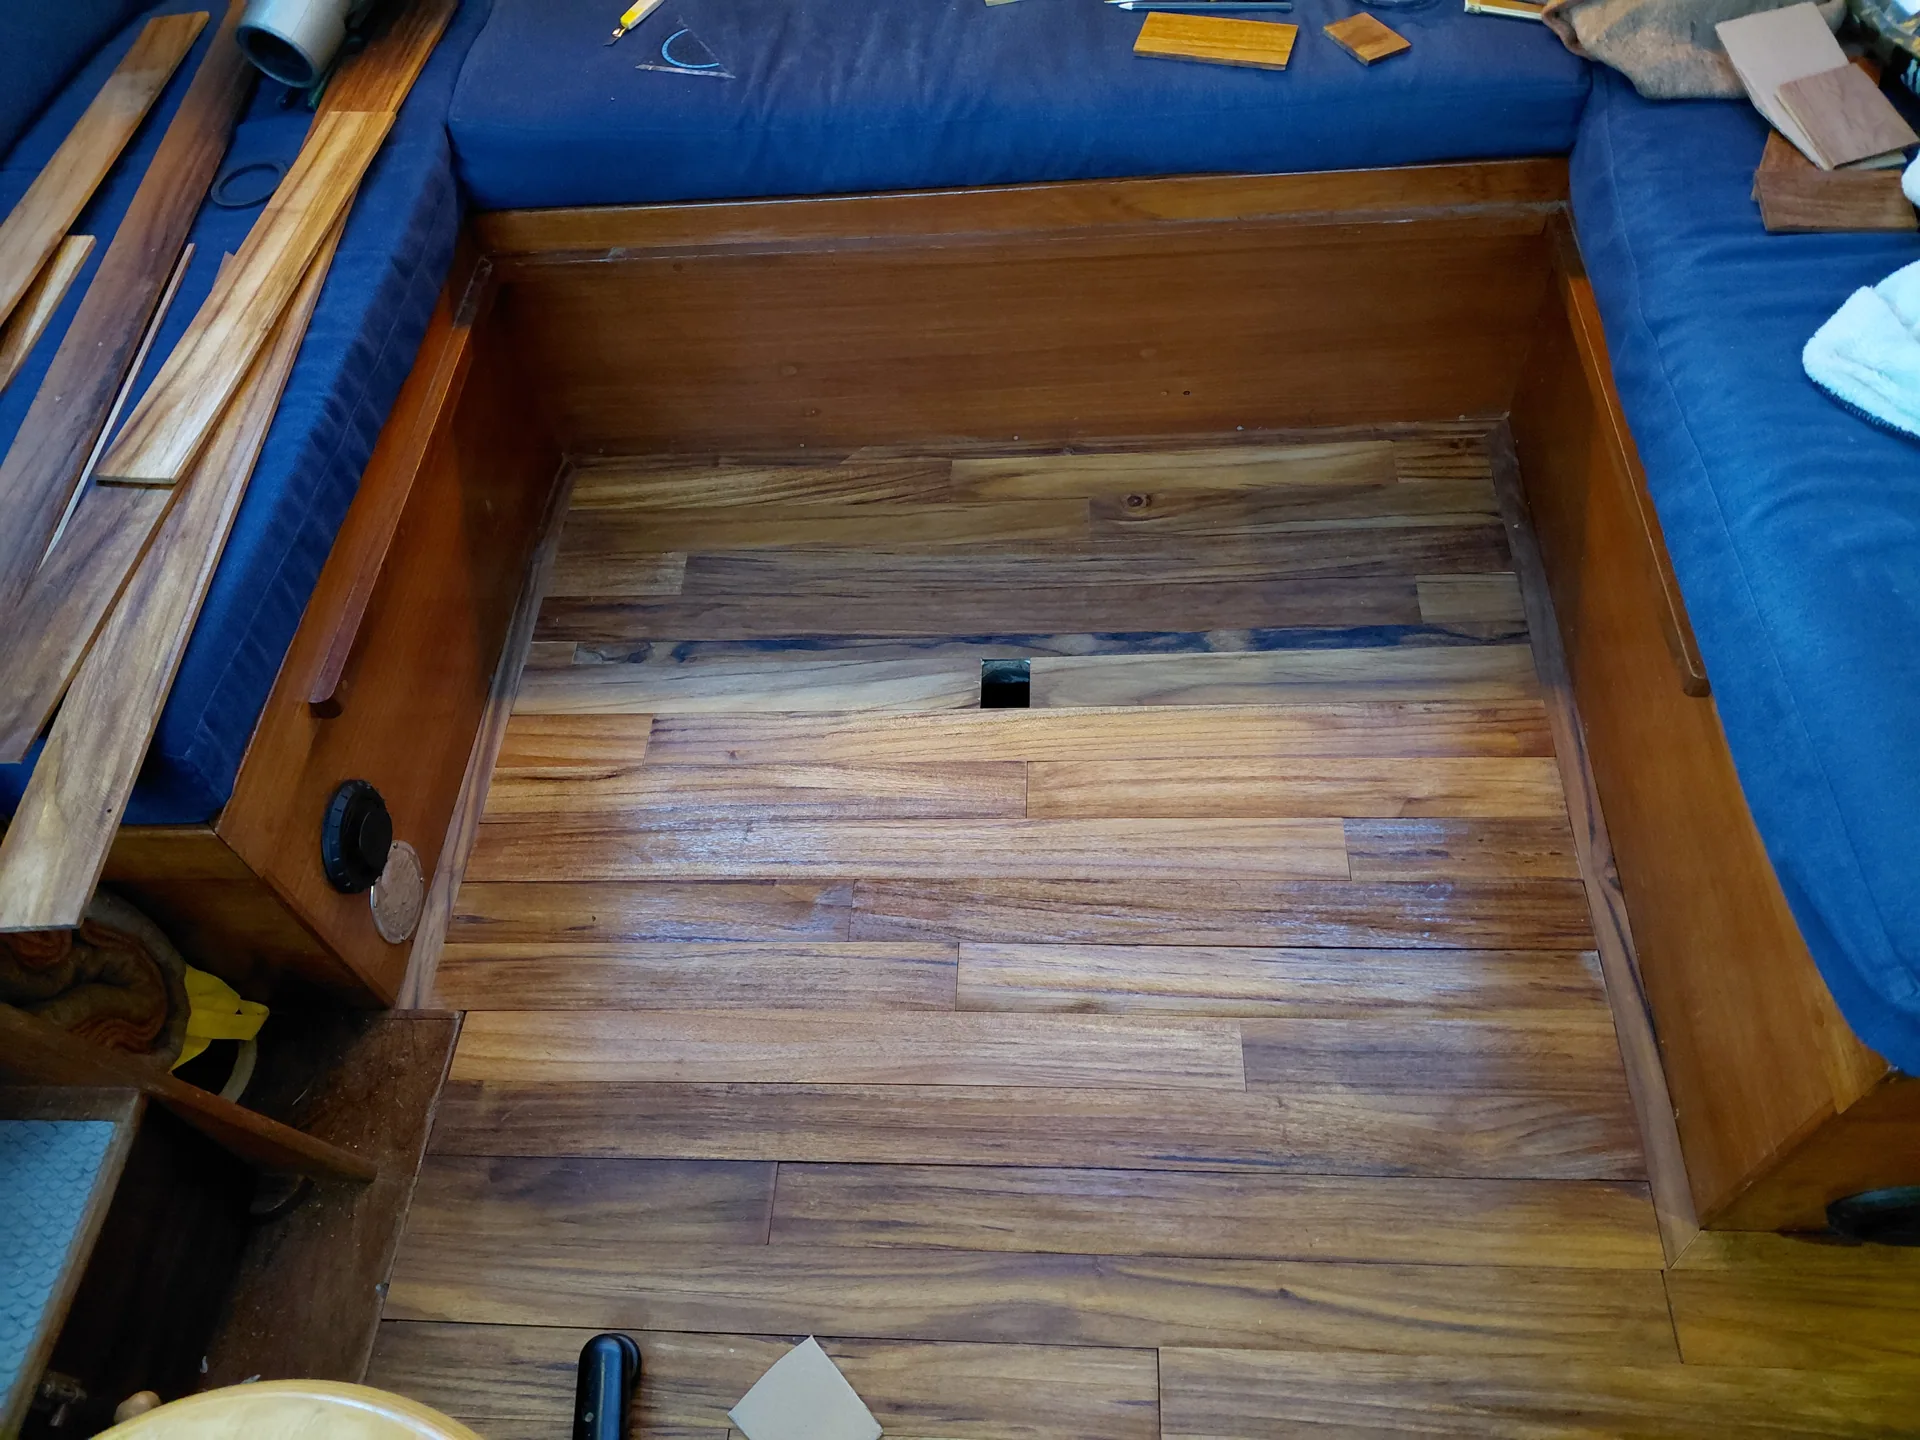
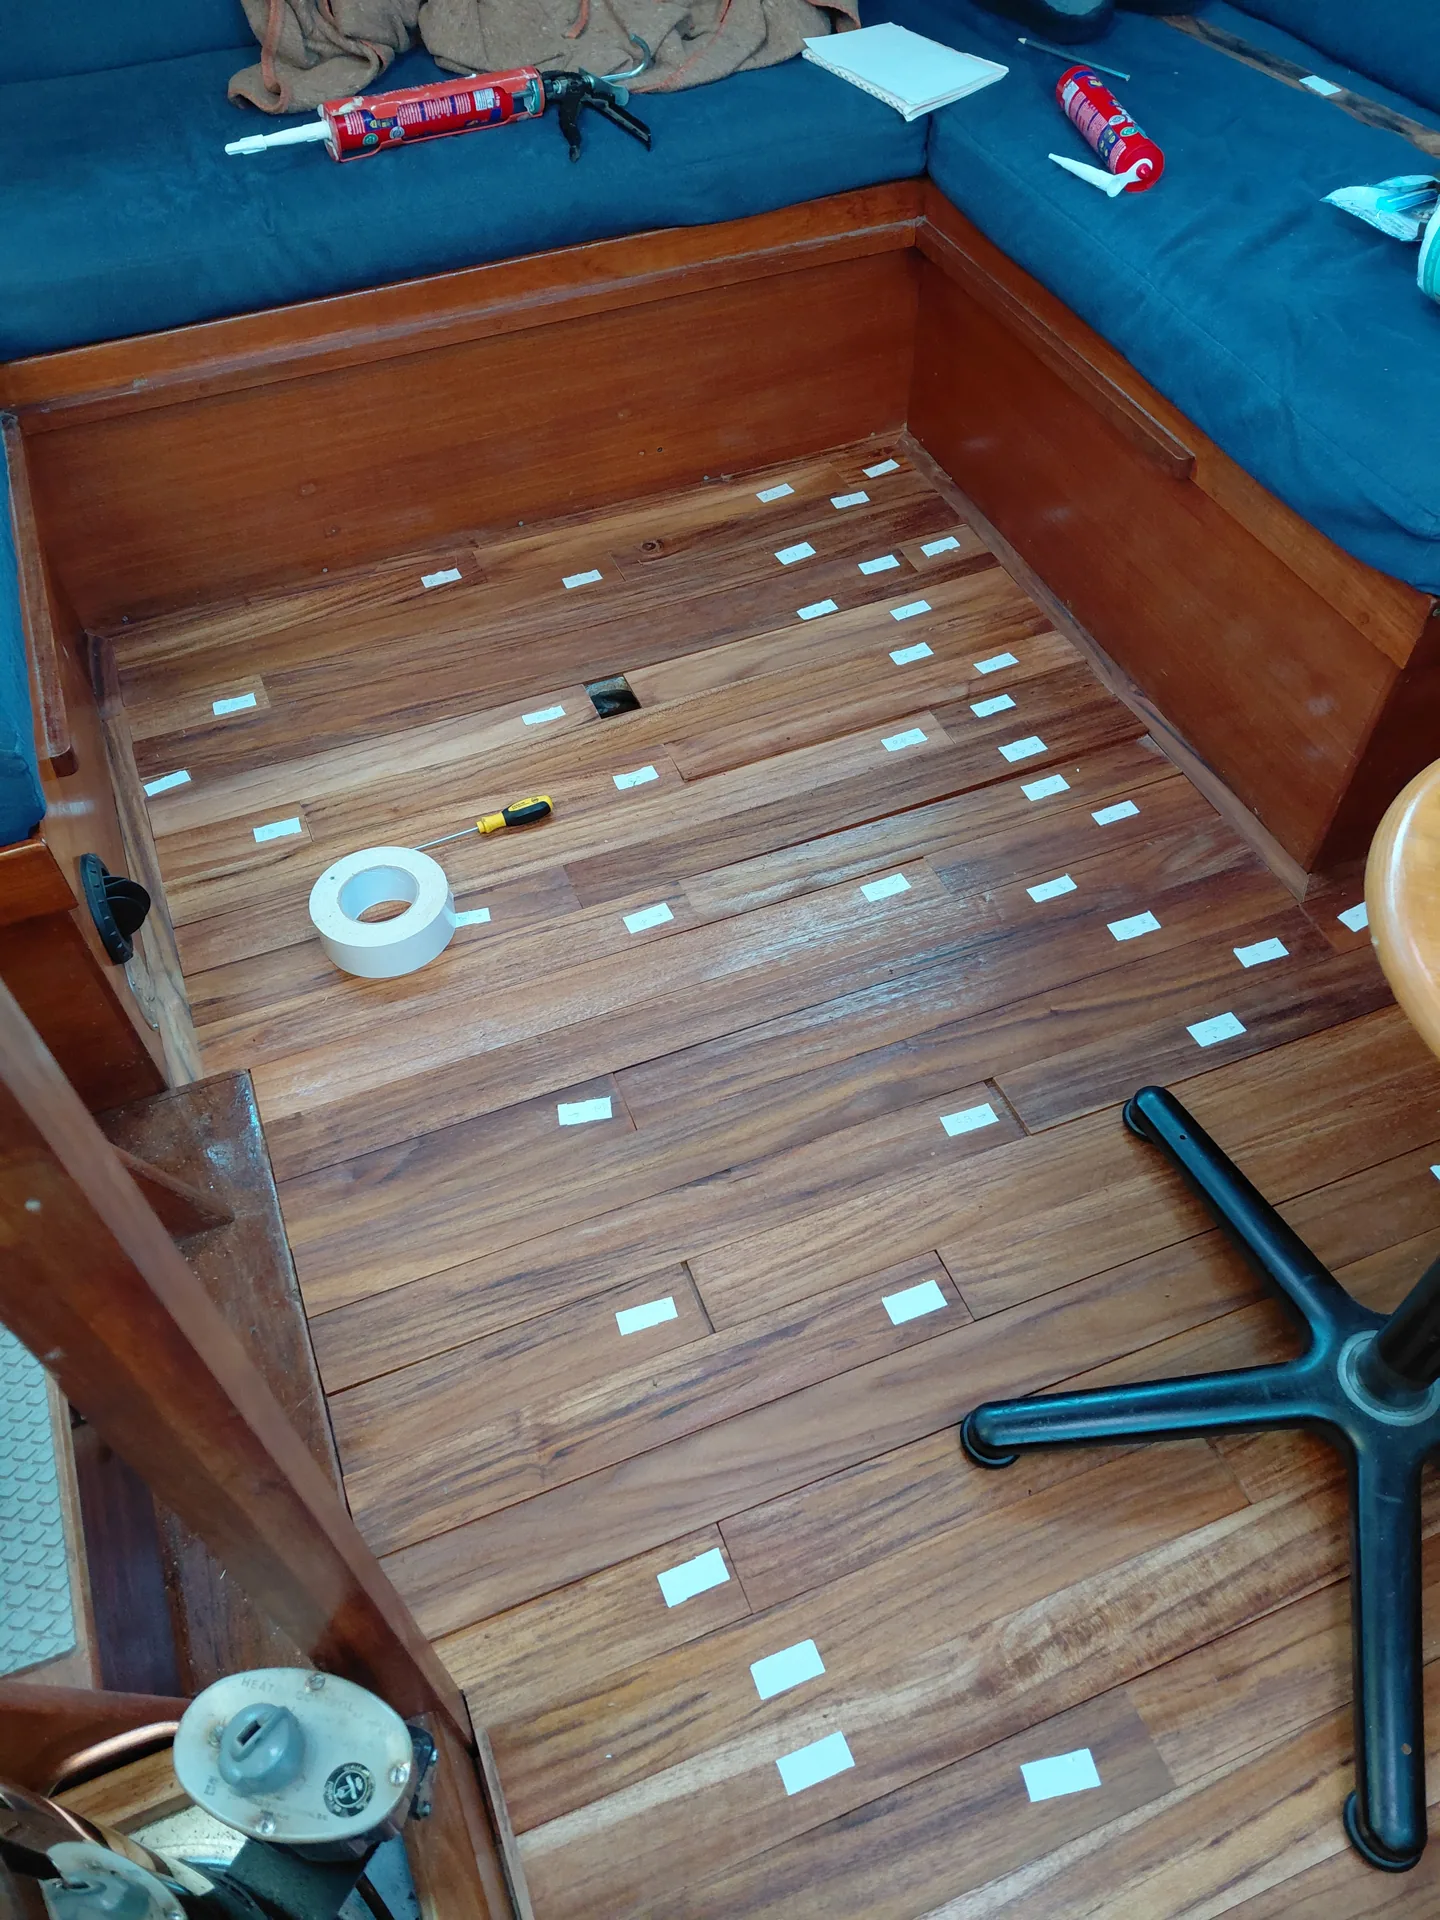
Everything also had to fit neatly around the table pedestal, the stove and the passageways. The existing floor hatches were retained so that the equipment below remained accessible.

That calls for more than woodworking alone. You need to understand how the boat is put together and allow for work that may be needed later.

Because a boat is still a boat. There is always a hatch somewhere that needs opening.

The moment it all comes together

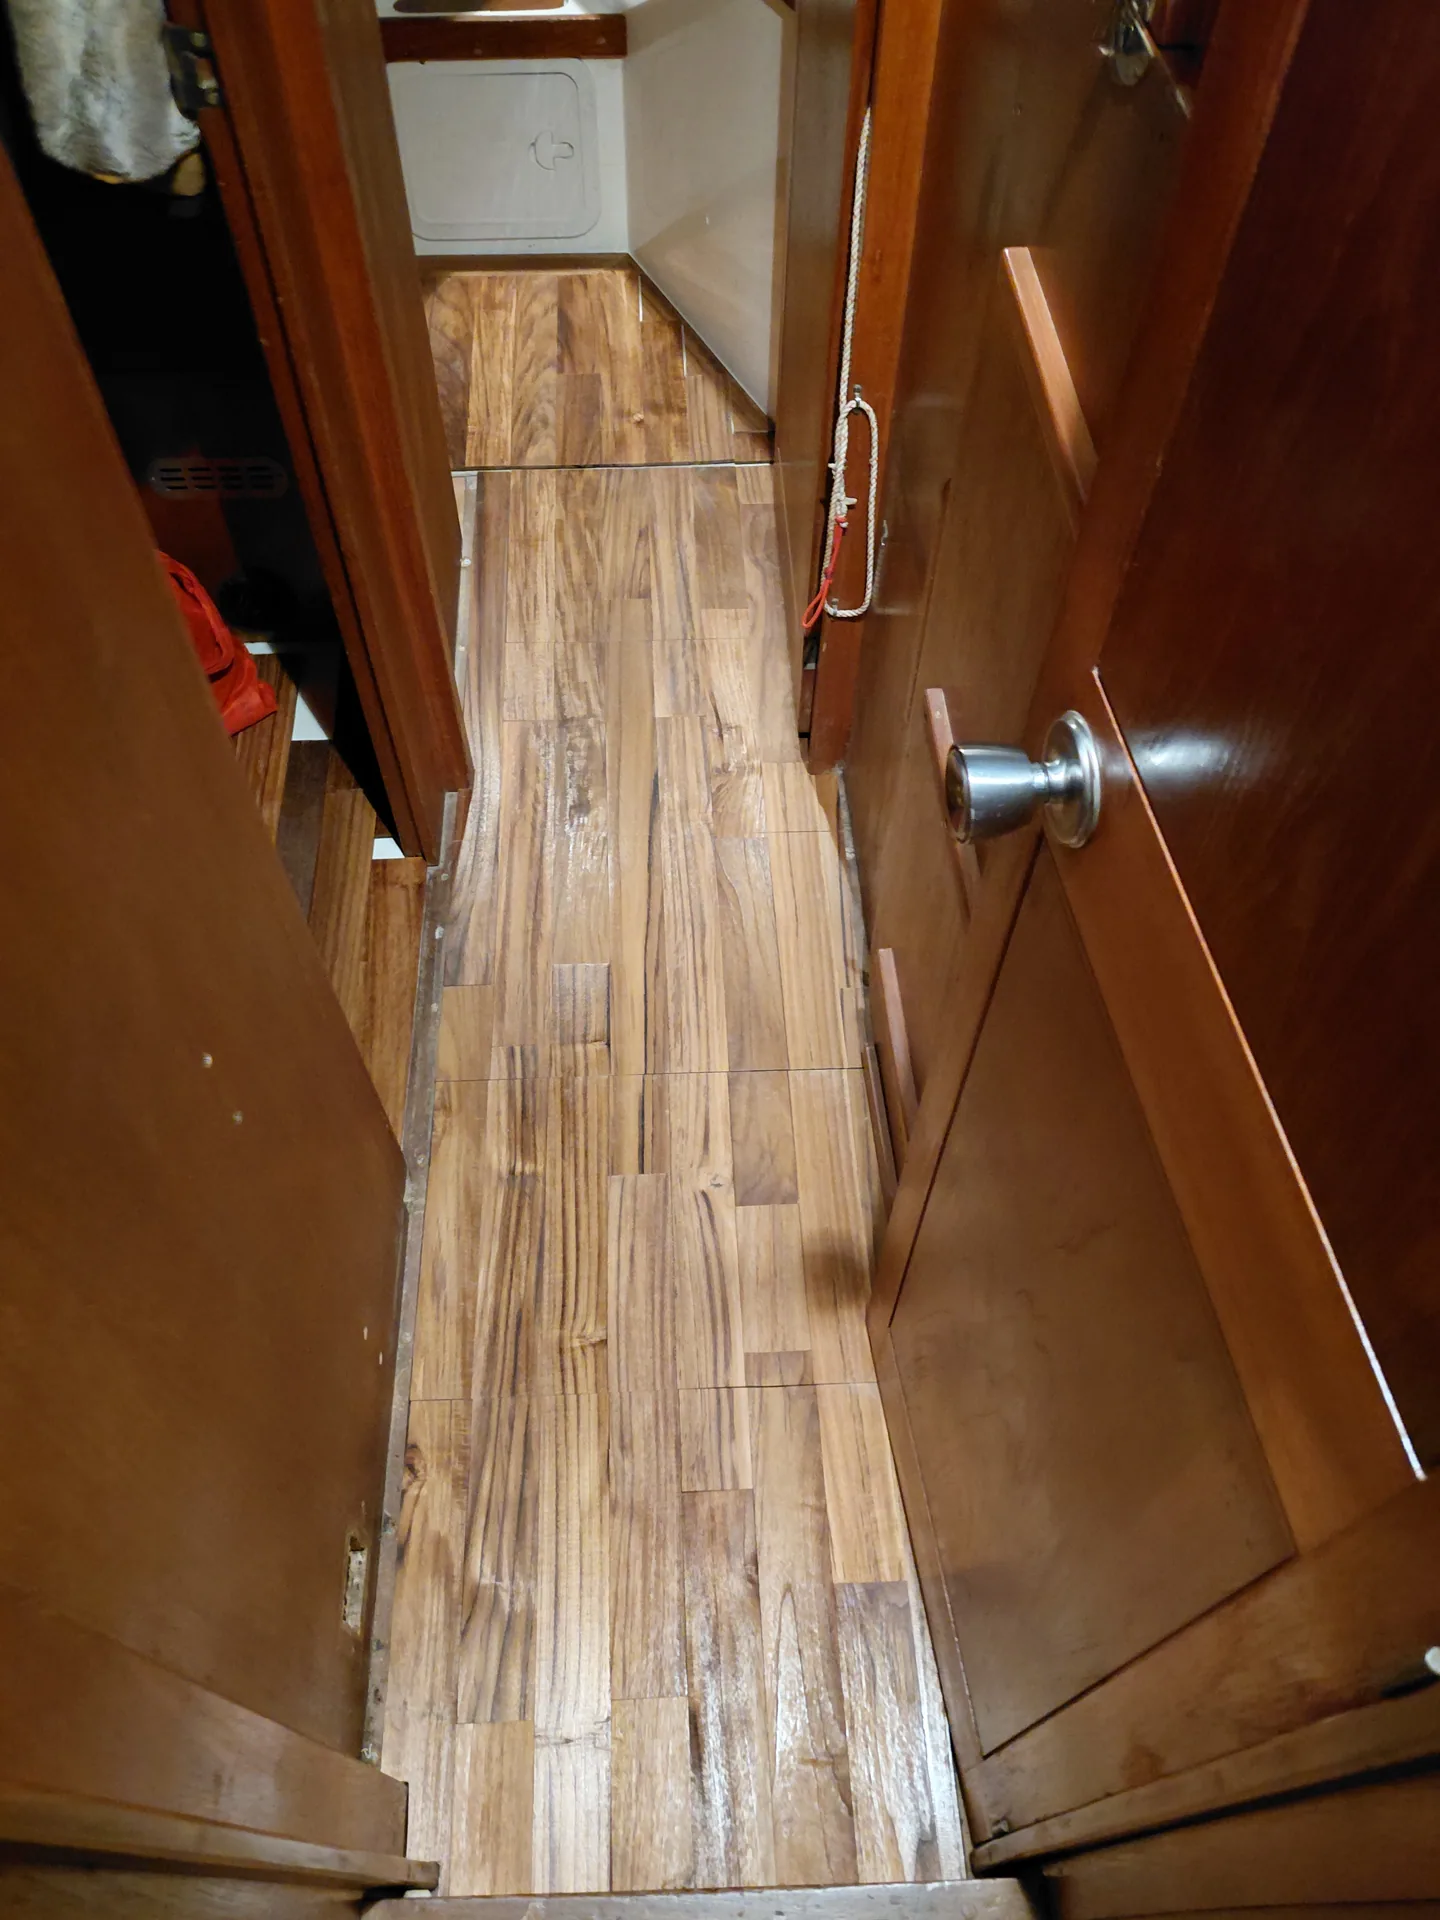
New teak floor around the table pedestal

The loveliest moment in a project like this is when the separate pieces become a whole again.

The floor takes on its final shape. The grain comes to life. The warm teak complements the existing joinery and changes the feel of the entire interior.

What began as a collection of loose strips slowly becomes a natural part of the boat.

And the result is more than a new floor. It is also the pleasure of imagining something, working it out and actually making it happen.

Making it yourself is about more than saving money

Of course, doing the work yourself saves money. But that is not my only reason.

It is about understanding how things work. Finding solutions where no standard answer exists. Making the best possible use of existing materials and structures.

And perhaps, above all, the freedom to make something exactly as you imagined it.

That is also what I value about working on the boat. Sometimes you have to investigate, try things, adjust and start again.

And when it finally comes together, I can feel as proud as a peacock.

Because, honestly, the result is something to be proud of.

And this boat deserves it.

No rushed job. No standard job. Just good work.

Sail4Recovery — A boat with history. A future with a horizon.